Friday, 30 August 2024

Sisterhood

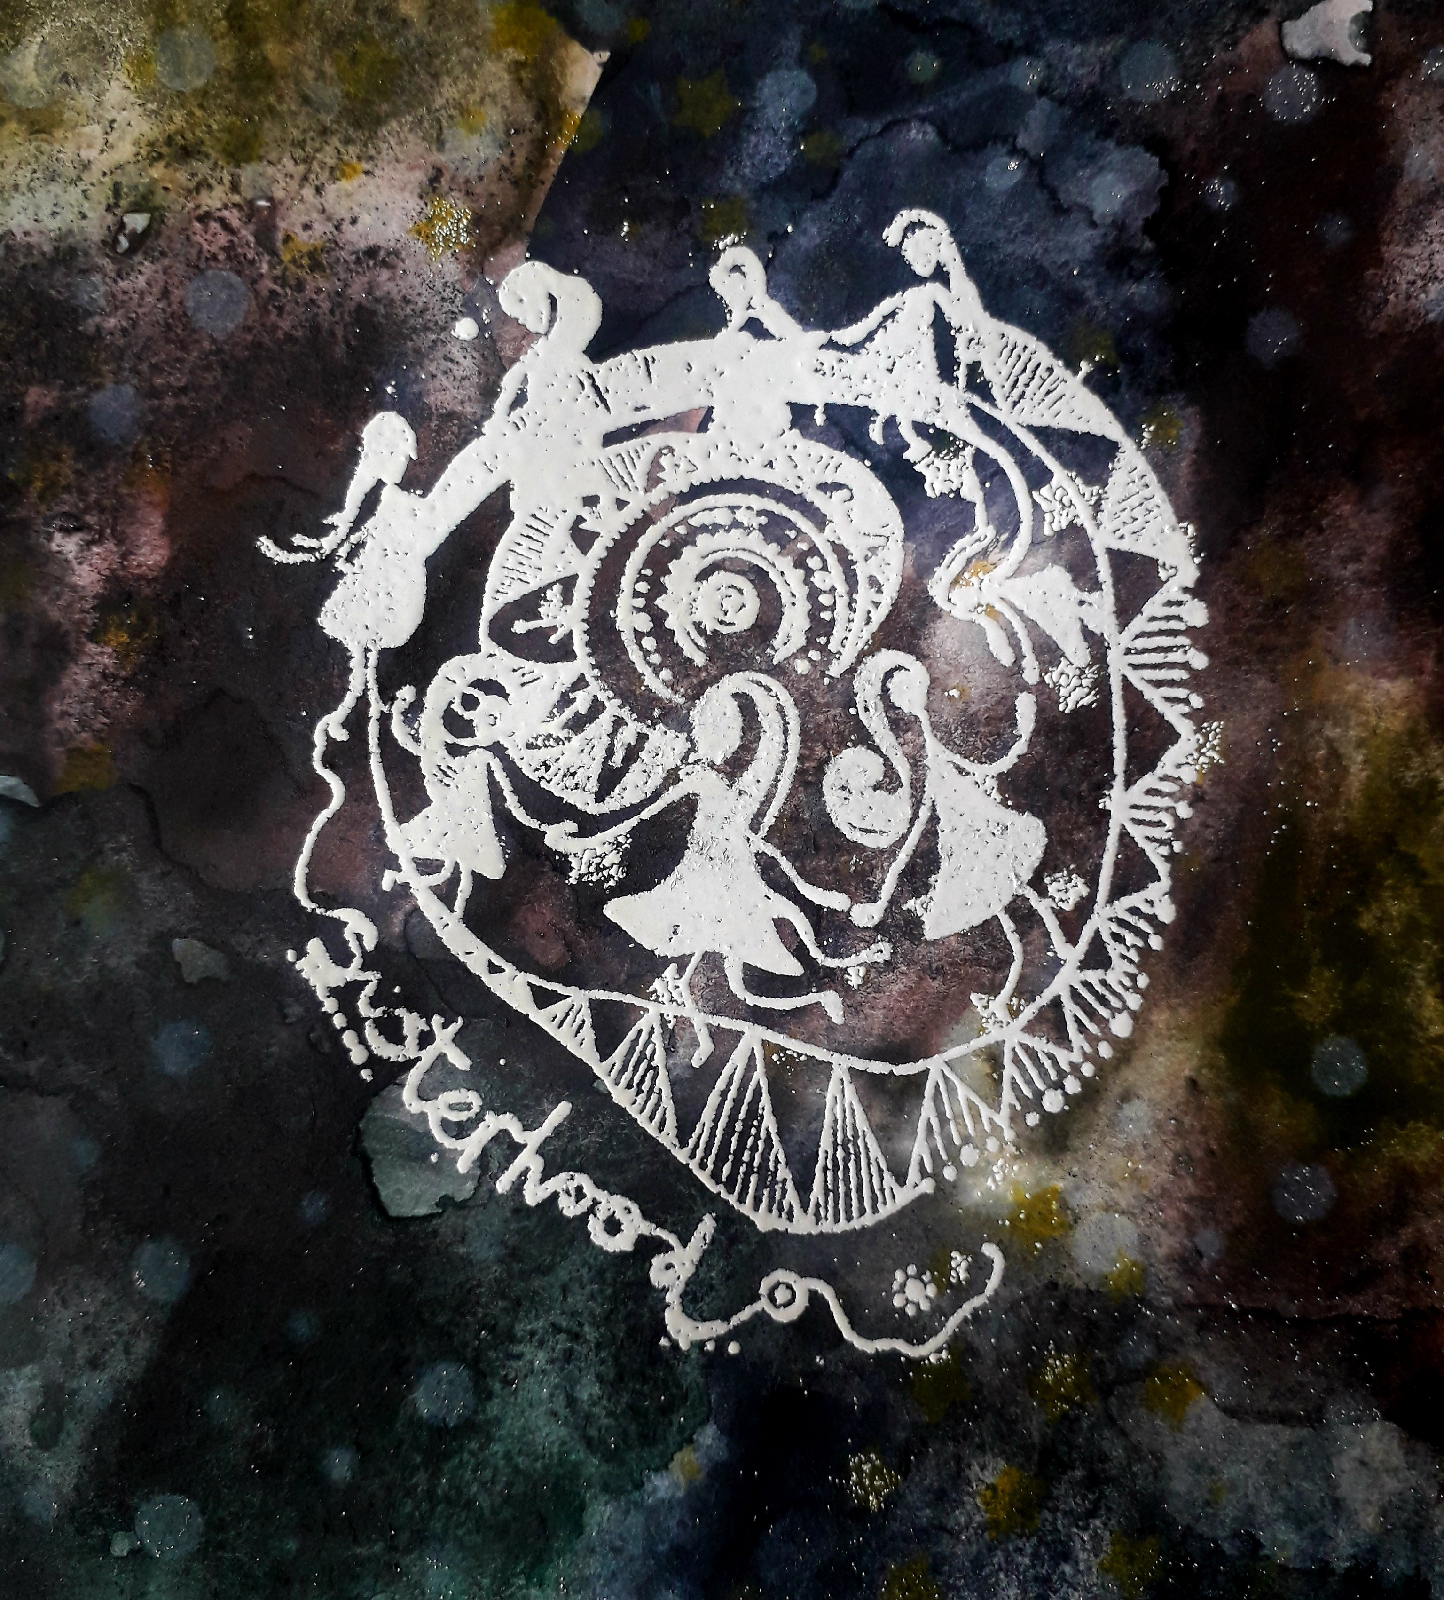
Hi everyone, today I'm sharing a step by step guide to creating this art journal page using Art Inspirations Ink and Earth Sisterhood stamp set. 
To begin I created a background using my Kuretake Gansai Tambi graphite watercolours. I began by liberally brushing the page with water, then I dabbed the paints onto the page and allowed them to spread. I also added some Windsor and Newton granulating medium to the page.

Next I stamped the central part of the sisterhood stamp using Wow! embossing ink and added white embossing powder. I then heat set this.

Next I added the other parts of the Sisterhood stamp set, heat embossing each one as I stamped.

Finally I added the sentiments from Claritystamps words stickers by Leonie Pujol. 
Products used:
Kuretake Gansai Tambi Graphite Colors
Windsor and Newton Granulating Medium
Wow! Embossing ink 

Thank you for taking a look.
Alison

Friday, 23 August 2024

Altered Playing Cards

Hi everyone, today I'm sharing how I created these four altered playing cards. I am taking part in a challenge in the Tracy Evans Facebook group.
the https://www.facebook.com/groups/463304381259891/?ref=share
This months prompt for K and L were 
K - Key
K - your own choice
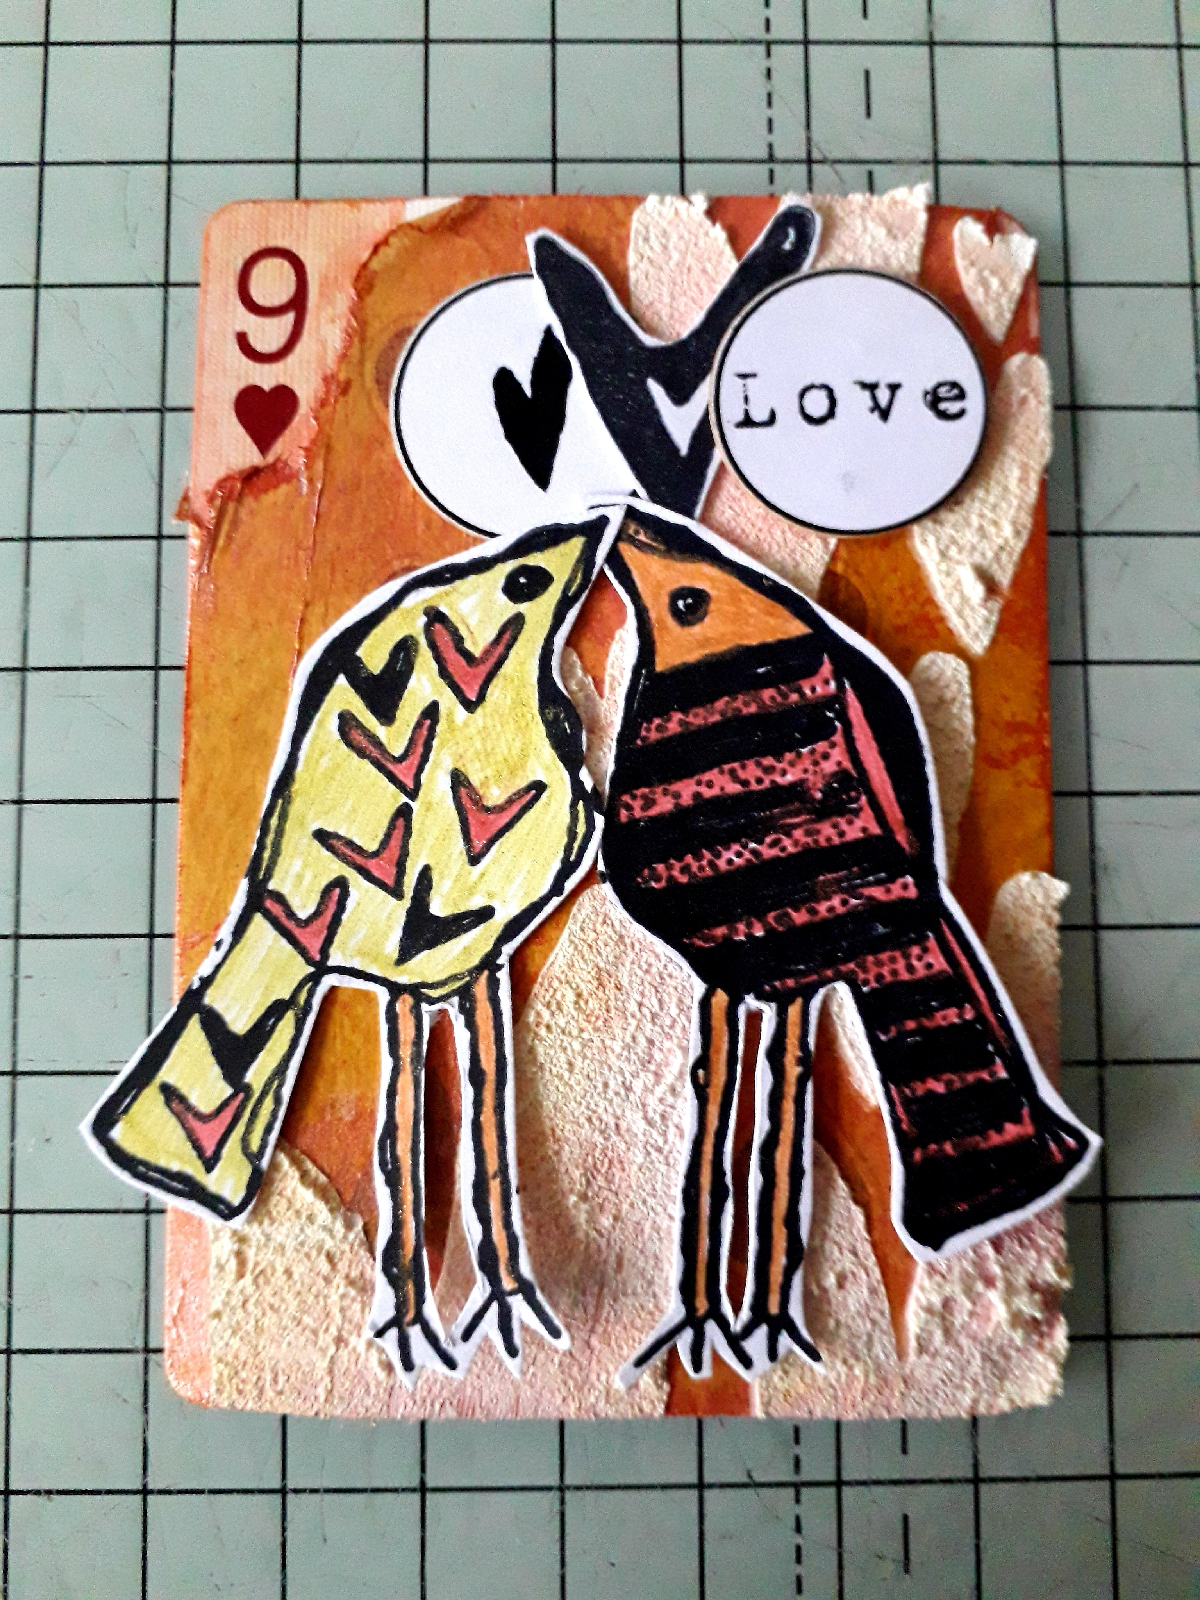
L - Love
L - your own choice
Below are my cards for these themes.

To begin I covered all four cards with some of the tissue paper that Tracy packs her parcels with.

I then added colour to each card using Craft Artist Fusion Pearl Fusion inks in indigo, hansa yellow deep, alizarin crimson and cade green.
KEY
For the key prompt I began by stamping the take flight stamp using twilight versafine clair ink.
Next I stamped the same stamp on seperate card using the same ink. I also stamped three of the berries from the holly and berries set using bali blue versafine clair. I cut out just the key with wings and the berries.

Next I carefully tied a piece of garden twine around the key and freyed the ends.
I glued the key and berries to the card using matte medium. 
To finish the card I added three of the circular ephemera from the Sensus pack.

KISS
On the next card I stamped the shadowed elements using versafine clair twilight.
On seperate card I stamped the mistletoe and using an alphabet stamp the word kiss using avacado versafine clair. I cut them out and glued them to the card.

LOVE
To begin I added grit texture paste through the elongated hearts stencil. 
Next I stamped the bird with hearts and the darker striped bird and one of the larger hearts using versafine clair nocturne. I then coloured them and cut them out.
I then glued them to the card and added two of the circular ephemera.
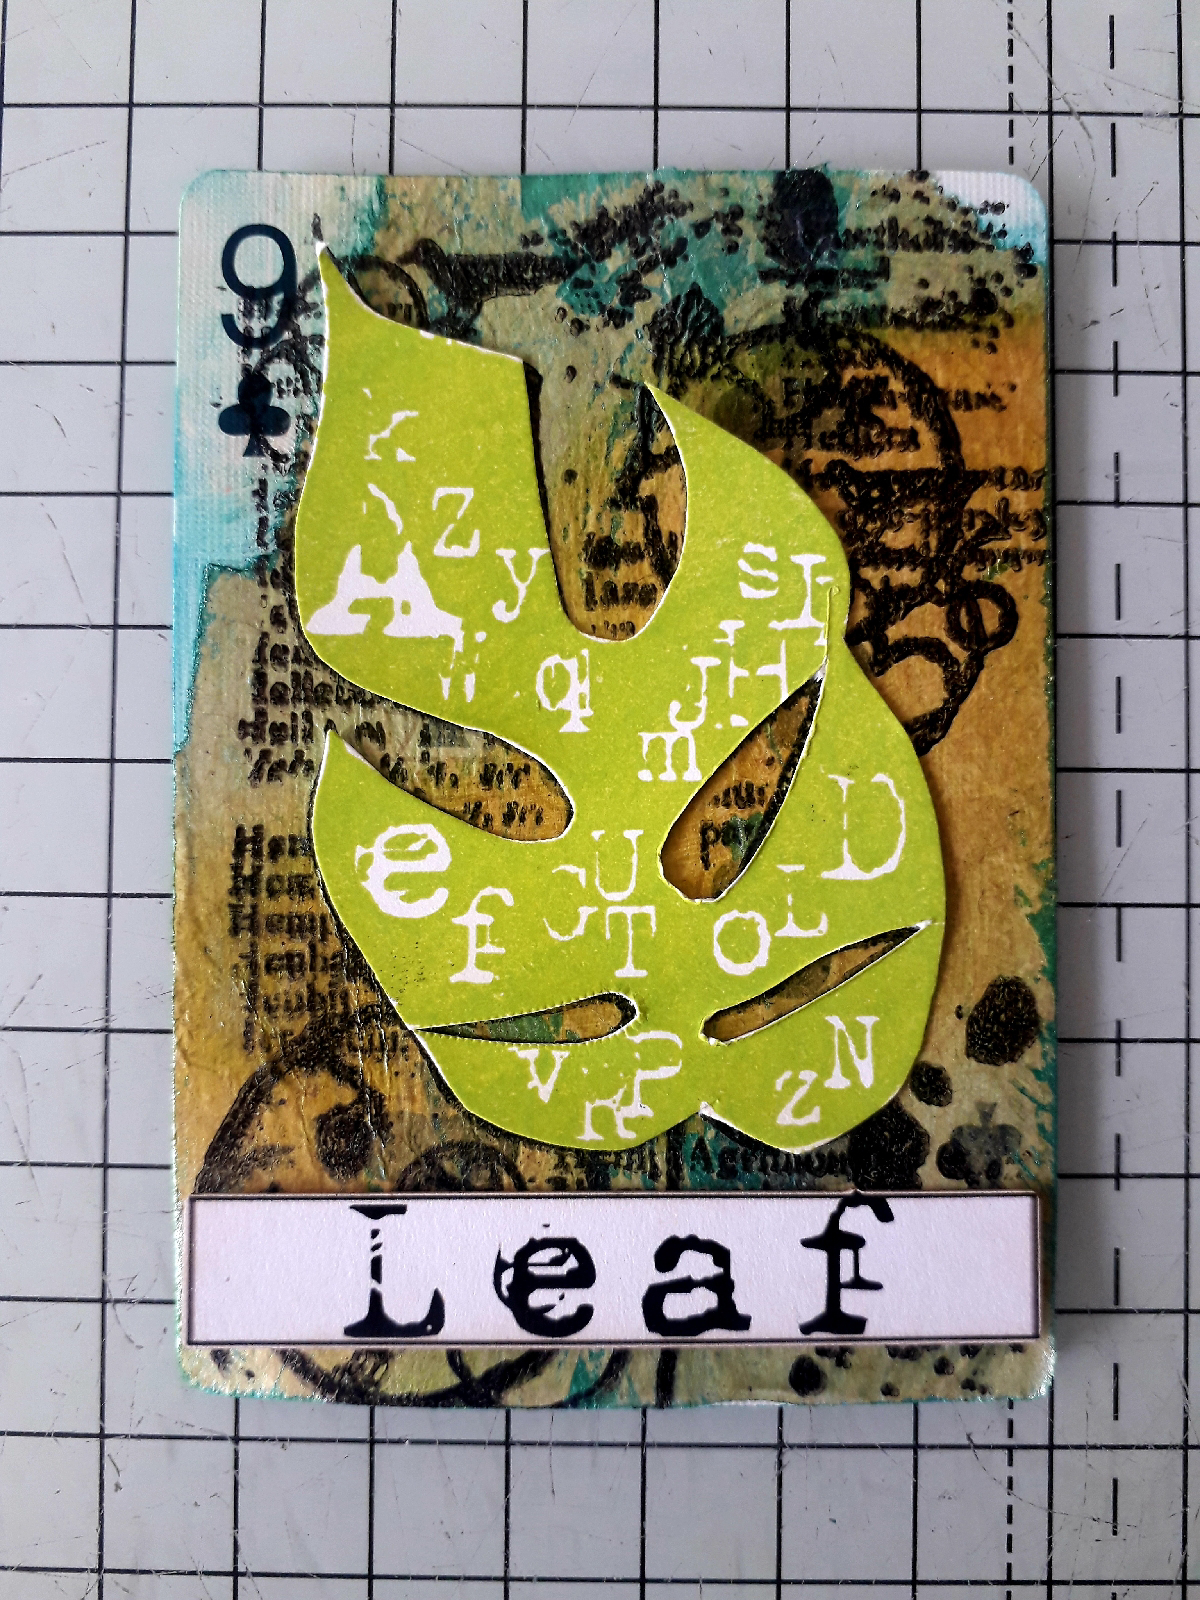
LEAF
I stamped the leafle stamp on to the card using versafine clair nocturne. I stamped the leaf part onto seperate card using versafine clair verdant.
I cut out the green leaf and glued it to the card. I also added the leaf word ephemera.
Products used:
Playing cards
Tissue paper
Ranger distress matte medium
Garden twine
Craft Artist Fusion - Pearl Fussion - indigo, hansa yellow deep, alizarin crimson, cade green
Leafle stamp set
Elongated hearts stencil
Sensus ephemera pack 

Thank you for taking a look. 
Alison 


Friday, 16 August 2024

Shady Designs - Remember That

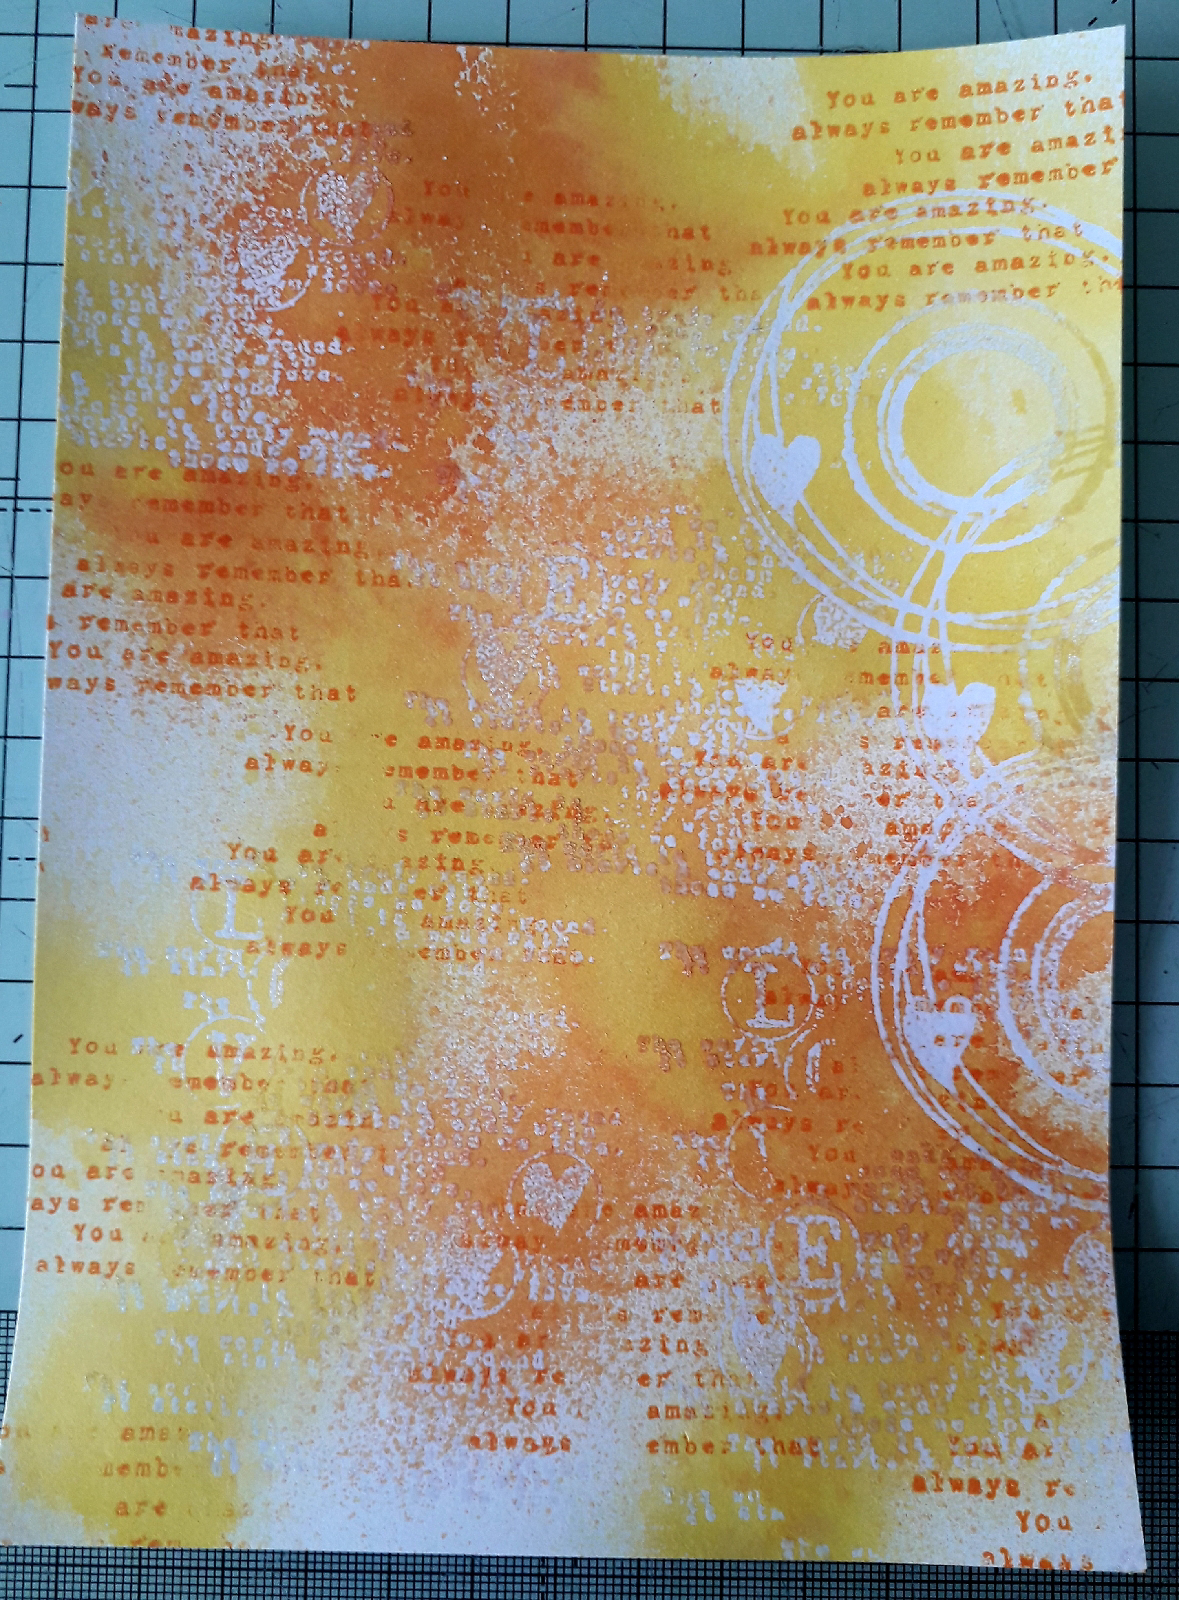
Hi everyone, today I'm sharing a step by step guide to creating this card using stamps from Shady Designs by Louise Sims.

To begin I stamped the circles with a heart, from the Textures 2 stamp set, three times down the right hand side of the card using Wow! embossing ink. I then stamped the Those We Love stamp, with the same ink, four times on the card. I added a clear embossing powder to the stamping and tipped off the excess. I then heat set this.

Next, after shaking vigorously, I sprayed the Pretty Gets Gritty pretty amazing sprays - bittersweet orange and iced sunshine - onto the background. Using a piece of kitchen roll I dabbed any spray on the embossing to remove it. I then left this to dry naturally, so that the embossing doesn't get over heated. 

Next I stamped the text stamp, from the remember that stamp set, using spiced marmalade distress oxide.

Then, using versafine clair nocturne, I stamped the diamond stamp from textures 2.
Next I added some of the circular flower from the remember that stamp set using spiced marmalade distress oxide.
On seperate card, I stamped the tree and vase from the remember that stamp set using versafine clair nocturne. I then coloured it with watercolour paints and colouring pencils. I then cut them out.

I glued the background to a card blank then added the tree and vase. I also added a sentiment from the Make a Start Card Kit. 
Products used:
Pretty Gets Gritty Pretty Amazing spray - bittersweet orange, iced sunshine 
Wow! embossing ink pad
Distress oxide - spiced marmalade 
Watercolour paint
Pencil crayons
Versafine Clair - nocturne 

Thank you for taking a look. 
Alison 

Friday, 9 August 2024

JMC - Laila Harris

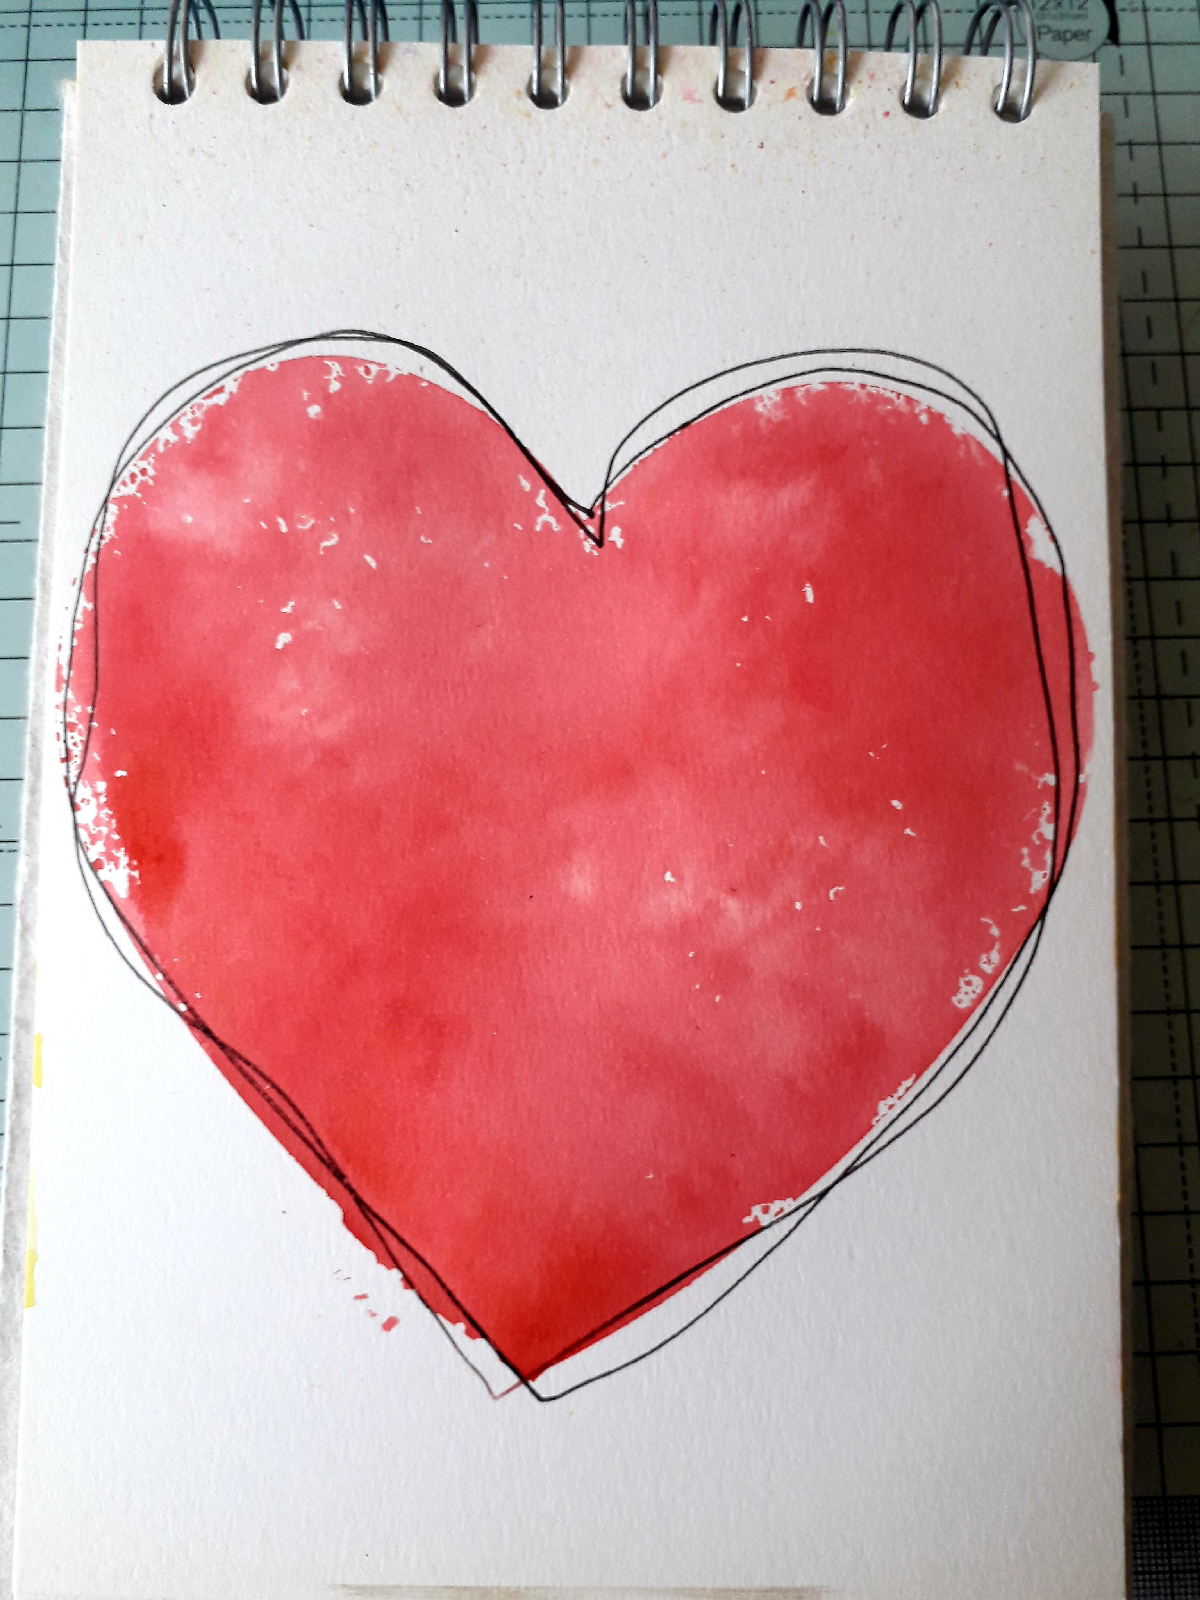
Hi everyone, today I'm sharing a step by step guide to creating this art journal page created using JMCs Laila Harris stamp set and the Heart Stencil from the Stencil Suite Collection. 
To begin I dabbed Lumberjack Plaid distress oxide onto the inner part of the heart stencil, then spritzed it lightly with water and placed it ink side down on the page.

Next I drew two rough black lines around the heart using a black posca pen.
Using a wet flat paintbrush, I added water to the areas around the heart, leaving a border around it. I then smooshed some lumberjack plaid and  mystard seed distress ink onto my glass mat. Using a wet paintbrush I added this ink to the wet areas of the page. I left this to dry naturally as this allows the ink to blend into each other. When dry I used a white posca pen to add splats.

Next I stamped the words Love & Hugs across the heart using versafine clair morning mist ink. 
On a piece of card I stamped the Laila Harris stamp and three of the hearts. I coloured the images with distress watercolour pencils and then cut them out then glued them to the page.
Finally I added a sentiment from the Clarity stickers by Barbara Grey.
Products used:
Distress Ink - lumberjack plaid, mustard seed 
Versafine Clair - nocturne, morning mist 
Distress watercolour pencils 

Thank you for taking a look.
Alison 

Friday, 2 August 2024

Mama Makes Rotate Mate and Square Attachment

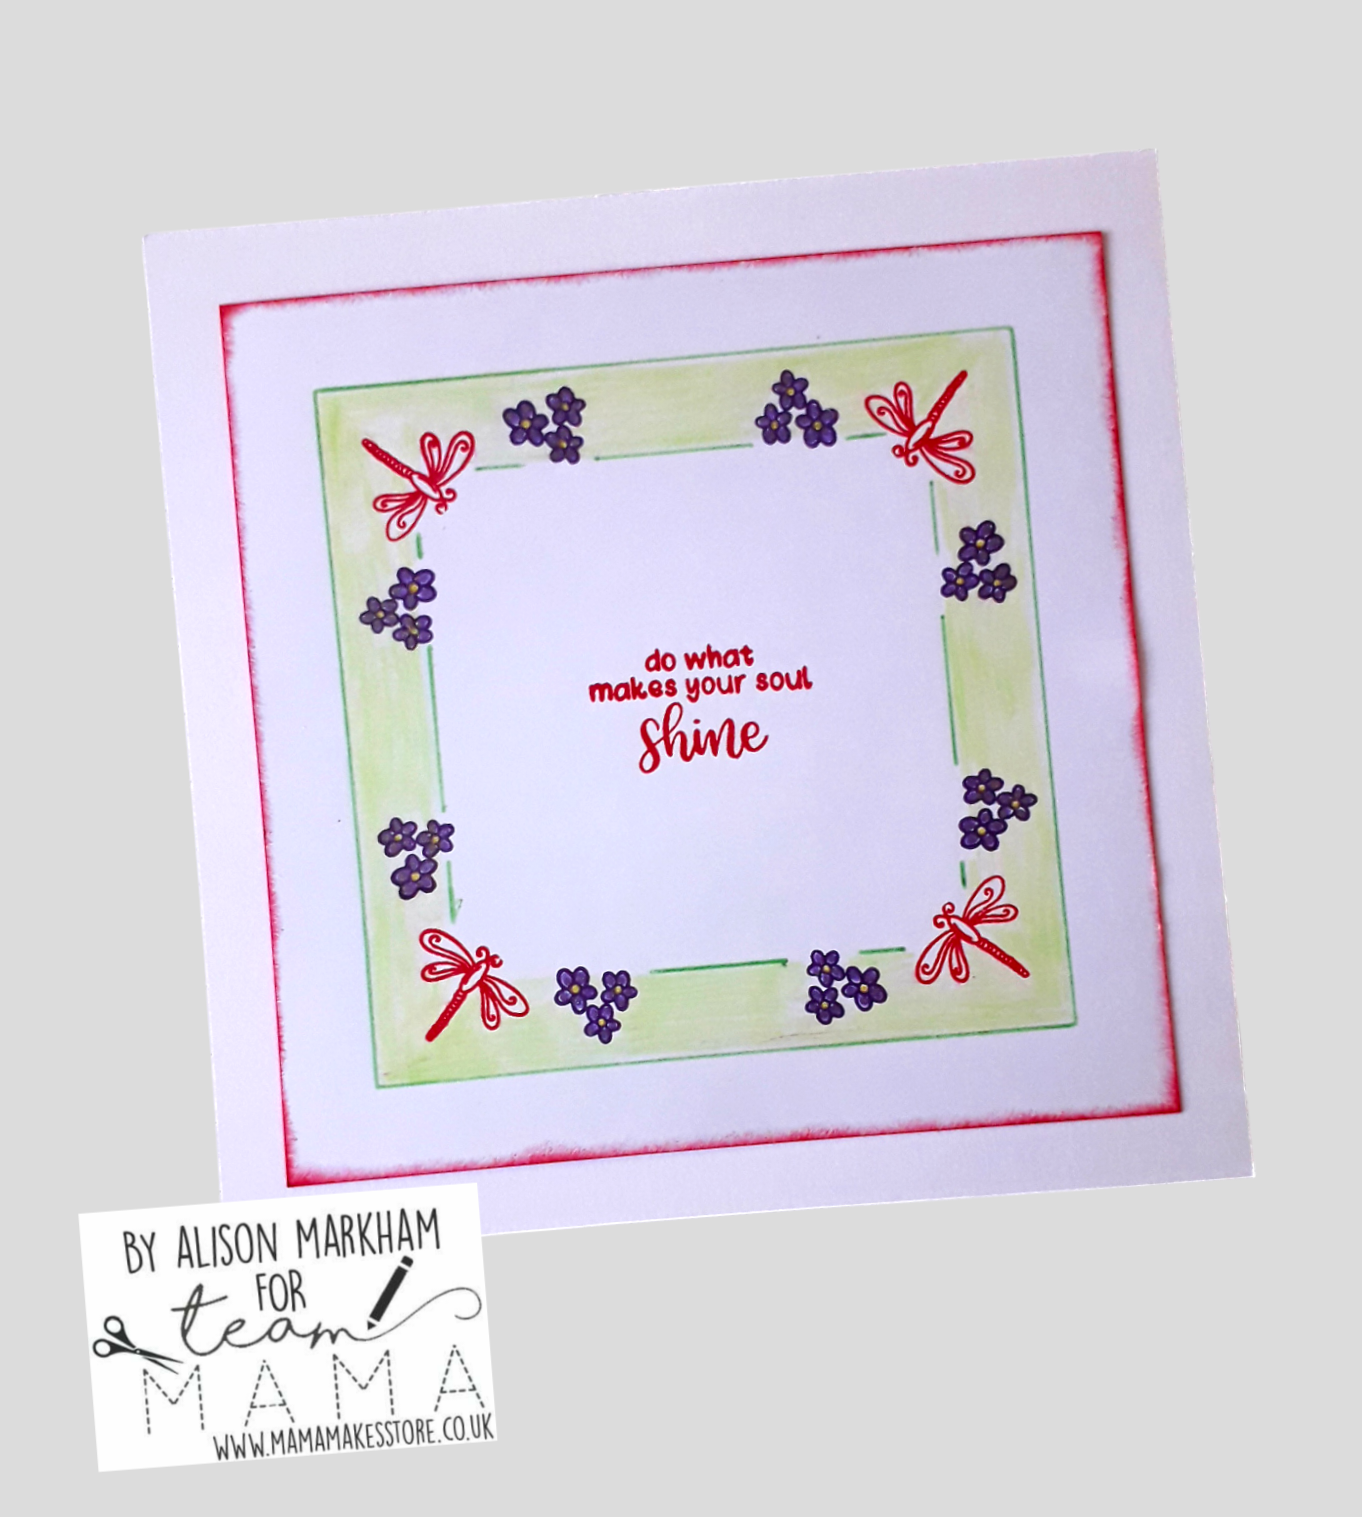
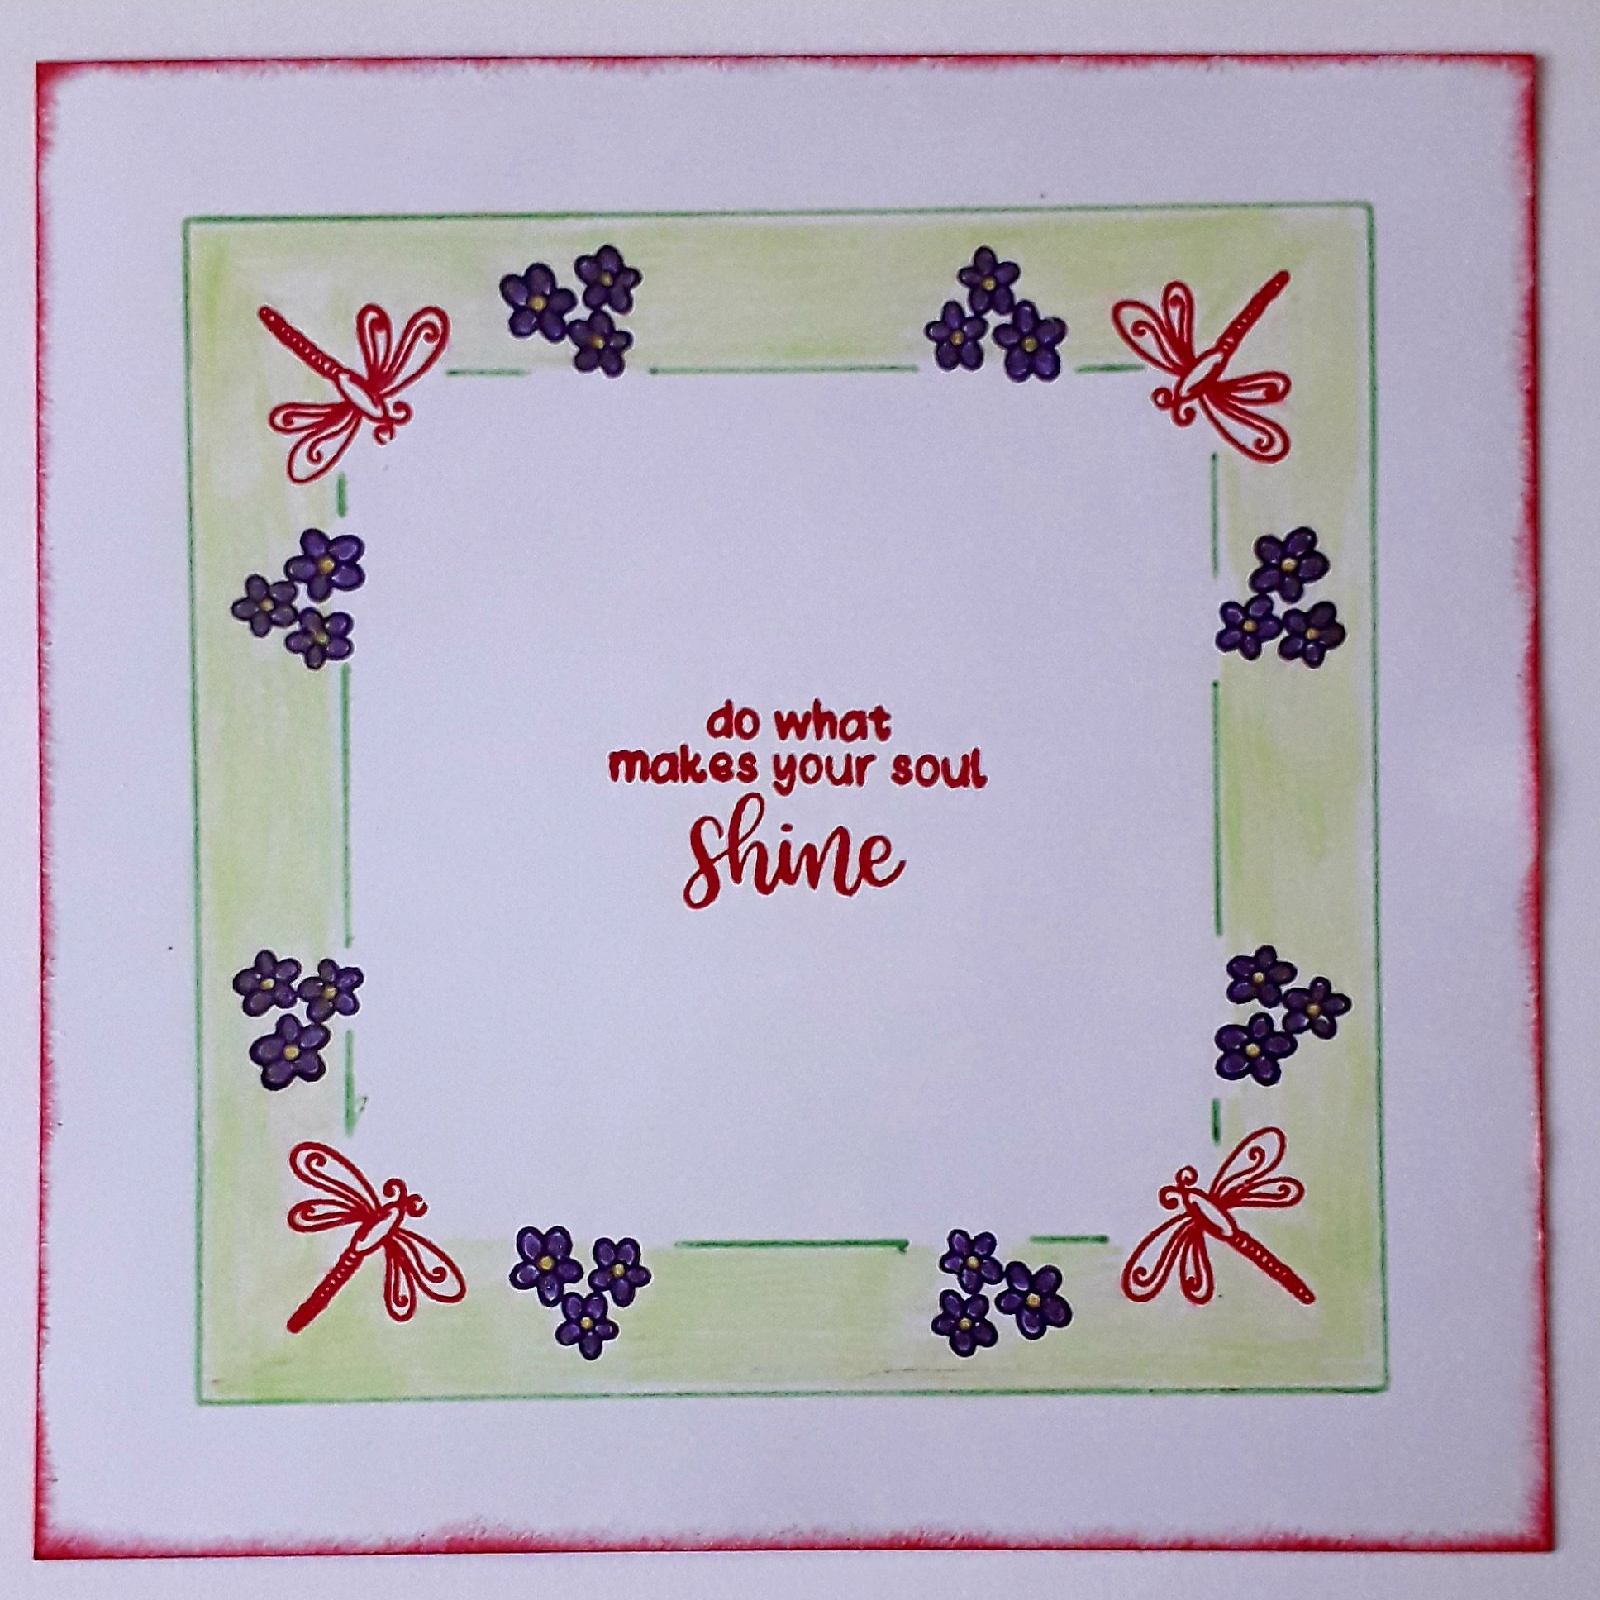
Hi everyone, today I'm sharing another card created using Mama Makes Rotate Mate and Square Attachment. 
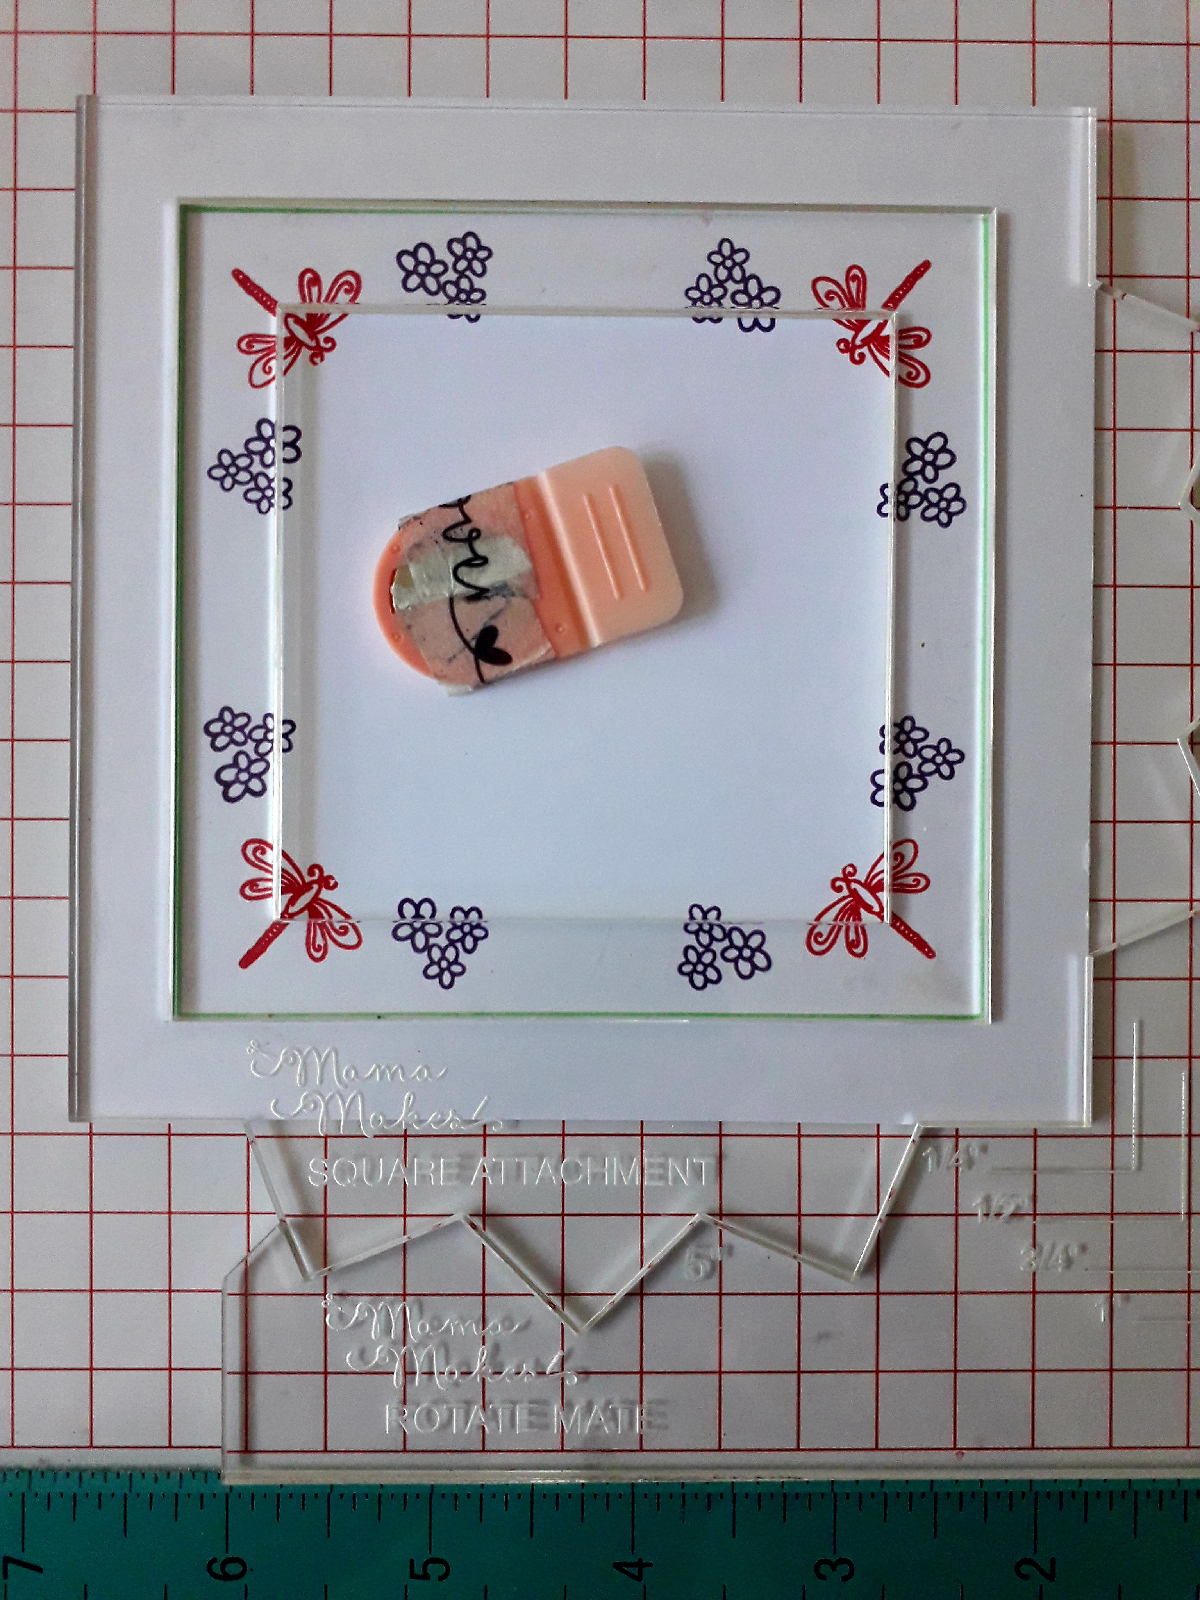
Begin by placing a piece of five inch square card, the rotate mate and the square attachment into a stamping platform.

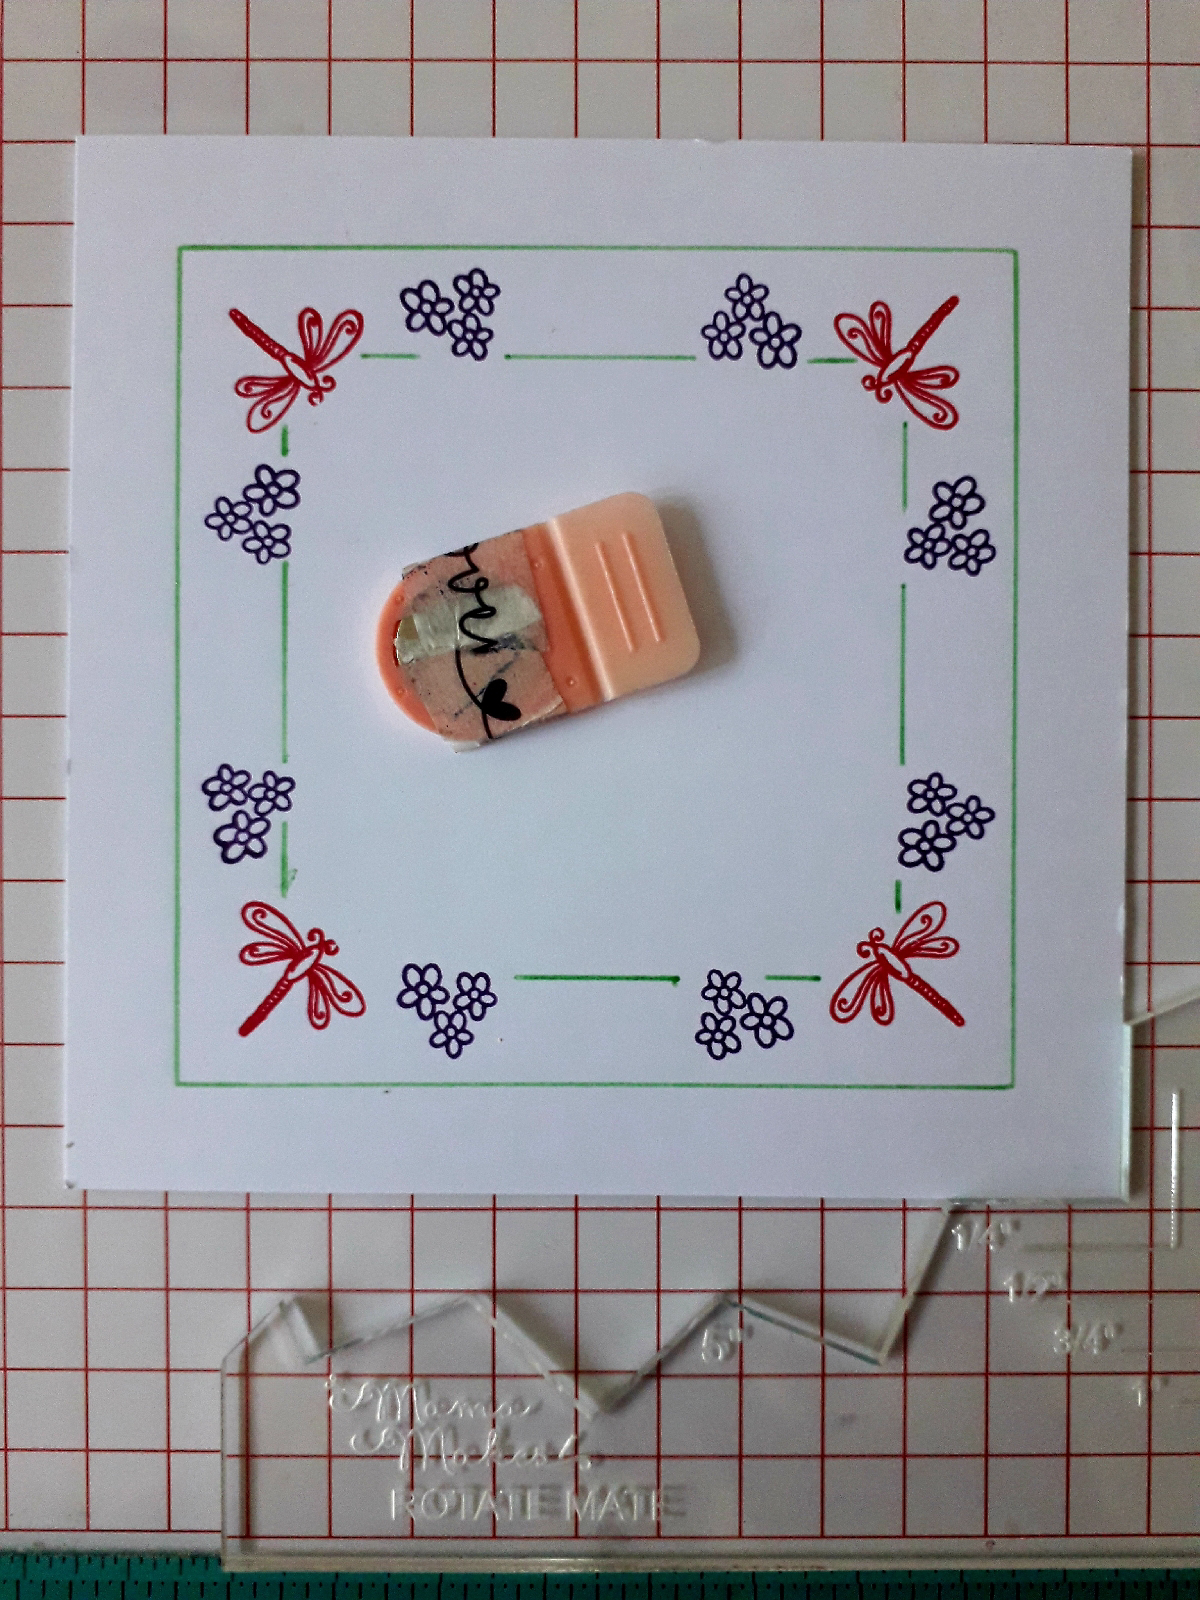
Place your chosen stamp, I used the dragonfly from the Hansie's Garden Bits stamp set, in the bottom left corner of the square. 

Pick up the stamp with the lid of the stamp platform and remove the square attachment. Ink the stamp (I used versafine clair strawberry), and stamp.
Turn the card 90°, reink the stamp and stamp.
Repeat the above twice more, so that you have a dragonfly in each corner.
Replace the square attachment, choose another stamp.  I chose the group of three small flowers. Place the stamp next to one if the dragonflies.

Repeat the above steps until you have four lots of the flowers stamped. I used versafine clair chianti. 

As I wanted the flowers both sides of the dragonfly, I cleaned it and repositioned it after replacing the square attachment.
After removing the square attachment, stamp the flowers following the above instructions.
Replace the square attachment and using a green pen, draw around the inside of the square.

Add the next sized square into the attachment.

Draw around this with the same pen, but leave gaps where the stamped images intrude into the space.

Add the next smaller sized square.


Remove the magnet and position the sentiment in the gap and stamp it.

To finish the card I coloured the flowers and the space between the two borders. Then blended a small border of red ink around the edge of the card before gluing it to a six inch square card blank.

Products used:
Stamping platform
5 inch square card
6 inch square card blank
Versafine Clair - Strawberry, Chianti 
Gelly roll pens
Pencil crayons

Thank you for taking a look. 
Alison 


Ephemera and Stamps Art Journal Page

Hi everyone, today I'm sharing a step by step guide to creating this art journal page using ephemera and stamps from Julia McNeill Craft...