Sunday, 7 May 2023

Beautiful Soul

Hi everyone,  it's been quite a while since I added anything to this page.
Today I'm sharing a page in my brand new A5 Pink Pig watercolour paper art journal.

To begin, I added peeled paint distress ink to the hit the note stencil, from Shady Designs and Dolly Dimples,
and spritzed it with water. I then pressed this ink side down onto the page. I pressed it down well and left it to dry with the stencil remaining there. When dry I removed the stencil.
Next I used the Bee Crafty script background stamp with Stazon olive green ink over the inky area. I used the stamp freehand rather than on a block. 

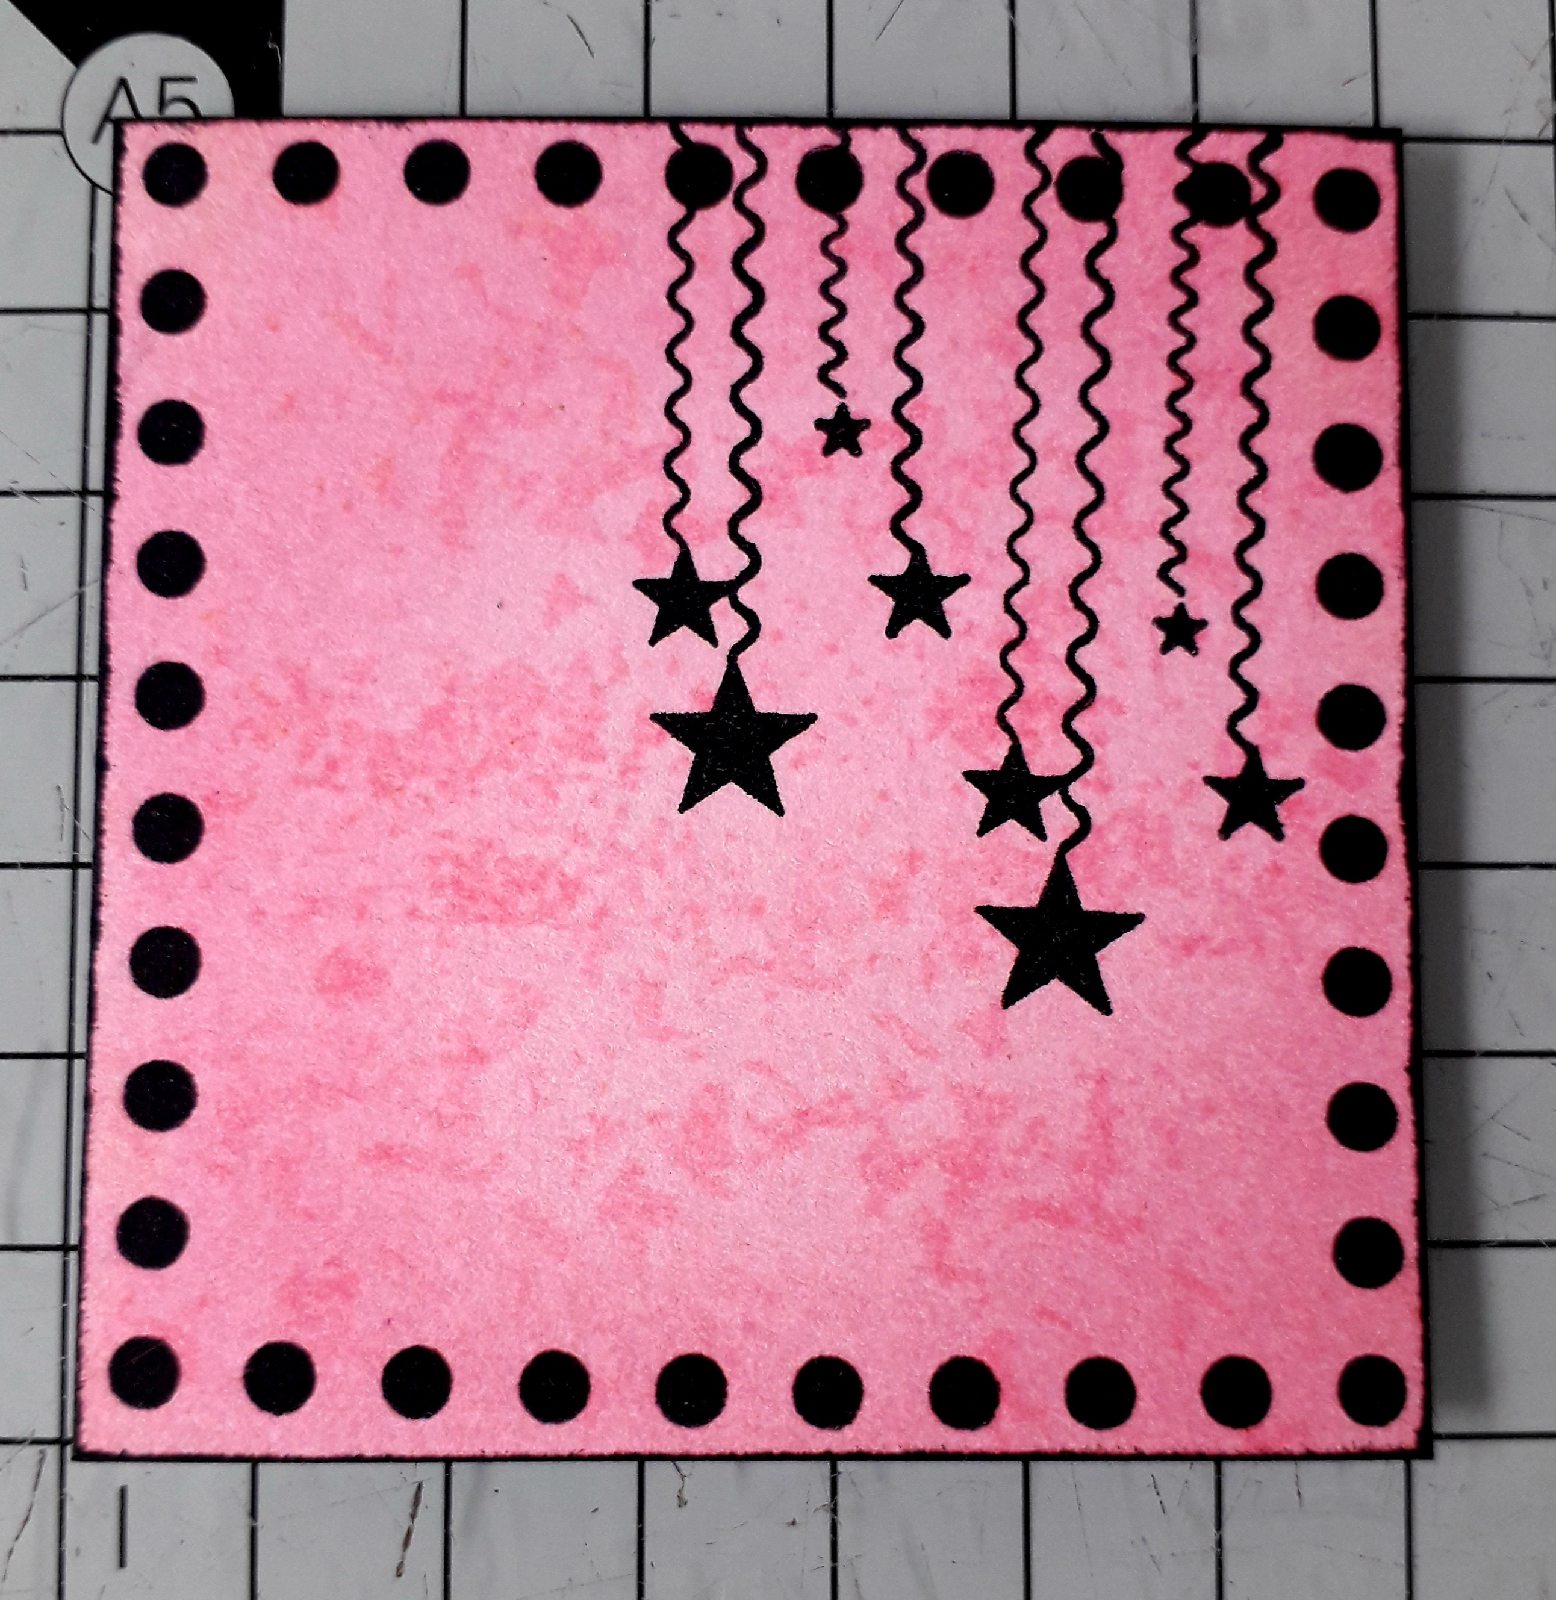
Then I stamped the square of dots, from Shady Designs frame it some more stamp set, using Versafine Clair nocturne ink onto a piece of card and cut it out.

I edged this with black ink by rubbing the nocturne ink pad along the edges.

Next I coloured the square using a blending brush and kitsch flamingo distress ink. I kept the centre lighter than the edges. I used the paint splats, from Shady Designs textures 1, with the same ink, to add some texture to the background.

To add more interest to this part, I stamped the dangling stars, from Shady Designs starlight flowers stamp set, using Versafine Clair nocturne, twice. 
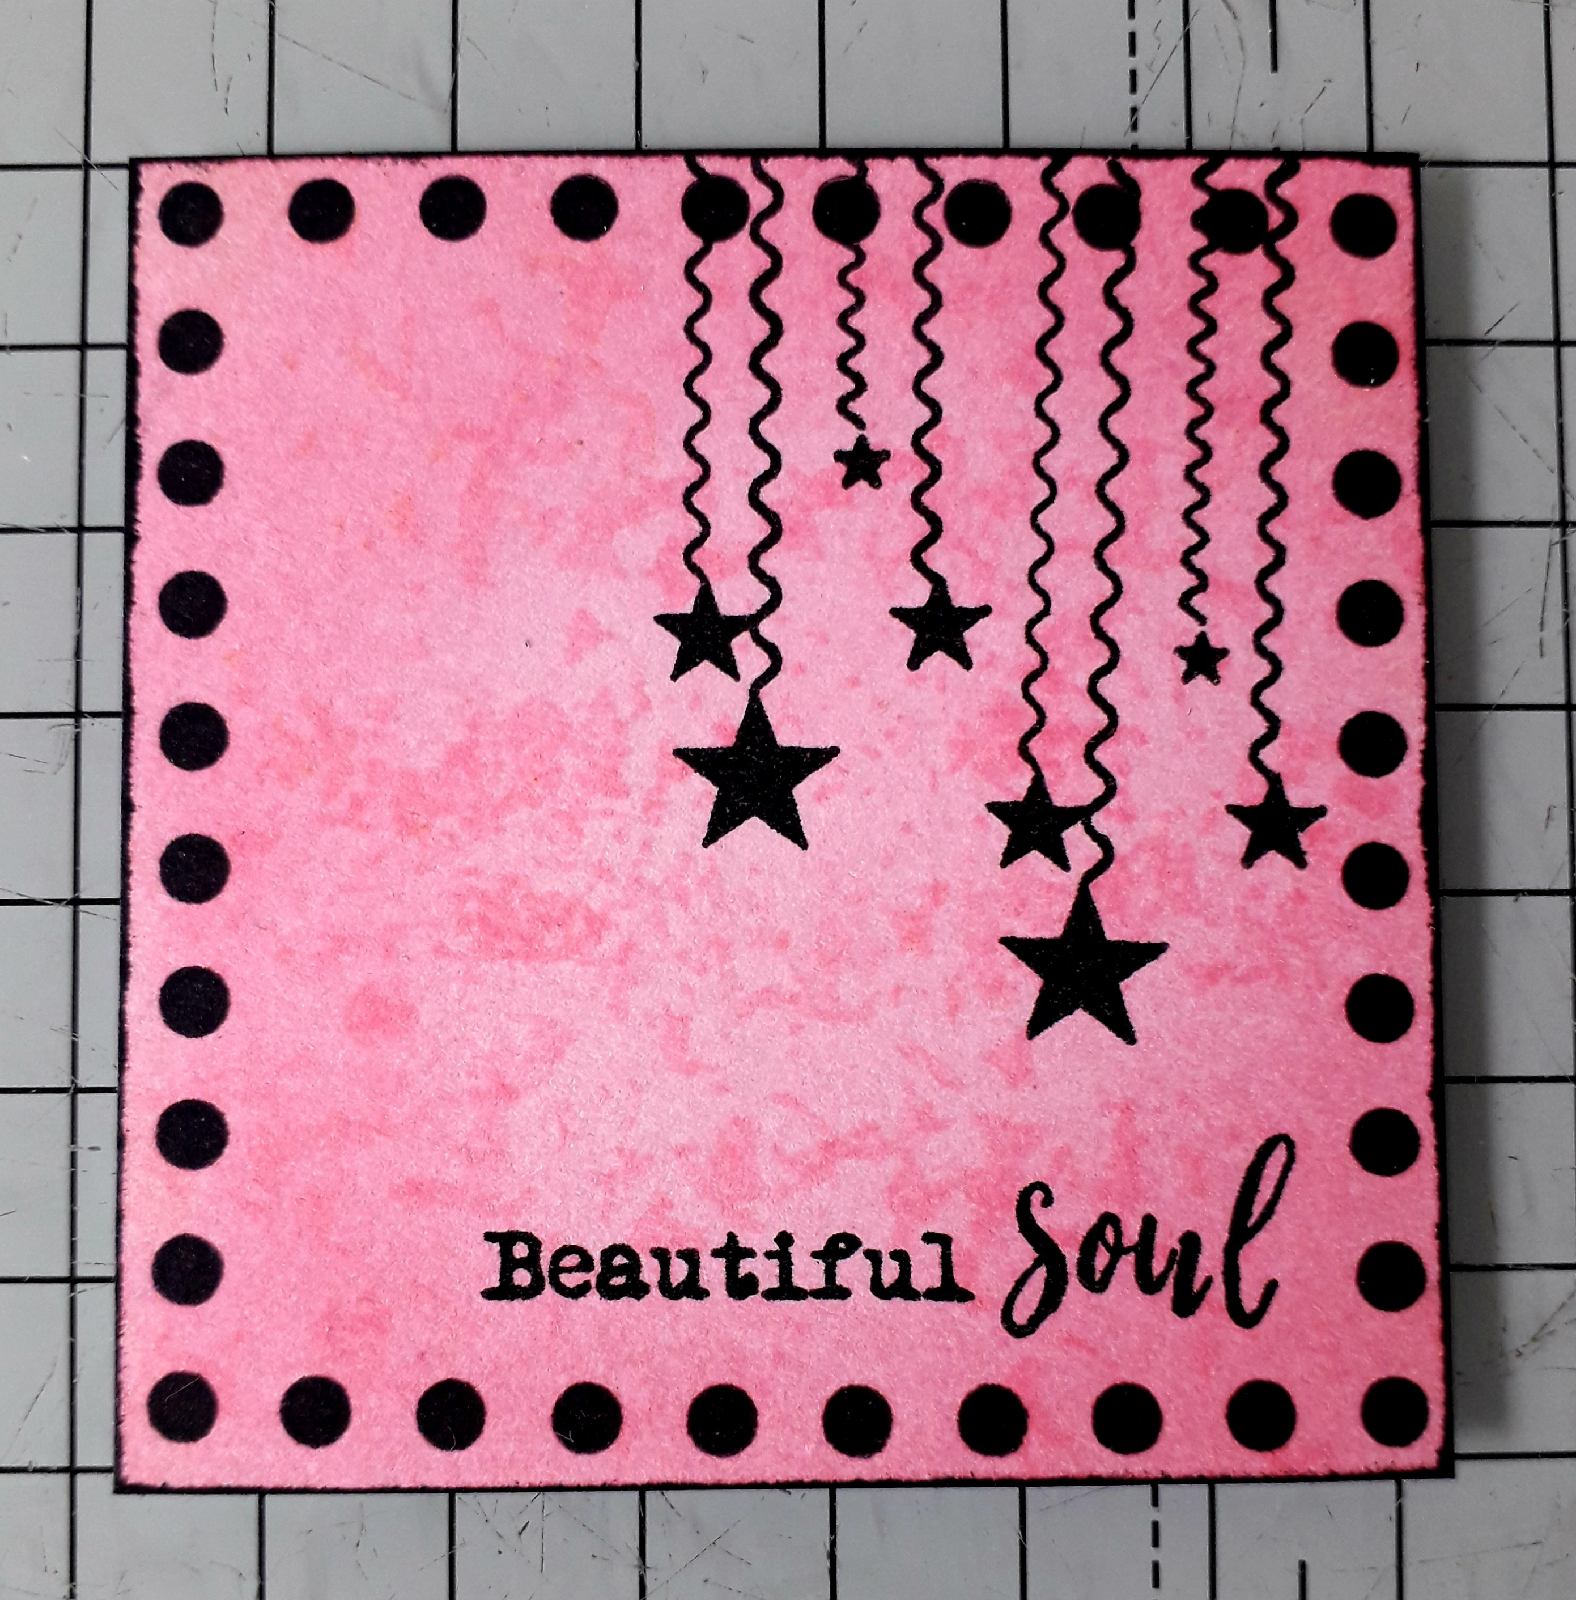
To finish this piece, I stamped the sentiment with black ink.

On seperate card I stamped the large flower cluster and the double oak leaf, from the starlight flowers stamp set, using Versafine Clair nocturne. I then coloured it with distress watercolour pencils kitsch flamingo, picked raspberry and twisted citron. I added highlights in the form of lines and dots to the flowers using a gelly roll glitter pen. I then cut these out.

Finally I glued everything to the page using distress collage medium.

Products used:
Shady Designs/Dolly Dimples 

Stamps - Frame it Some More, Textures 1, Starlight Flowers 
Stencil - Hit the Note

Bee Crafty
Stamp - Script Background
Distress Ink - Peeled Paint,  Kitsch Flamingo 
Versafine Clair - Nocturne 

Distress Watercolour Pencils- Set 2
Stazon - Olive Green 

Thank you for taking a look.
Alison

Sunday, 27 November 2022

Dolly Dimples - Shady Designs journal page

Hi everyone, it's been a while since I have blogged, so I thought it was time to do one. So today I'm sharing how I created this page.

To begin, I glued a piece of music manuscript to my page, then I blended freyed burlap and antique linen distress oxide over it.

Next I blended candied apple distress oxide through the hit the note stencil. 

Then I blended lumberjack plaid through the Moroccan trellis stencil, varying the pressure on the blending tool to create different shades. I then blended gathered twigs distress oxide through the grid part of the framedstencil. I linked this together to create a line across the page.

Next I used versafine clair pinecone to stamp the largest stamp from the Gathered Together stamp set. I then extended the image by adding the small circle with lines to the right of the main image twice.

Then I roughly coloured in the image using distress crayons and blended them with my finger.

Next I stamped the large leaf and berry stamp, from the Oval Frame-it 2 set, in the bottom right corner. I coloured this with distress crayons, again blending with my finger.

Then I I used versafine clair pinecone to stamp the scribble stamp from the same stamp set several times on the page.

Next I added three pieces of the red circles with a white heart washi from the Creative stickers pack.

Finally I added a sentiment by blending lumberjack plaid distress ixide onto a piece of white card and adding a washi sentiment from the sticker pack. I cut this to the shape of the sticker and glued to my project.

Products used:
Music manuscript (from my stash)
Stamps - Shady Designs - Gathered together and Oval Frame-it 2
Stencils - Shady Designs - Hit the Note 048, Moroccan Trellis 040, Framed 038
Versafine Clair - Pinecone
Distress Oxides- Freyed Burlap, Antique Linen, Candied Apple, Lumberjack Plaid,  Gathered Twigs
Distress Crayons - Bubbling Cauldron,  Holly Branch, Crooked Broomstick, Peppermint Stick and Squeezed Lemonade

Wednesday, 24 August 2022

Misfit

Hello everyone, I'm sure at some point in our life we have all felt like a misfit. Today I'm sharing a journal page created using the Misfit stamp set from Clever Prints Ltd.

Begin by stamping the misfit image using versamatk ink, then add black embossing powder and heat set.
Next spritz Dylusions cherry pie ink spray onto the page, keeping it as close to the image as you can. Spritz with water and dry with a heat gun.
Using the patterned circle stencil and uncharted mariner distress ink, add three circles around the face being careful not to apply any ink to the face.
Using the worker stamps with uncharted mariner distress ink and versafine clair charming pink ink add detail to the background.
Add the words using versafine clair charming pink.

Finally colour the eye and lips. I used gelli roll glaze pens for the iris and lips and a white posca pen for the white of the eye and highlights. 

Products used:

Stamps -  Misfit
Dylusions ink spray - cherry pie
Distress ink - uncharted mariner
Versafine Clair - charming pink


Thank you so much for taking time to find out how I created this page.

Alison

Friday, 19 August 2022

Shady Designs Layered Card

Hello everyone, today I'm sharing a step by step guide to creating a layered card using stamps, stencils and dies from Shady Designs.

Cut a piece of white card to 18cm square. Using the grid part of the framed stencil, with kitsch flamingo distress oxide, create a tiled pattern  in the left top and bottom right corners of the piece of card.

Use the Moroccan Trellis stencil, with shabby shutters distress ink to add another layer to the card.

Add another layer using the squares design from the this and that stencil with rustic wilderness distress oxide.

Stamp the main image from the pattern parade stamp set in opposite corners using rustic wilderness distress oxide.

Die cut the Moroccan trellis, the happy birthday ticker tape, 3 arrows and 2 of the spiky flowers from the die sets. Colour the spiky flowers by blending the kitsch flamingo ink over them. Blend shabby shutters over the tiles and the ticker tape banner. Edge  parts of the outside of both of these with rustic wilderness. 
Glue the happy birthday ticker tape to a piece of white card and cut right to the edges.
Glue the die cuts to the background. Use foam pads to raise the sentiment away from the background. Blend a little rustic wilderness around the edges of the piece.

Use worker stamps from the sur-round and encircled stamp sets, with Versafine Clair nocturne ink to add a further layer to the background.

Mount the finished piece on to a 20 cm square card blank.
Products used:

Distress oxides - kitsch flamingo, rustic wilderness, shabby shutters
Versafine Clair- nocturne
Dies - Ticker tape,
On the edge dies set #9
Stencils - framed, Moroccan trellis, this and that
Stamps - Encircled, pattern parade, sur-round 

Thank you for taking a look at my blog post.
Alison

Tuesday, 9 August 2022

Clever Prints - Retro Flower Art Journal Page

Hi everyone, today I'm sharing how i created this art journal page using Clever Prints Retro Fliwer stamp set, with die cuts from the Patrerned Flowers Borders set.

Die cut two of the circular border, one of the lines border and four each of the two small shapes from white card. Glue them to the a blank page.
Using the tube from inside the spray bottle of distress resist, scribble on areas of the oage. Leave this to dry completely. 
Stamp the flower once and one leaf shape three times, the other leaf shape stamp twice and stamp the circles twice using Versafine Clair Chianti ink. Colour all the images using a media of your choice. I used Karin Brushmarkers in neon colours, but softened them by scribbling the knk onto an acrylic block and picking it up with a damp paintbrush. Stamp your chosen sentiment in the same ink. Cut everythkngbout.
Blend kitch flamingo and seedless preserve distress ink and twisted citron distress oxide over the page. Use a piece of kitchen roll to wipe excess ink off of the resist scribbles.

Add more interest to the background using worker stamps from the stamp set using the chianti ink.
Glue all the stamped elements to the page.
Products used:
White card
Distress Oxide - Twisted Citron
Distress Ink - Kitch Flamingo, Seedless Preserve
Versafine Clair - Chianti
Acrylic block 
Paintbrush
Karin Brushmarkers -Neon colours

I hope you have enjoyed finding out how I created this page. 
Alison

Monday, 1 August 2022

Clever Prints Zig Zag Flower Journal Page

Hi everyone,  today I'm sharing an art journal page created using Clever Prints latest release.
Begin by die cutting three of the long line border die in white card. Cut one approximately in half. Glue them to a blank page. When the glue is dry, colour the page using the three distress inks and blending brushes.

Add detail to the background using the Patterned Border and Circles stencil, with Uncharted Mariner and Salvaged Patina distress ink. Put aside to dry.

Meanwhile, stamp two of the zig zag flowers Using Versafine Clair Nocturne ink. Colour the flowers with Karin Brushmarkers, then fussy cut them out. Cut one in half.

Stamp your chosen sentiment with Versafine Clair Nocturne and cut out.
Add more interest to the background using worker stamps from the Zig Zag Flower stamp set with Versafine Clair Nocturne.
Glue the flowers and sentiment to the page.
Products used:
Distress Inks - Salvaged Patina, Uncharted Mariner,  Speckled Egg
Versafine Clair - Nocturne
White card
Karin Brushmarkers Pro - Cool Grey 3, Sky Blue, Cool Aqua, Arctic Blue  Cyan  Turquoise 

Here are a few more of my samples using the Patterned Flower release:

Thank you for taking a look and I hope I've inspired you with my journal page.
Alison

Seth Apter stamps and dies

Hi everyone,  today I'm sharing an art journal page created using products that I got from Art Inspirations. They have a wide range of S...