Friday, 2 August 2024

Mama Makes Rotate Mate and Square Attachment

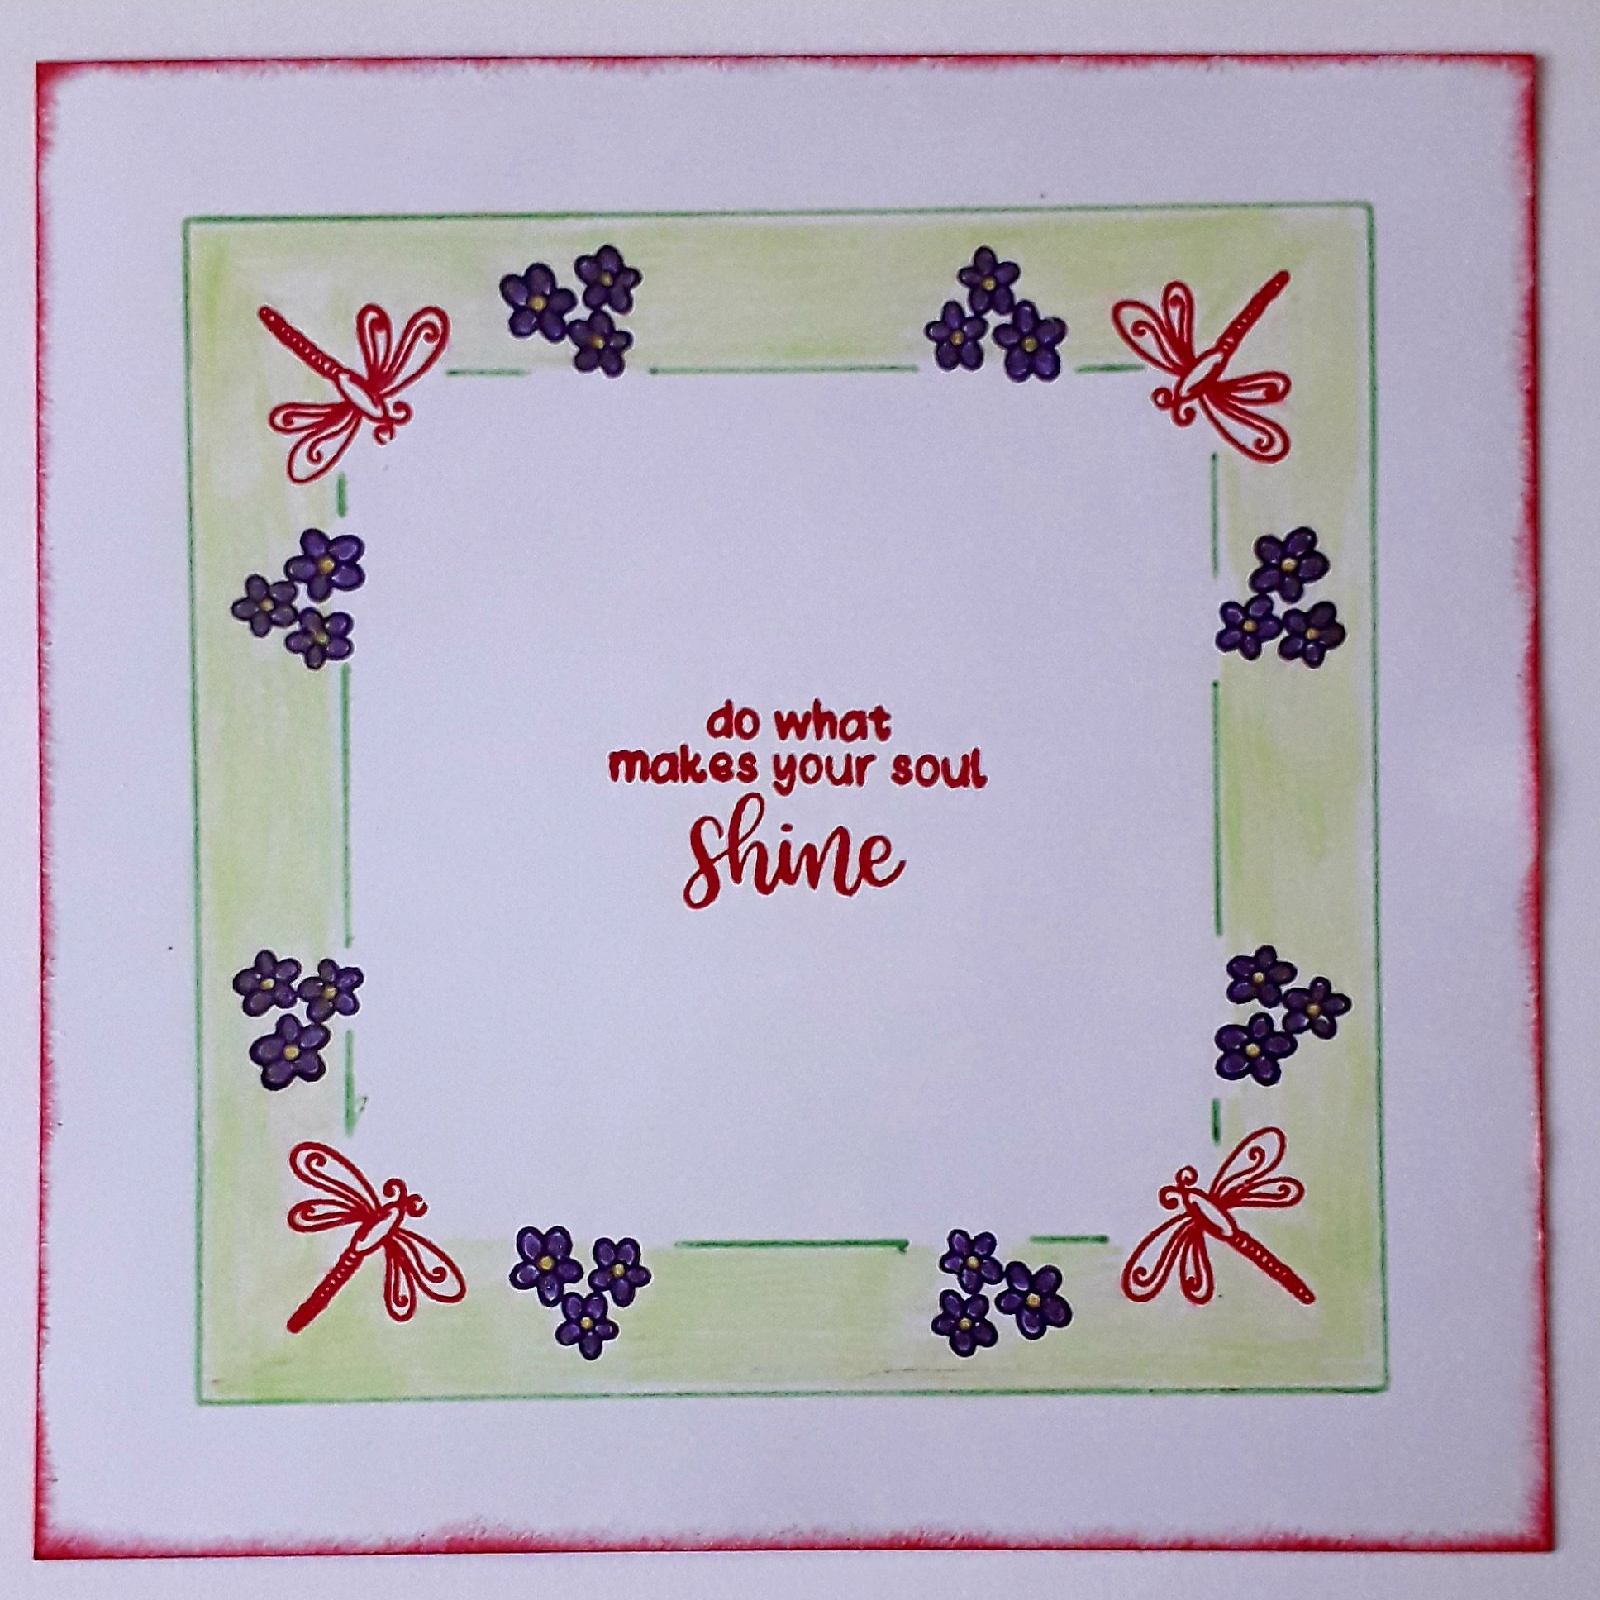
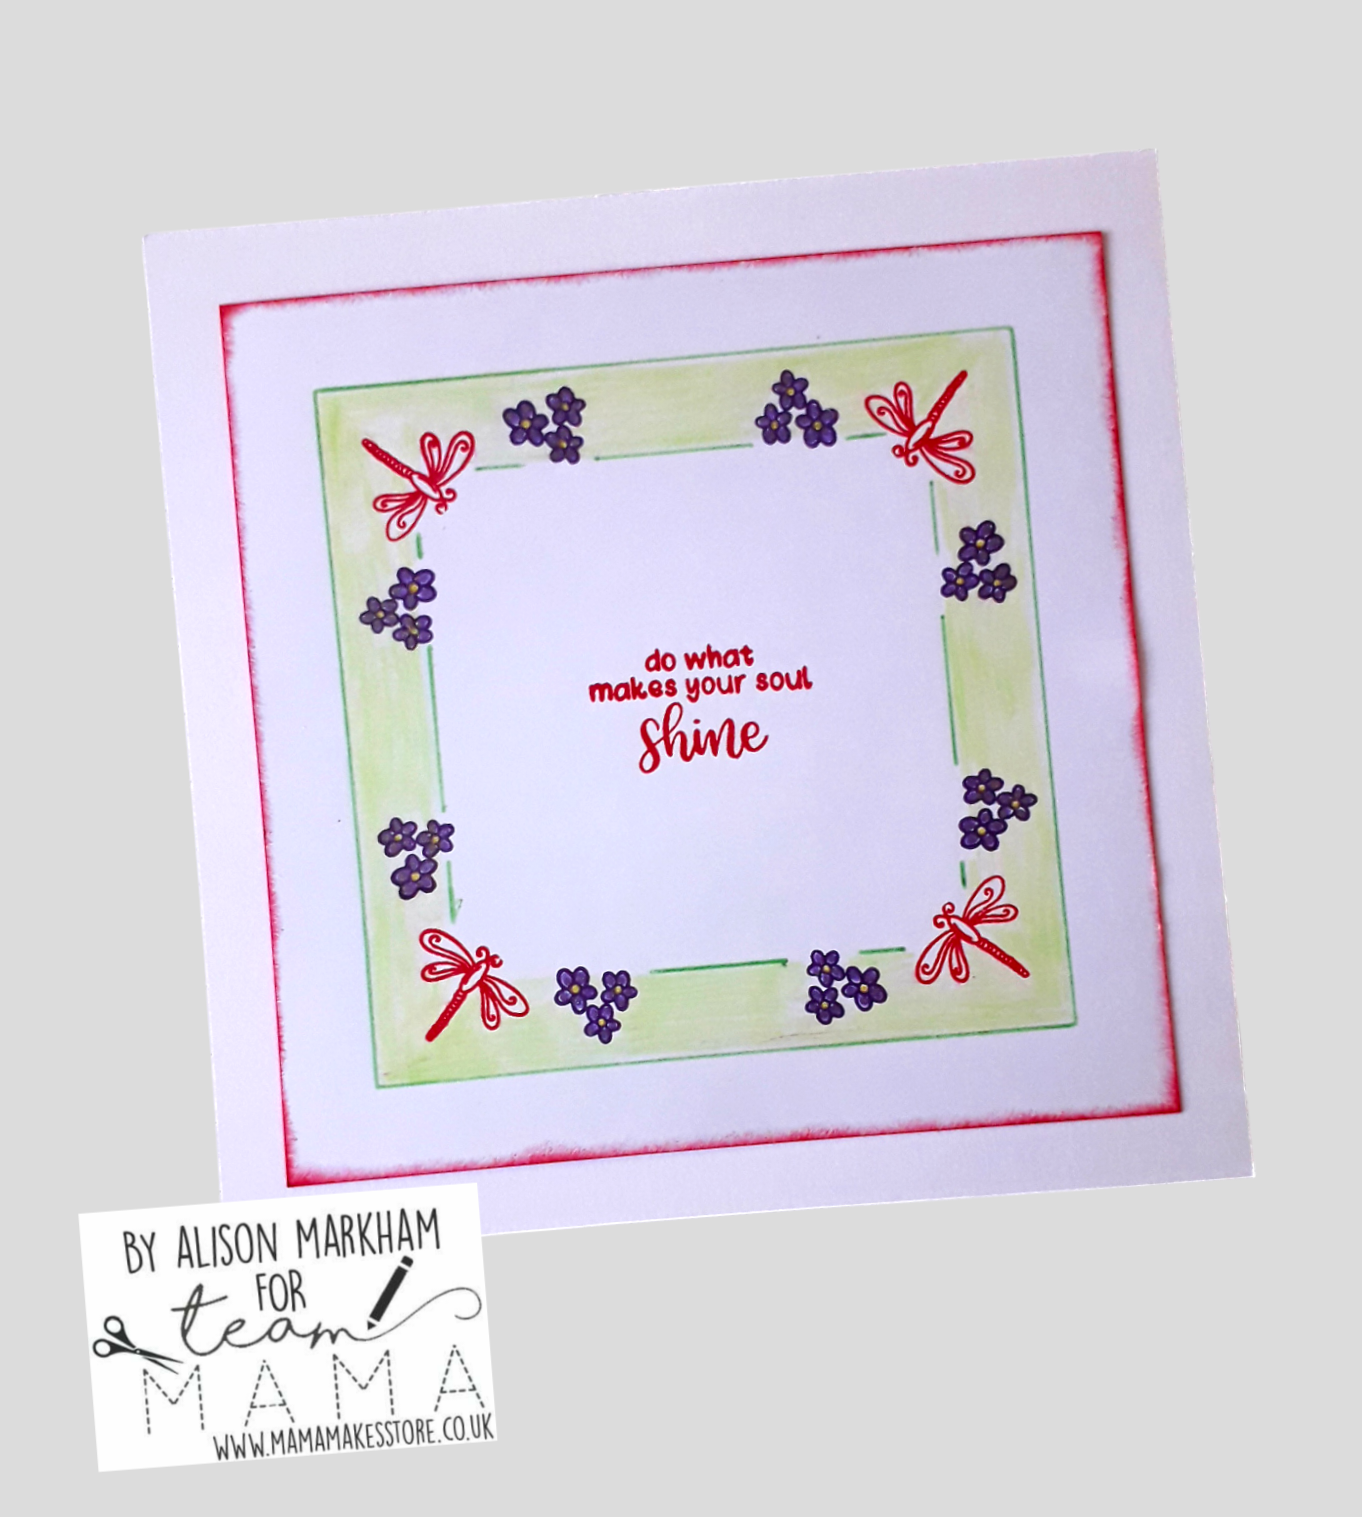
Hi everyone, today I'm sharing another card created using Mama Makes Rotate Mate and Square Attachment. 
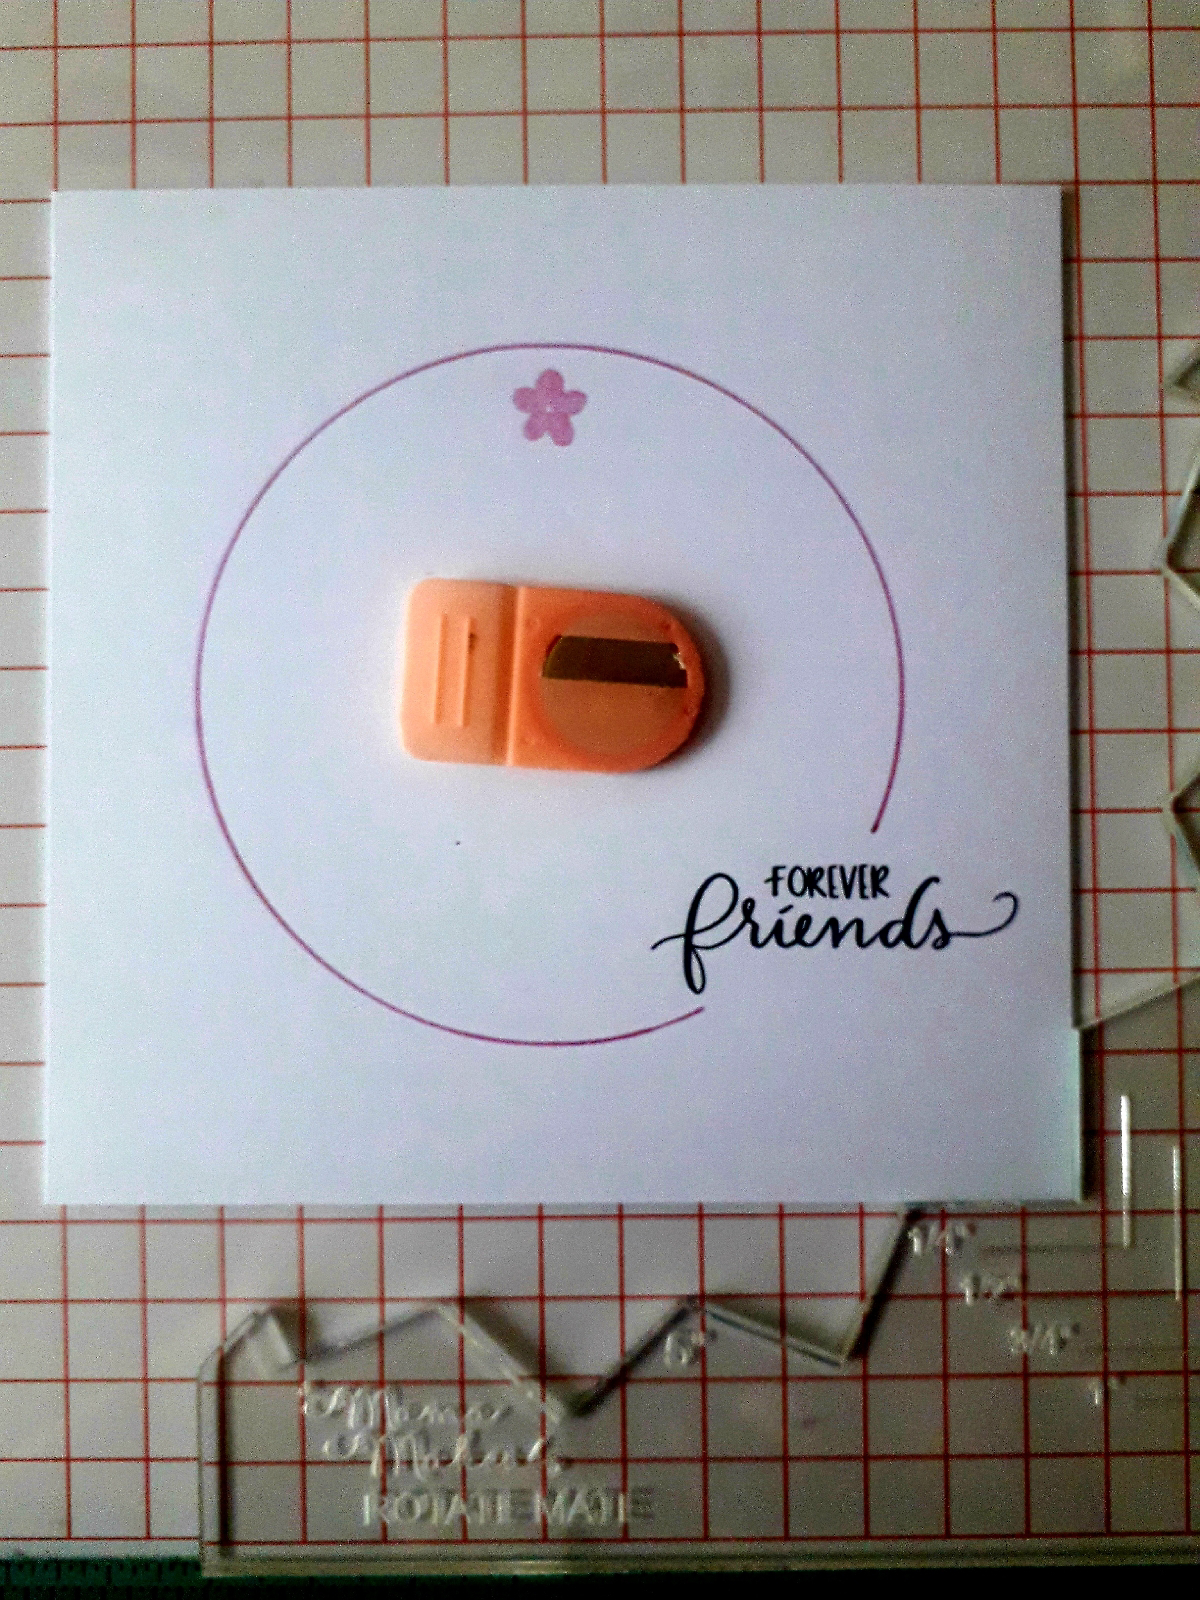
Begin by placing a piece of five inch square card, the rotate mate and the square attachment into a stamping platform.

Place your chosen stamp, I used the dragonfly from the Hansie's Garden Bits stamp set, in the bottom left corner of the square. 

Pick up the stamp with the lid of the stamp platform and remove the square attachment. Ink the stamp (I used versafine clair strawberry), and stamp.
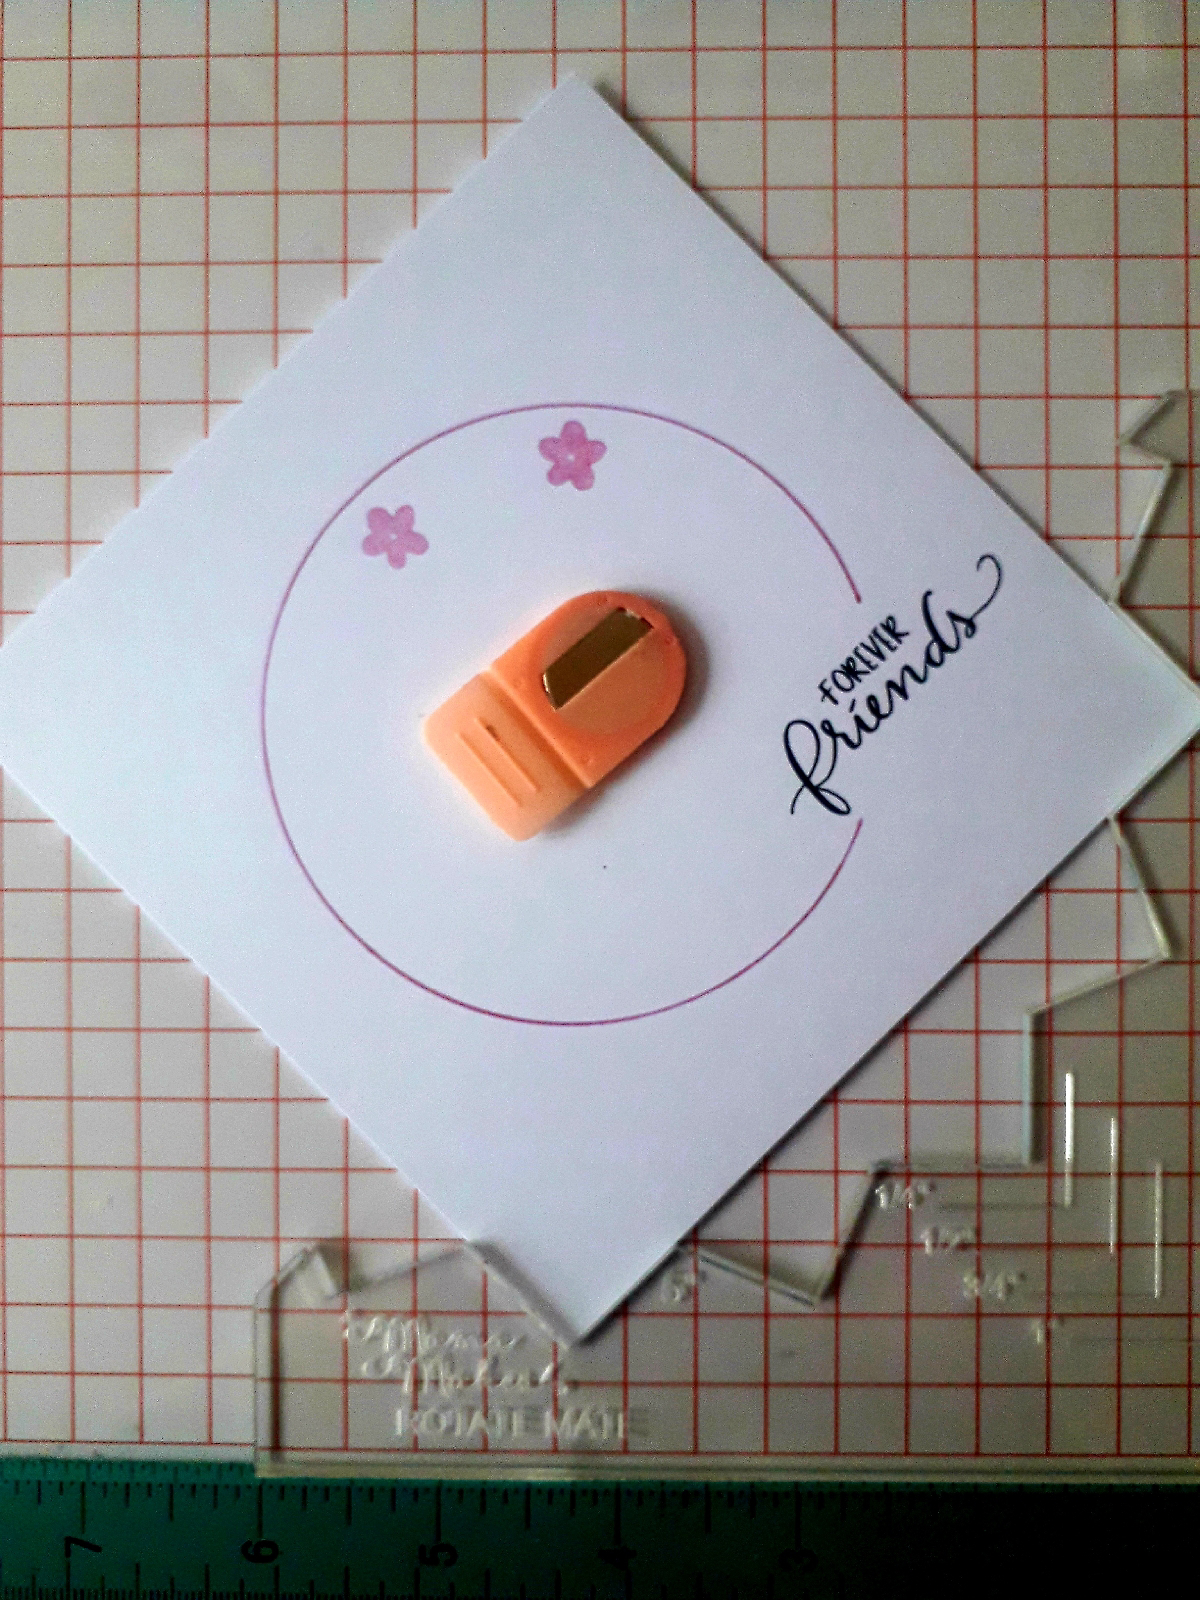
Turn the card 90°, reink the stamp and stamp.
Repeat the above twice more, so that you have a dragonfly in each corner.
Replace the square attachment, choose another stamp.  I chose the group of three small flowers. Place the stamp next to one if the dragonflies.

Repeat the above steps until you have four lots of the flowers stamped. I used versafine clair chianti. 

As I wanted the flowers both sides of the dragonfly, I cleaned it and repositioned it after replacing the square attachment.
After removing the square attachment, stamp the flowers following the above instructions.
Replace the square attachment and using a green pen, draw around the inside of the square.

Add the next sized square into the attachment.
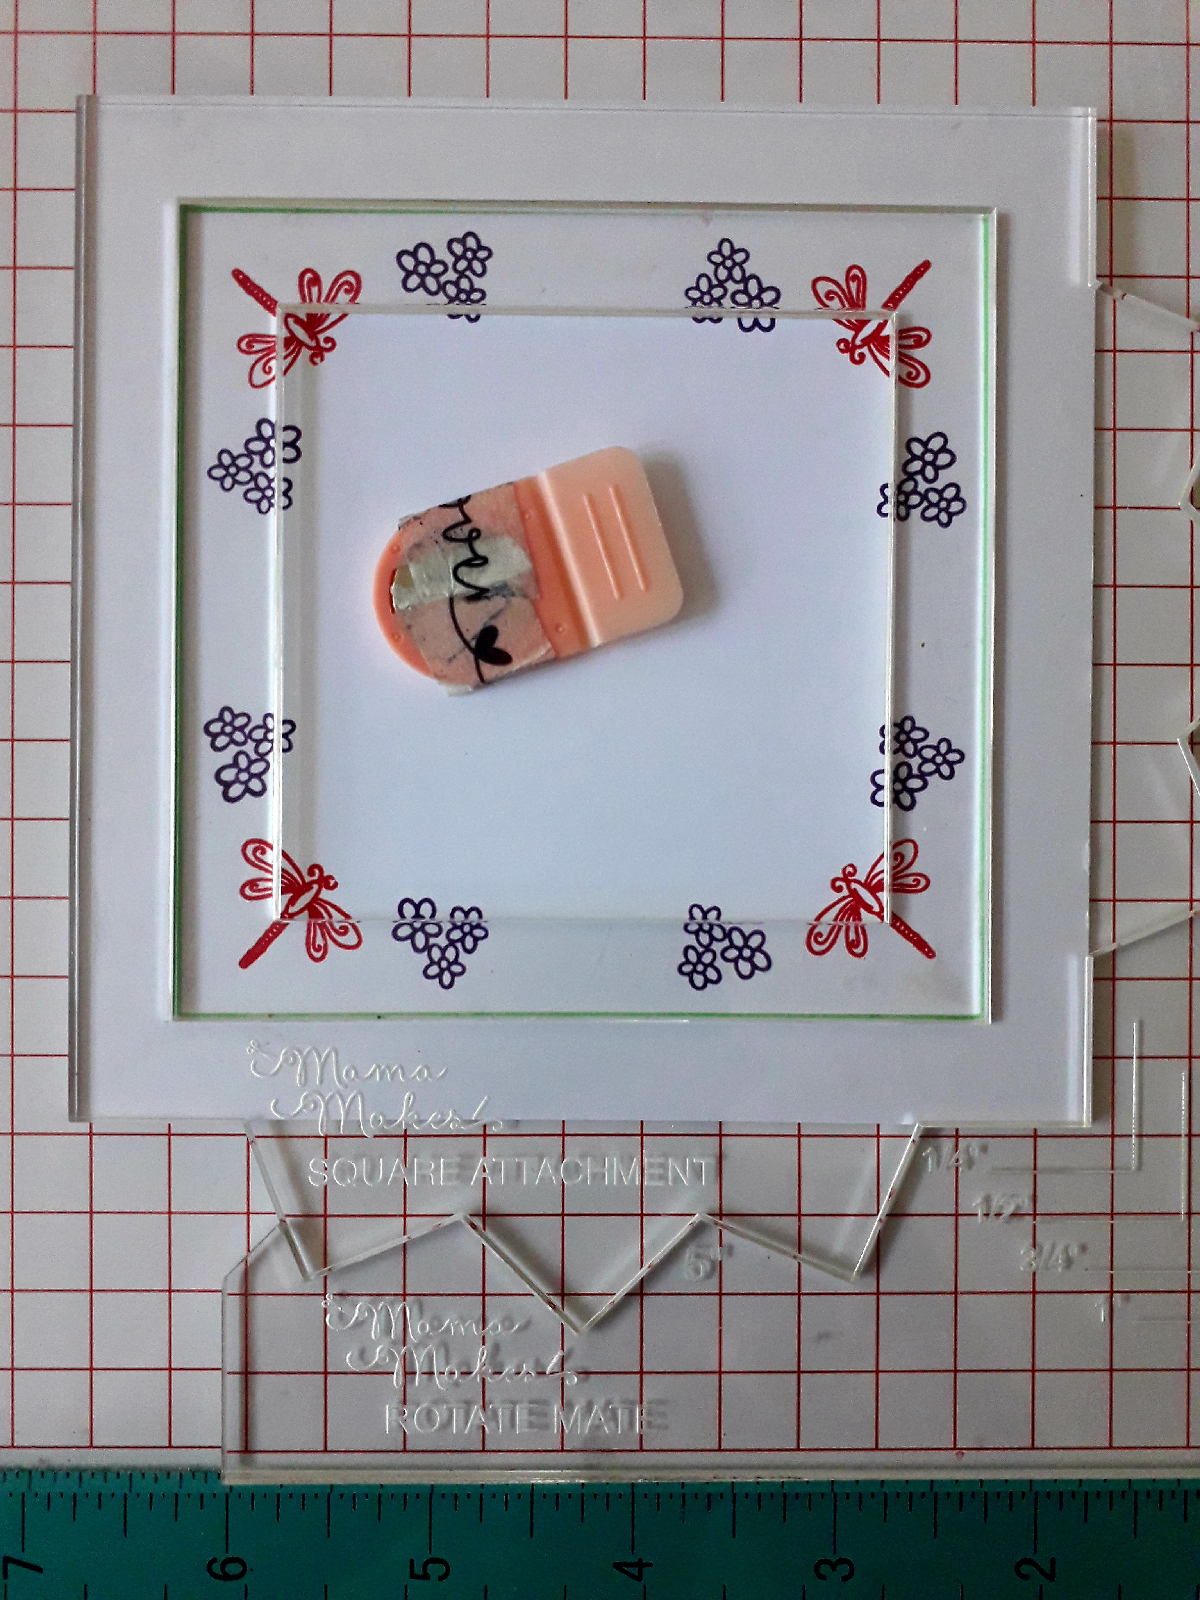
Draw around this with the same pen, but leave gaps where the stamped images intrude into the space.
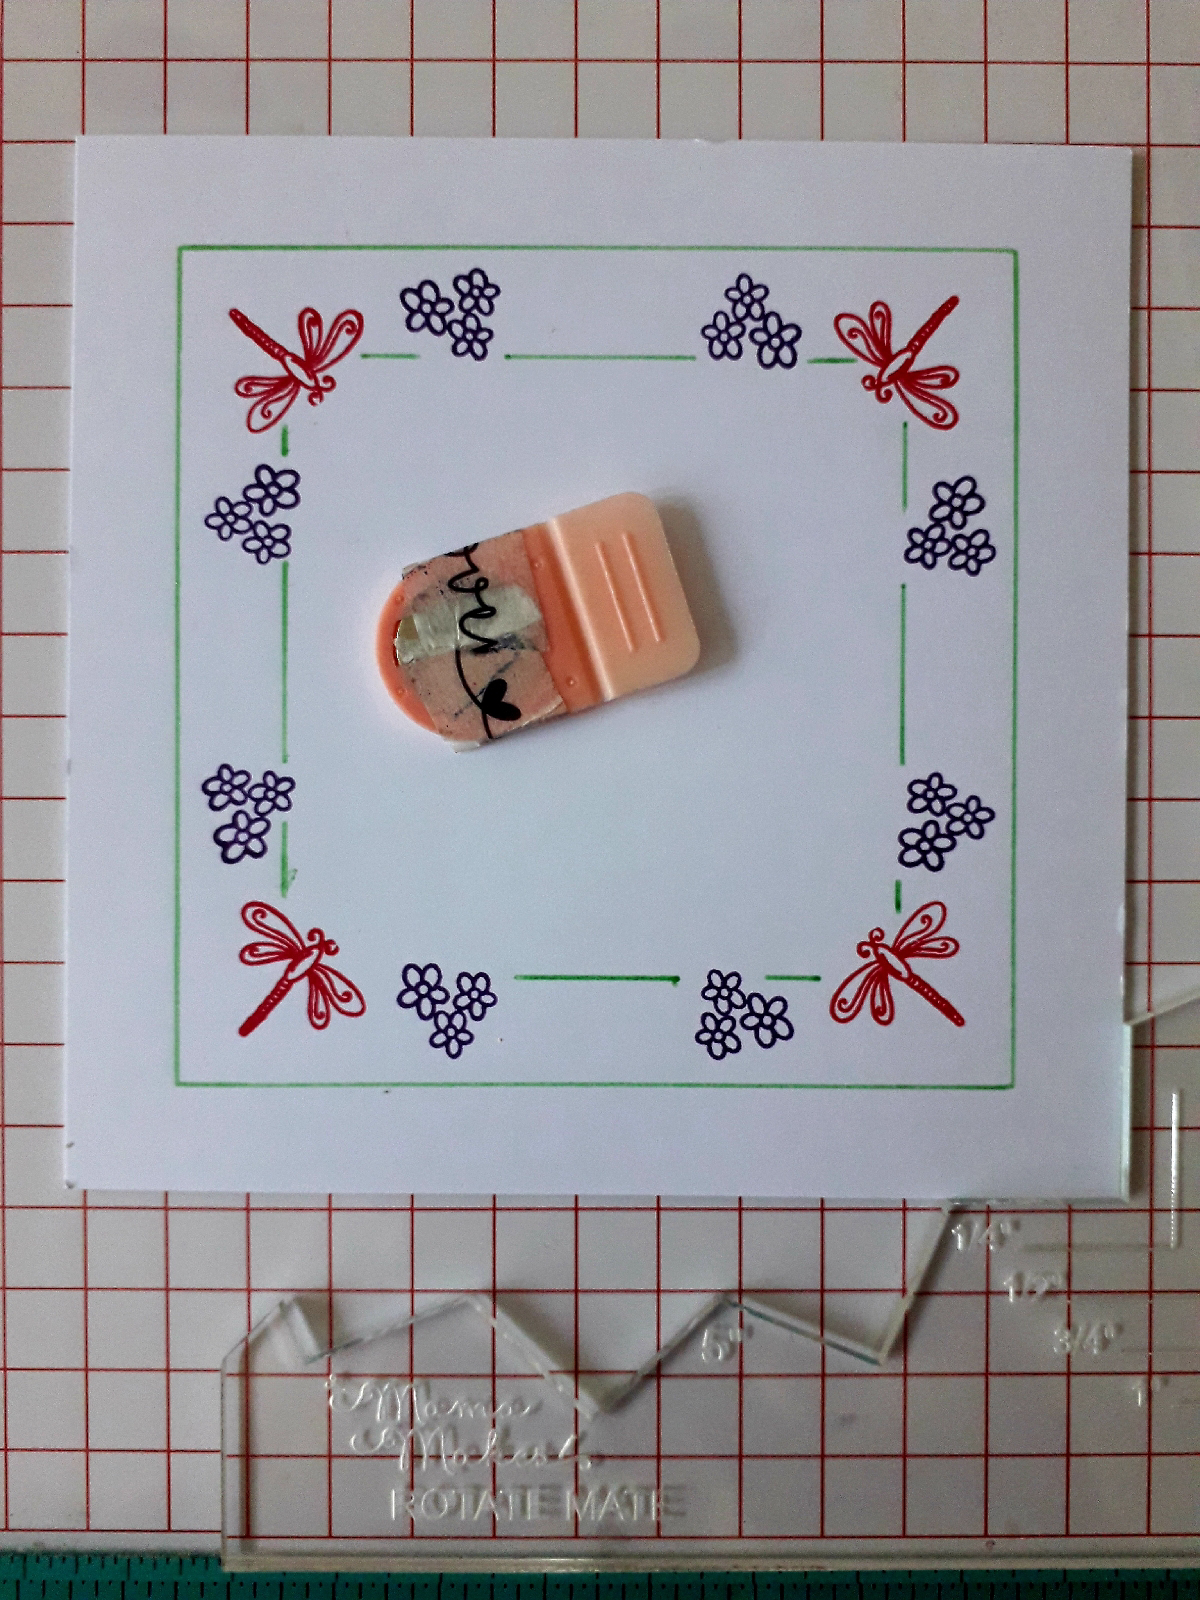
Add the next smaller sized square.


Remove the magnet and position the sentiment in the gap and stamp it.

To finish the card I coloured the flowers and the space between the two borders. Then blended a small border of red ink around the edge of the card before gluing it to a six inch square card blank.

Products used:
Stamping platform
5 inch square card
6 inch square card blank
Versafine Clair - Strawberry, Chianti 
Gelly roll pens
Pencil crayons

Thank you for taking a look. 
Alison 


Friday, 26 July 2024

Dolly Dimples' Theodore

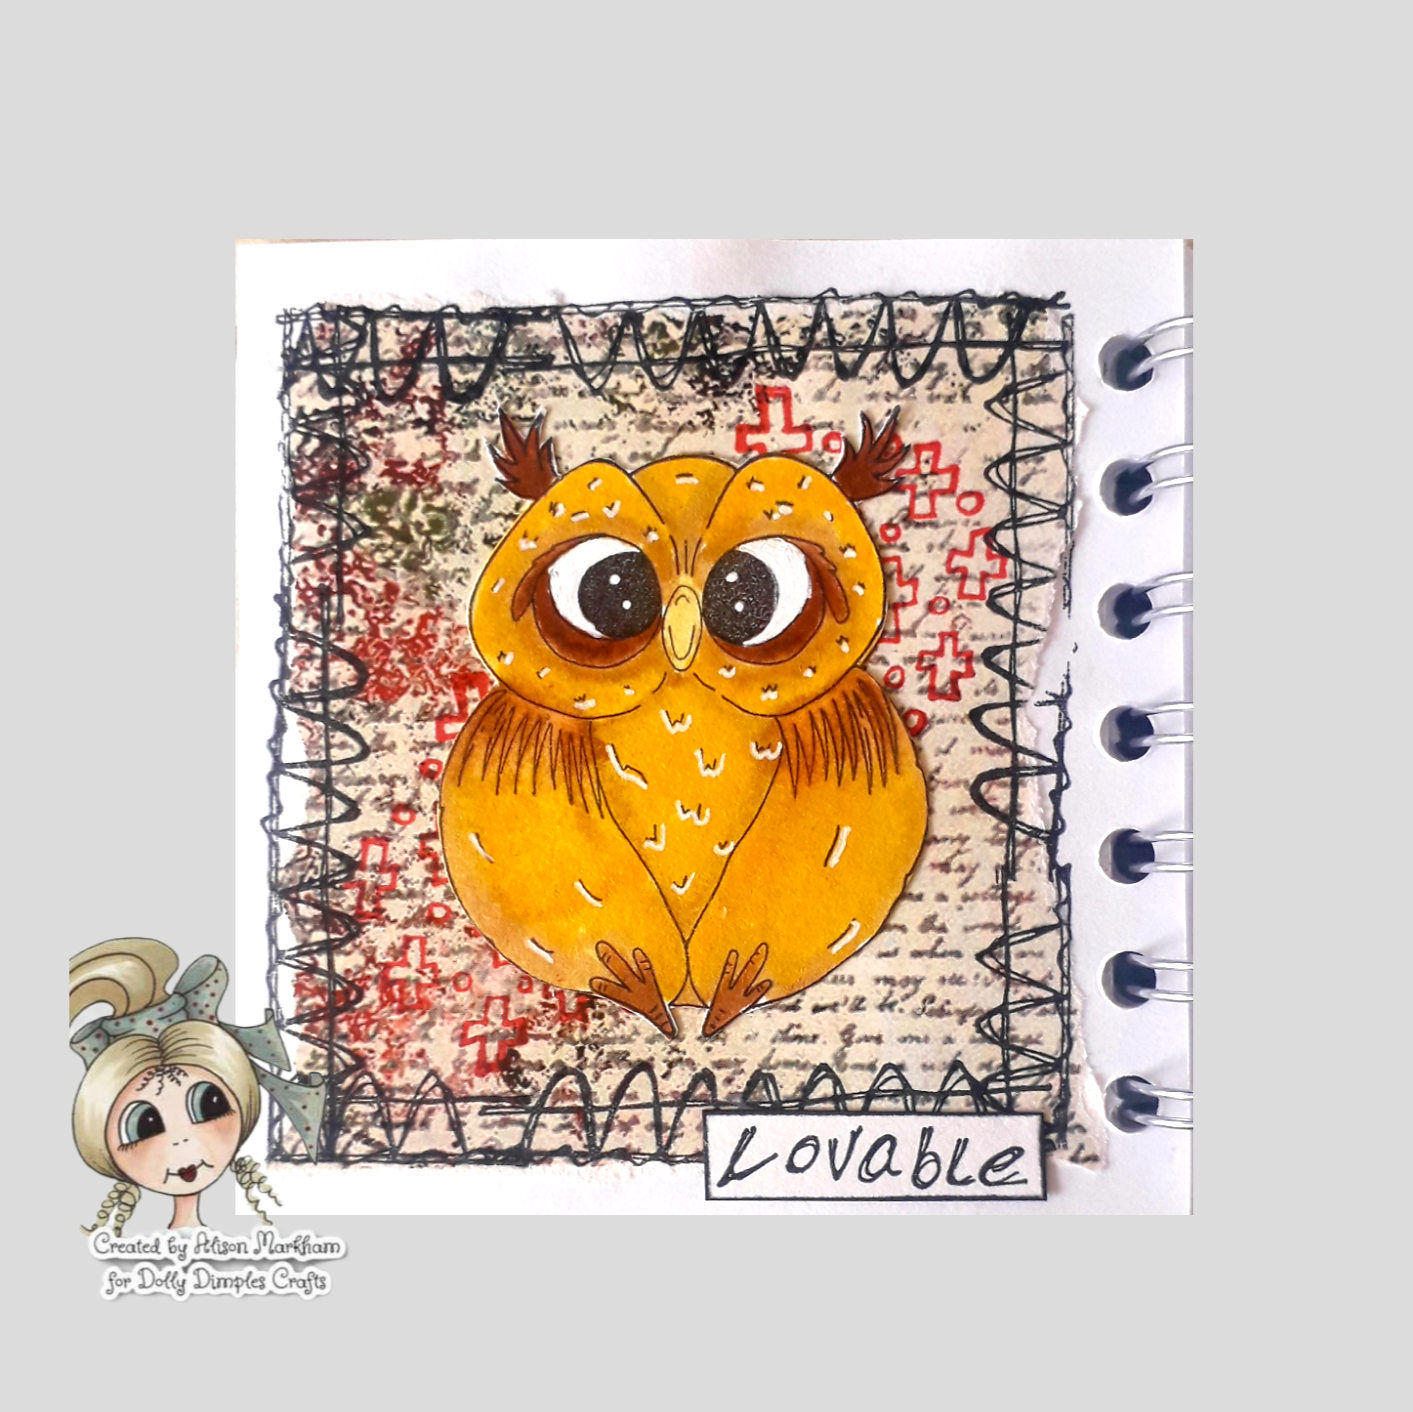
Hi everyone, today I'm sharing a step by step guide to creating this art journal page using Dolly Dimples papers and stamps.
To begin I tore one of the papers from the Dolly Dimples Vintage Lace Paper Kit, so that it fit my 4 x 4 inch Pink Pig art journal leaving a white border. I then glued it to the page.
Next I stamped one of the borders from the Dolly Tots Accessories 2 stamp set using Versafine Clair nocturne ink. 
Then I stamped the crosses and circles stamp from the same stamp set using Versafine Clair strawberry. 
On seperate card, I stamped Theodore, from the Dolly Tots Ellie and Theodore stamp set, using Versafine Clair nocturne. I coloured him with my watercolour pens and a damp paintbrush. I added white highlights with a gel pen, then cut him out.

Next I stamped a sentiment from the Dolly Tots Accessories 2 stamp set. I cut it out and edged it with a black pen.

Finally I glued Theodore and the sentiment to the background.
Products used:
4 x 4 inch Pink Pig Art Journal
Versafine Clair - Nocturne, Strawberry
Watercolour pens
Paintbrush 

I hope you have enjoyed looking.
Alison 

Monday, 22 July 2024

Uses for Versafine Clair ink pads

Hi everyone, today I'm sharing some information and uses of Versafine Clair ink pads.

Versafine Clair is a fast drying oil based ink, which is waterproof, fade resistant and light fast. It is perfect for fine detailed stamping, but is also suitable for silhouette stamps. It can also be used with embossing powder.
However, it is not only a great ink for stamping, it will also blend to create backgrounds and can be used through stencils. There are 24 colours in the range.
Below is a step by step guide to creating an art journal page using only Versafine Clair ink and watercolour paints. 

To begin, I blended charming pink and warm breeze ink over the page. I have found that foam blenders are the best for this. The inks don't blend as smoothly as other ink, but for art journaling this just adds more texture to the background.

Next I blended purple delight through the numbers inkable tag from set 1.
As soon as you have finished wash the inkable as the ink will stain it, although even if it does dry it won't reactivate as it is waterproof. You can not spritz with water and transfer the ink to the page like distress inks.

Next I blended warm breeze through the Moroccan tile inkabke tag from set 1 to add more layers.

Then I used purple delight to stamp one of the coffee stains and the numbers from the coffee stain stamp set. I also stamped the splats, from the asemic splats stamp set, using the twilight ink pad.


Next I added some asemic writing, using the stamp with twilight ink.

Next I used the twilight ink to stamp the film strip (unfortunately this set is now discontinued). I had to extend this by stamping half of it a second time.

I then added stamps from the journaling art elements 3 stamp set using puple delight and warm breeze ink.  I stamped the large numbers using charming pink ink.

On seperate card I used twilight ink to stamp my images and sentiment. I then watercoloured the bird and flowers. Once they were dry I cut them all out.

Finally I glued everything to the page using distress collage medium. 

Products used:
Versafine Clair ink pads - charming pink, purple delight, warm breeze, twilight
Bee Crafty Art Stamps - coffee stains, textures, film strip and circles, journal art elements 3, journaling essentials 2
Bee Crafty Doodle Art  stamps - rainbow birds, dandedaisy
Watercolour paints

Thank you for taking a look and I hope it's helped you to know that versafine clair is quite a versatile ink pad.
Alison 

Sunday, 21 July 2024

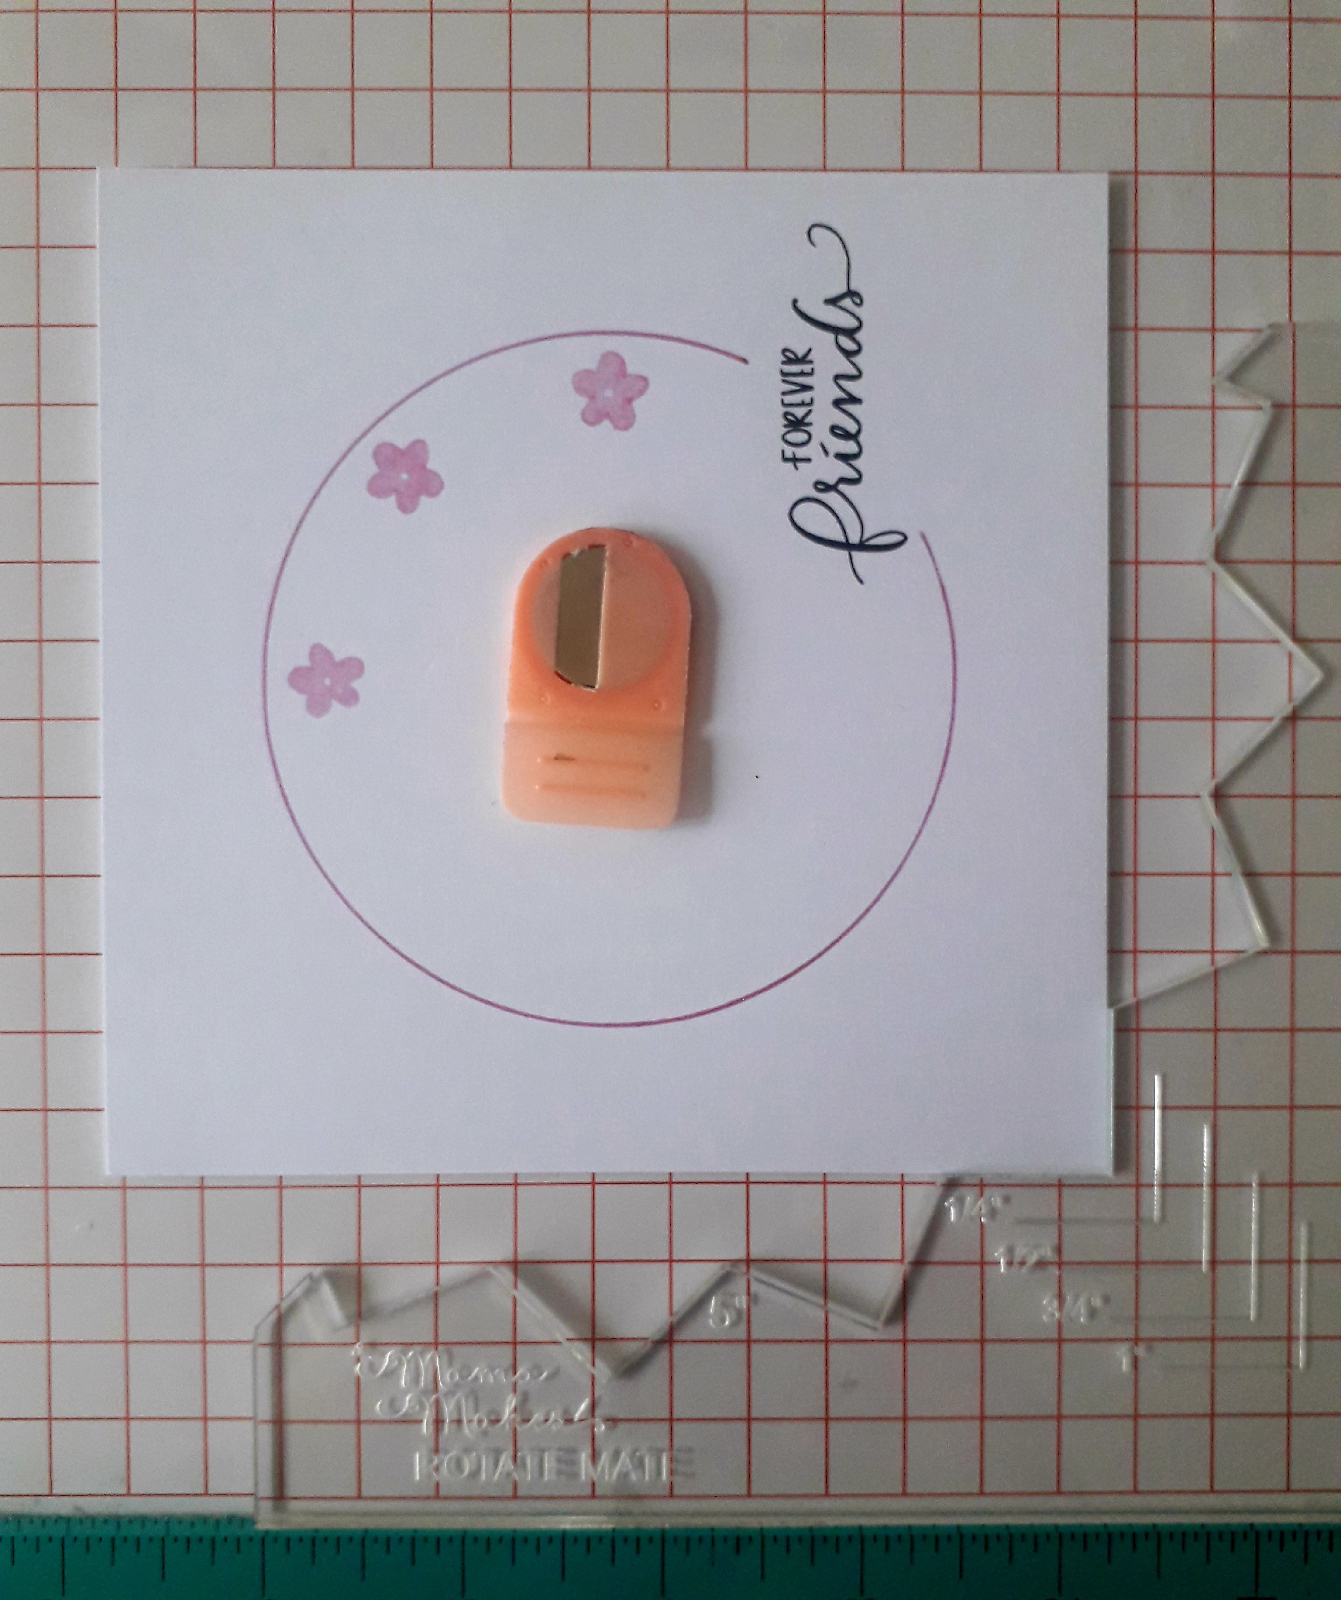
Mama Makes Rotate Mate and Circle Attachment

Hi everyone, today I'm sharing a card made using Mama Makes Rotate Mate and Circle Attachment with the Floral Arrangement stamp set.

To begin, I placed a 5 inch square puece of card, the rotate mate and the largest part of the circle attatchment into my stamping platform.
Next I used a pink pen to draw around the inside of the circle, leaving the pointed area blank.
I then removed the circle attachment and stamped a sentiment in the gap in the drawn circle using versafine clair nocturne ink.
Using the drawn circle as a guide, I placed the small five petal flower inside it at 12 o'clock. I used versafine clair baby pink to stamp it.

I then turned the card two notches anti-clockwise and stamped the flower again using the same ink.

Continue moving two notches and stamping the flower, missing the one where the sentiment is. 

Return the card to the original starting position, and using the same fliwer stamp but with versafine clair charming pink, stamp it outside the drawn circle but in the gap between the first flowers.
I returned the card back to its original position. I then chose one of the foliage stamps and placed it across the line between the two flowers.

I stamped the foliage stamp using versafine clair verdant ink. I rotated the card two notches each time.

After returning the card to its original start position I stamped the three small dots using versafine clair purple delight in every notch around the circle.

I then placed the three dot stamp near the bottom of the green sprig and stamped it every two notches using the purple ink.

Next I returned the circle attachment to the rotate mate and added in the second circle. I drew around this, missing the flowers using the same pink pen.

Then, using the ink that was already on my pink harmony tool I added a small border around my topper.
Finally I glued the topper to a six inch square card blank.
Products used:
Stamping platform
Versafine Clair - baby pink, charming pink, verdant, purple delight

Thank you for taking a look. 
Alison 

Nature Prints and ZinskiArt

Hi everyone today I'm sharing an art journal page created using Art Inspirations Nature Prints,  Texture Backgrounds and their ZinskiArt...