Monday, 1 August 2022

Clever Prints Zig Zag Flower Journal Page

Hi everyone,  today I'm sharing an art journal page created using Clever Prints latest release.
Begin by die cutting three of the long line border die in white card. Cut one approximately in half. Glue them to a blank page. When the glue is dry, colour the page using the three distress inks and blending brushes.

Add detail to the background using the Patterned Border and Circles stencil, with Uncharted Mariner and Salvaged Patina distress ink. Put aside to dry.

Meanwhile, stamp two of the zig zag flowers Using Versafine Clair Nocturne ink. Colour the flowers with Karin Brushmarkers, then fussy cut them out. Cut one in half.

Stamp your chosen sentiment with Versafine Clair Nocturne and cut out.
Add more interest to the background using worker stamps from the Zig Zag Flower stamp set with Versafine Clair Nocturne.
Glue the flowers and sentiment to the page.
Products used:
Distress Inks - Salvaged Patina, Uncharted Mariner,  Speckled Egg
Versafine Clair - Nocturne
White card
Karin Brushmarkers Pro - Cool Grey 3, Sky Blue, Cool Aqua, Arctic Blue  Cyan  Turquoise 

Here are a few more of my samples using the Patterned Flower release:

Thank you for taking a look and I hope I've inspired you with my journal page.
Alison

Sunday, 3 July 2022

Mama Makes - Rotate Mate

Hi everyone, today I thought I would explain how I use the Rotate Mate to create this wreath style cards.
To begin take the foam mat out of your stamping platform and place the larger piece of the Rotate Mate in the bottom right corner. 
The smaller piece fits into the bigger piece to create 4 inch square mats.

Next place a piece of 5 inch square card into the Rotate Mate. It doesn't matter where you place it, but I usually start so that two corners are in the tool.

Take the present stamp from the stamp set and placd where you wish your circular image to be. Stamp the image. Clean the stamp, but don't remove it from the lid of the platform.

Using the Rotate Mate and the stamp on the lid of the platform decide whether you need to rotate the card one or two notches on the tool. This will depend on the size of the stamp being used and whether you want the images to overlap. For this present stamp I needed to move two notches.

Continue rotating two notches and stamping, until you meet the first image. ( See photo sequence below.)

Add the image in the centre of the wreath, then colour all the images. I used a mix of inktense pencils and acrylic paint pens with a water brush. Ink the edges of the card with the same ink you stamped the presents with using a harmoney blending tool.

Mount onto a 6 inch square card blank. Add the sentiment by only ink half of it at a time.

Products used:

6 inch square card blank
Colouring medium of your choice
Versafine Clair - Nocturne and Tulip Red

Sunday, 5 June 2022

Shady Designs Art Journal Spread

Hi everyone, today I'm sharing how I used stamps and stencils from Shady Designs to create this double page spread in my dylusions creative 5 x 8 inch journal.

Begin by using the cicle frame with peacock feathers and salvaged patina distress ink. Link the frame together by placing one of the circles into the gap in the frame.

The use the grid part of the stencil, with chipped saphire distress ink to add more detail.
Add some zig zags by using the this way that way stencil and salvaged petina distress ink. 

Then add more depth using the distressed diamonds from the angle leaf stencil.

Use one of the worker stamps from the encircled stamp set with chipped saphire to add more detail.


Use more worker stamps from encircled and gathered together with all three distress inks to add more detail.

Use versafine clair twilight ink to stamp the sentiments from the Make a Mark stamp set.
Products used:

Shady Designs by Louise Sims - Framed, This Way That Way and Angle Leaf stencils
Shady Designs by Louise Sims - Encircled, Gathered Together and Make a Mark
Distress Ink - Salvaged Patina, Chipped Saphire and Peacock Feathers
Versafine Clair - Twilight

Thank you so much for taking a look
Alison

Thursday, 2 June 2022

Mama Makes Tag

Hi everyone, today I'm sharing a tag I have created using products from Mama Makes.
Using a harmony blending tool, blend villainous potion distress ink through the intertwined circles stencil. 

Using the same ink, add more detail using the corresponding stamp. 

Use the harmony tool to blend ink around the edge of the tag.

Using the cross hatch stamp from the A6 strokes and swirls stamp set, with saltwater taffy distress ink, add more detail to the background between the two stencilled areas. 

Choose a back chat sticker and stick to the tag. Ensure you leave enough space to add the flower between them.

Stamp your chosen Kati's doodled bloom and cut out leaving a small border.

Glue the flower to the tag, then add some fibres through the hole.

Products used:
Natalie's textures - intertwined circles stencil and stamp
A6 textured circles - strokes and swirls stamp set
Distress Ink - villainous potion and saltwater taffy

I hope you enjoyed reading about how I made this tag. Thank you for reading.
Alison

Monday, 23 May 2022

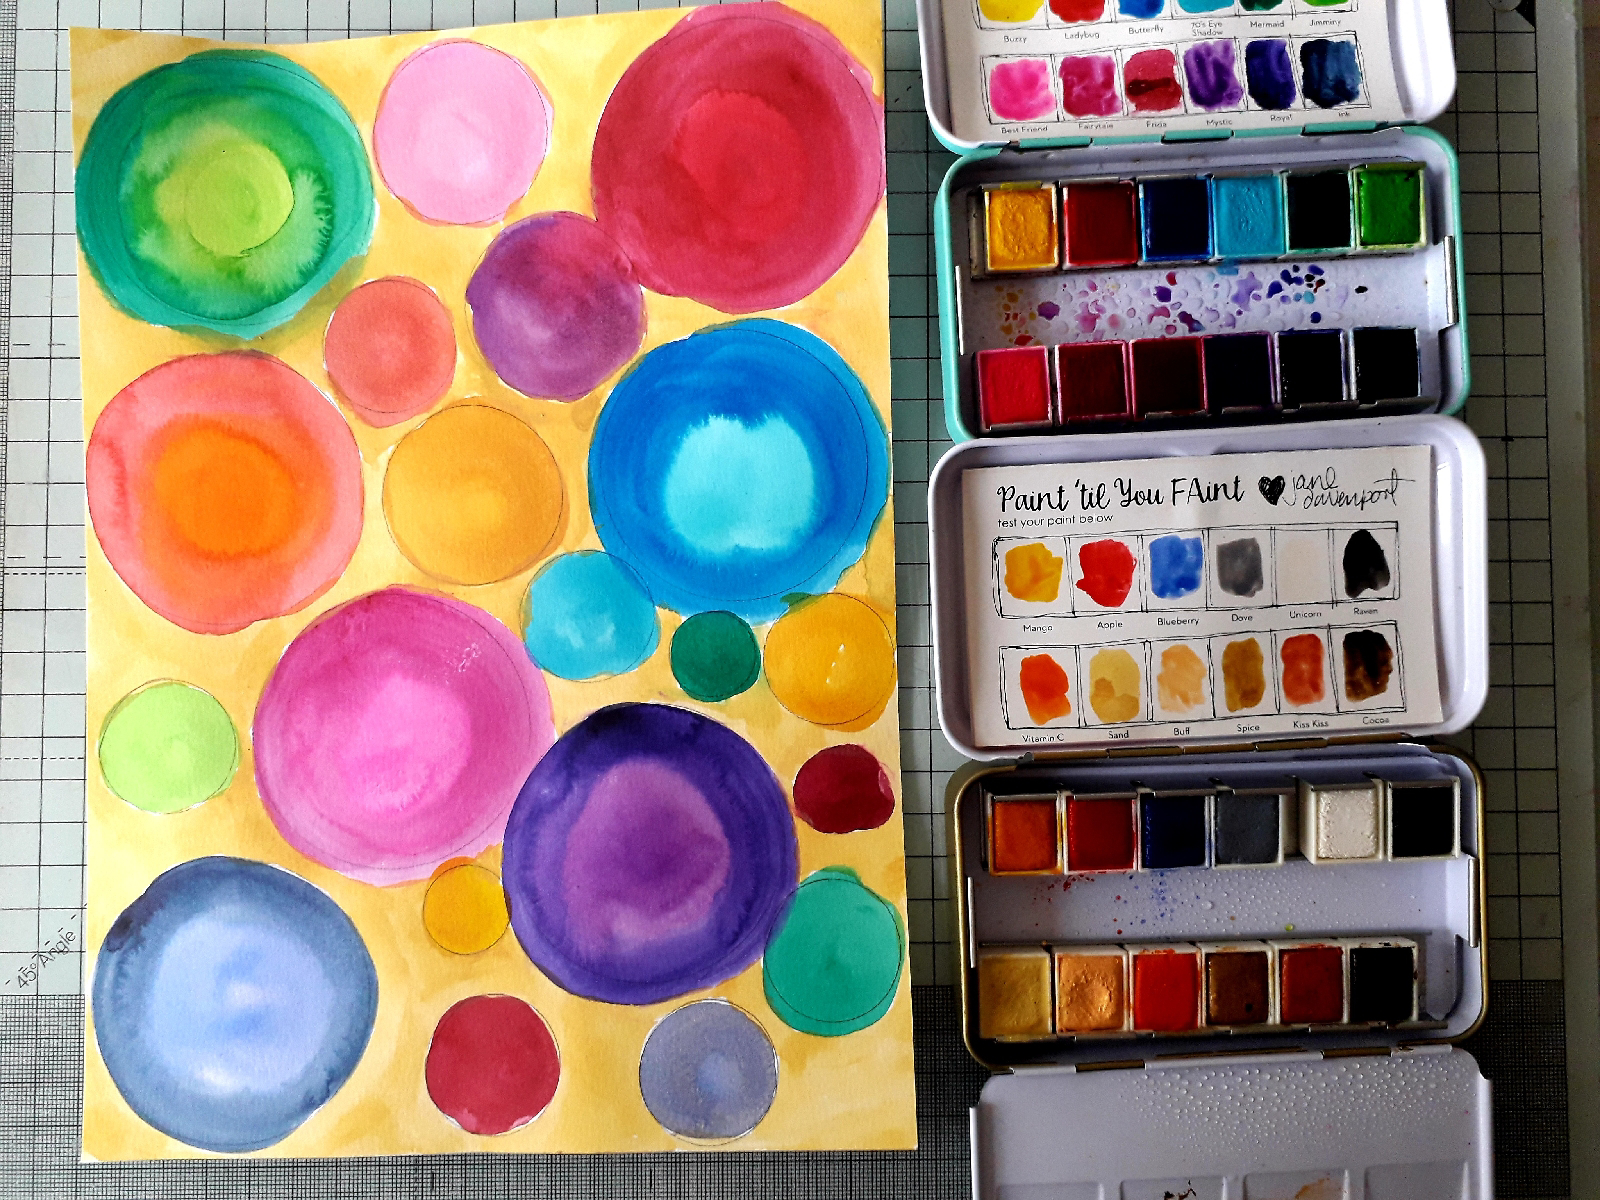
Circles

Hi everyone, today I'm sharing an art journal page created using stamps from Shady Designs by Louise Sims.

Begin by using a circle template to draw circles all over the page.

Paint the circles and background using watercolour paints.

Go round the outside of each circle free hand with a black posca pen.

Using worker stamps andthe texture stamps from various sets from Shady Designs, add interest to the circles and background (for sets used see product list below) using Versafine Clair nocturne.

Add a sentiment from the paper pack.

Products used
Circle template
Black posca pen
Shady Designs by Louise Sims - Gather together; pattern parade; sur-round; textures 1; textures 2
Shady designs Paper pack
Black card
 

Monday, 16 May 2022

Clever Prints In The Garden

Hi everyone, today I'm sharing an art journal page created using Clever Prints products, some of which are in the retired designs part of their website.

To begin, spritz a puece of Dolly Dimples mixed media card with distress stain, distress oxide and water. Partially dry, then spritz with Dina Wakely gloss spray. Leave to dry naturally, do not force dry the gloss spray.
Take the text from the woodland whatnots stamp set and stamp it twice on the page, using Versafine Clair morning mist. 

Take the larger circles from the jungle diva stamp set and using morning mist stamp it three times on the page. Using the small heart and hashtag circle from the think big stamp set, add more detail to the background.

Using the long circle border from the brave rose set, add more to the background. Use this stamp to take the stamping out to the edge of the page.

Add more detail by stamping the target style stamp from the secret weapon sims stamp set twice on the page.
Add three areas og circles using the bubbles stencil with hickory smoke distress oxide ink. Use a white posca pen to add white highlights.

Stamp the small silhouette dragon fly four times on the page using Versafine Clair nocturne ink. Also stamp the large dragonfly onto the page.

On a seperate piece of card stamp the large dragonfly and a sentiment. Colour, with watercolour pens then cut out the dragonfly. Cut out the sentiment. Ink around the edges of both with black pen and glue to your page.

Products used
Dolly Dimples mixed media card
Distress Spray Stain - Spiced marmalade 
Distress Oxide Spray - Fossilized amber
Versafine Clair - Morning mist and nocturne
Distress Oxide Ink - Hickory smoke 
Clever Prints Ltd stencil - Bubbles
Karin markers pro

Mushrooms

Hi everyone,  I really live mushrooms and when I saw TIMESTAMPS Creations new release, I just knew I had to combine them with Bee Crafty...