Friday, 18 March 2022

Cleverprints - Fly High

Hi everyone, today I'm sharing how I made this layered card using products from Cleverprints Ltd.

To begin blend Prize Ribon and Salvaged Patina distress oxide over a piece of 6 x 6 mixed media card. Splat with water, by spraying water onto your fingers and flicking onto the card. Leave to work for a little while, then pat dry.

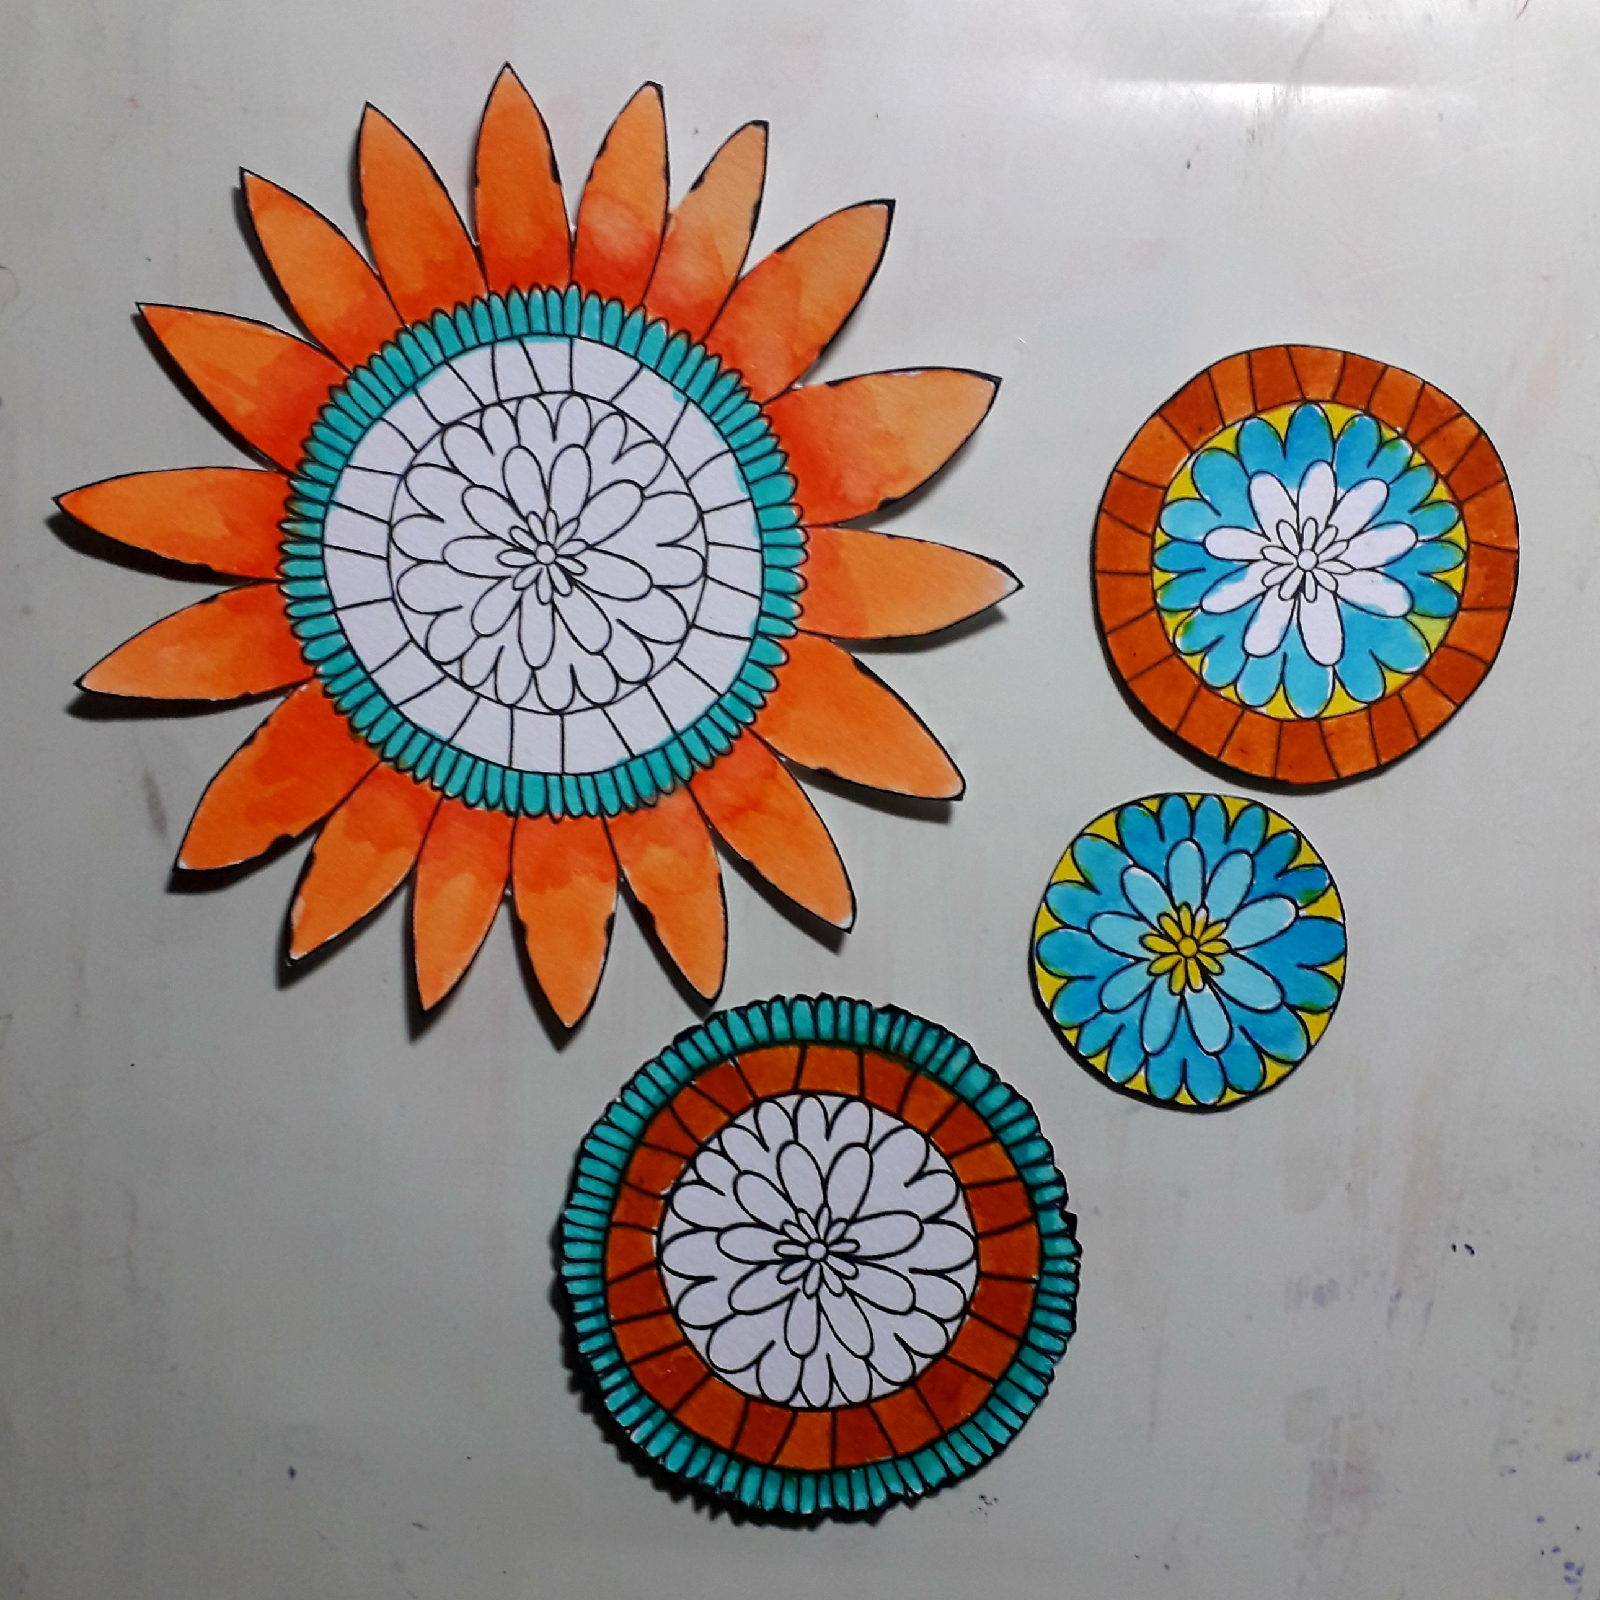
Stamp, using Versafine Clair Nocturne, the large flower from the Fly High stamp set four times, but leave out the outer ring each time.

Colour the flowers with Ecoline markers and a waterbrush. Only colour the parts that will be seen. Cut out and ink the edges with a black pen.
Return to the background and using the rectangles and lines background stamp, stamp it with Versafine Clair Paradise ink, three times so that part of it will be hidden by the flower.

Stamp the sentiment in the top right corner using the same ink.
Mat the background onto blue card, then a 7 x 7 card blank. Add the flowerand the layers using either foam pads or glue gell.

Products used:
Cleverprints Ltd Fly High stamp set
Distress Oxides: Salvaged Patina and Prize Ribbon 
Versafine Clair: Nocturne and Paradise
Black pen
Paintbrush/waterbrush
Blue card
7 x 7 inch card blank

Sunday, 6 March 2022

Shady Designs by Louise Sims

Hi everyone, today I am sharing how I made this journal page using the first release from Shady Designs bh Louise Sims.

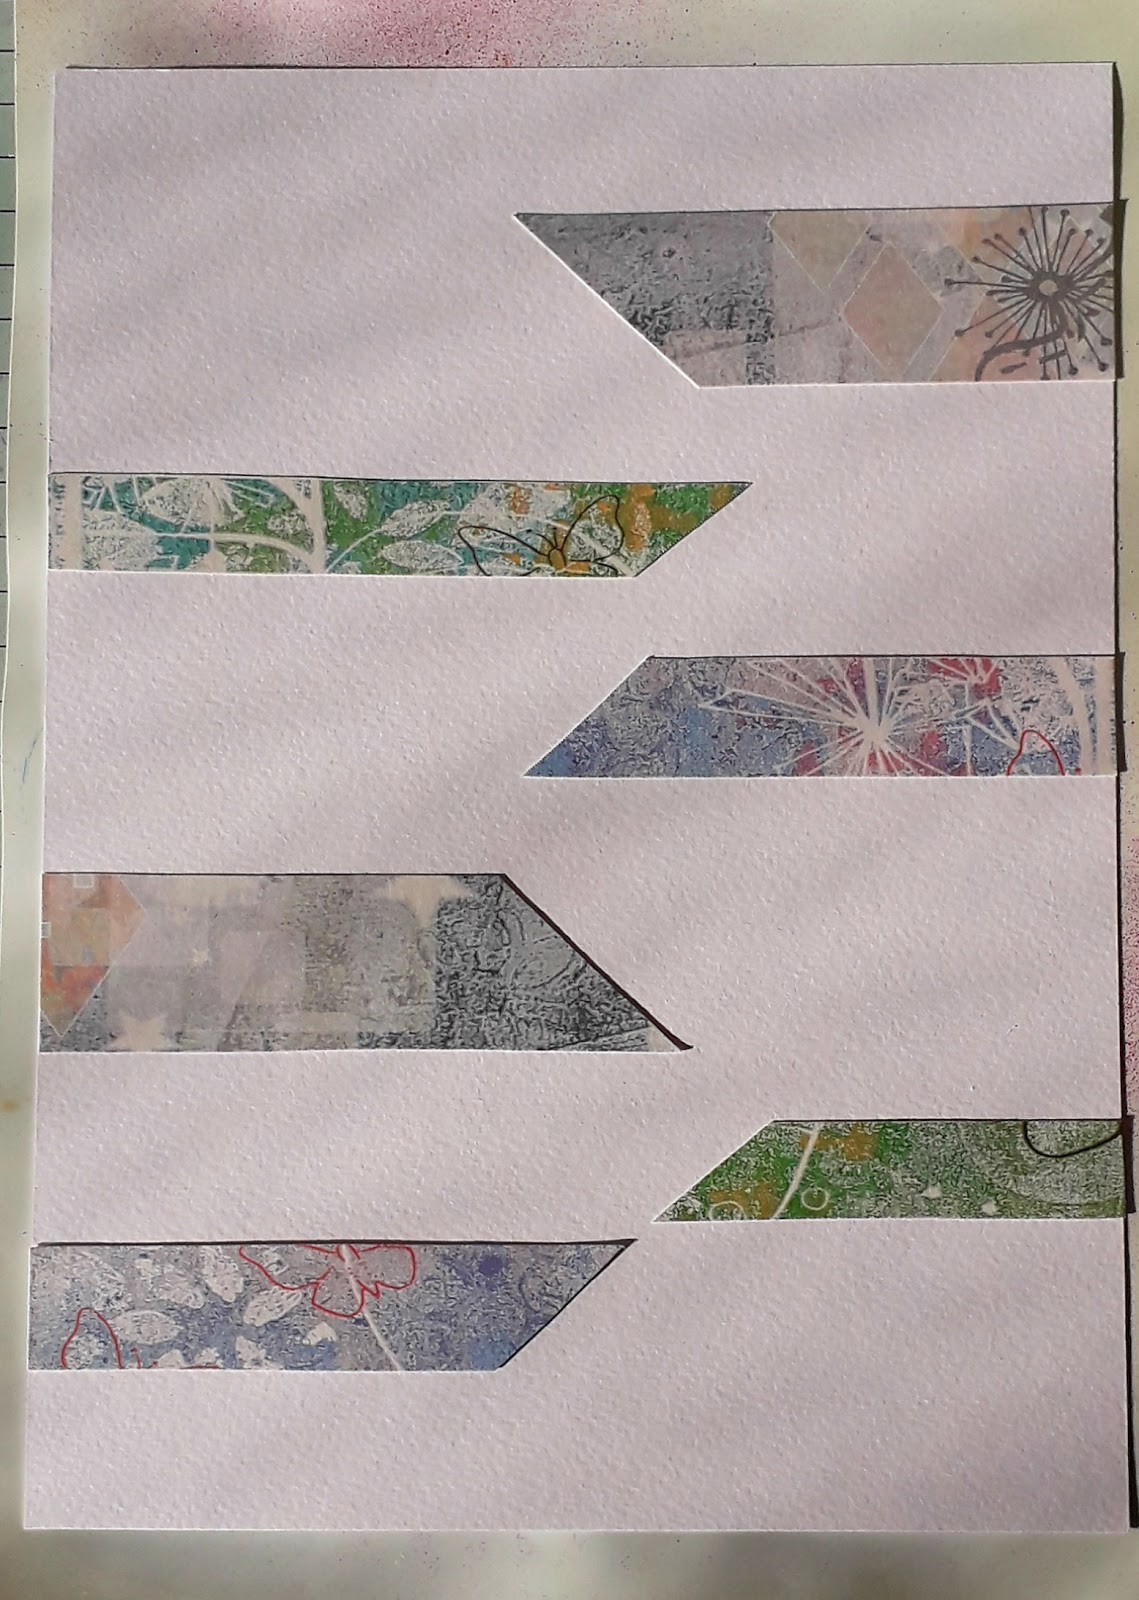
Take three of the strips from the sheet in the paper pack. Cut them at an angle to create two pieces from each strip. Glue to a piece of card that is 10 1/4 by 7 1/2 inches.
Take the This Way That Way stencil and add Ranger Grit Paste through areas of it and leave to dry.

Stamp the large design from the Pattern Parade stamp set twice on watercour card. Colour with watercolour markers and a waterbrush, then cut out the desired areas of the image. Ink the cut edges with a black pen.

Glue these to the background.
Add the bubbles from the Painted Mixings stamp set using Picked Raspberry Distress Oxide and the dangles from the Gather Together stamp set using Prize Ribbon Distress Oxide.

Brush Prize Ribbon distress oxide around the edges of the whole piece.

Stamp five butterflies from the hanging around stamp set and the sentiments from the Pattern Parade, Painted Mixings and Gather Together sets on a new piece of card. Colour then cut them out. Add black pen around the edges of all the pieces.
Glue the sentiments in place, then add the five butterflies at different angles.

Products used:
Paper Pack
This way that way stencil
Painted Mixings stamp set
Pattern Parade stamp set
Gather Together stamp set
Hanging Around stamp set.
Versafine Clair Nocturne
Distress Oxide - Prize Ribbon and Picked Raspberry 
Ranger Distress Grit Paste
Watercolour markers and waterbrush

Sunday, 27 February 2022

Cleverprints ATCs

Hi, today I'm sharing how I made these ATCs for a swap.
Blend salvaged patina distress oxide over three ATCs (pieces of card 2 1/2 by 3 1/2 inches). Add depth by blending peacock feathers distress oxide through the Funky Numbers stencil.
Using the handwriting stamp from the Woodland Whatnots stamp set and Peacock Feathers distress oxide ink add more depth to the ATCs. Add more depth using the splats and squares from the Texture Stamps set 2 using the same ink.
Die cut in black card lots of the Out of the Box dies. Don't worry if you cut too many, because they can be used on other projects.

Stamp 3 dragonflues from the Born to Fly stamp set and several of the small flowers from the Rosehip and A Little Bird Told Me stamp sets. Colour and cut out. Stamp and cut out your chosen sentiment three times.

Arrange a combination of die cuts, fliwers and dragonflies on each ATC and glue in place, thenadd the sentiment.

Products used:
Versafine Clair Nocturne 
Distress Oxide: Peacock Feathers and Salvaged Patina


Tuesday, 22 February 2022

Stamptagious Strong

Good morning I thought I would share how I've made this card today.

Take a piece if 5x5 inch watercolour card and spritz with Pearlywinks sprays and spritz with water. Leave to dry.

Spritz with the Pearlywinks Pearl Mist Golden shimmer. Leave to dry.

Use the stencil, with Twisted Citron distress oxide ink, to add detail to the background.
Using the Barbed Wire stamp set add more detail to the background using distress oxide inks. Stamp some images over the edge.
Stamp the main image and the words from the Strong stamp set onto the background using versafine clair nocturne ink.
Mount onto black card, then onto a 6x6 inch card blank.

Products used:
Stamptagious by Nicola Elliott: Strong and Barbed Wire stamp sets.
Pearlywinks: Wink Vibe 2nd Gen: Sweet Orange and Chartreuse Yellow
Pearlywinks: Pearl Mist: Golden Shimmer
Cleverprints Ltd: Box Frames stencil
Distress  Oxide: Twisted Citron and Spiced Marmalade
Versafine Clair: Nocturne

Saturday, 19 February 2022

Cleverprint's Bloomed Frames

Hi everyone, today I'm sharing a how to make this card using the new Cleverprint's Framed Blooms 2 stamp set.
Cut a piece of white mixed media card in to a 5 inches square. 
Place a 4 inch round gelli plate onto your work surface. 

Add two small drops of Bubblegum pink paint to the gelli plate and use a brayer to spread it all over the surface. Don't worry that it pools a litte as this will add texture to the background.

Place the spots stencil over the gelli plate. Put a small dot of the crushed grape paint onto your surface and using a sponge dauber add it through the circles in the stencil.

Clean your brayer and stencil on a spare piece of card, this can be used in another project.

Place your 5 inch square of card over the gelli plate and rub firmly all over. Don't worry if it's not quite central.

Peel the paper gently away from the gelli plate.

Add white gesso over any paint left on the gelli plate and using your clean up piece from earlier pull any remaining paint.

Leave both pieces to dry.

Place the circular flower stamp onto your 5 inch  background, roughly centrally on your painted area. Stamp using Versafine Clair nocturne ink. Heat emboss with black embossing powder. 
Using Karin markers and a waterbrush, colour the image. I scribbled the marker onto my glass mat, then picked up the colour with my waterbrush.

Add a border using the stitched border stamp from the Happy Soul stamp set from ghe In the Garden collection. Also add your chosen sentiment.

Mount on topink, then purple card. Then glue on to a 6 x 6 inch card blank.

PRODUCTS USED
4 inch round gelli plate
Brayer
Karin Markers
Dylusions Shimmer Paint - Bubblegum Pink and Crushed Grape
In the Garden - Happy Soul
Spots stencil
Versafine Clair - Nocturne
Black embossing powder
Heat Gun
Waterbrush


Friday, 11 February 2022

Cleverprints Ltd: Blooms Frames


Hi everyone. Today I'm sharing how I made this art journal page using Cleverprint Ltd's brand new release Blooms Frames stamp and die sets.

To begin, take a piece of 10 x 7 inch mixed media card and spritz it with the three colours of distress oxide sprays, then spritz with water and leave to dry naturally.

Whilst the background dries, die cut several of the border style dies from black card. Both are designed so that they can be extended. Keep some of the circles that come out of one of the dies, as they will be used later.

Stamp, using versafine clair nocturne ink, the main image from the stamp set. Then colour it with Ecoline pens and a waterbrush. Next cut it out. Don't worry about cutting the stamens out, just cut them off. Add white pen highlights and ink the edges with black ink.

Return to the background. Using the worker stamps from both the stamp sets add depth to the background using distress inks.
Stamp three of the dragonflies around the background, assuring they won't be hidden by the main image.
Glue the die cuts and main image to the background.
Mount onto a piece of black card and stick in your journal.

Products used:
Blooms Frames die set #2
Blooms Frame #2 stamp set
So Much More stamp set
Distress Oxide sprays: Spun sugar, victorian velvet and dried marigold
Ecoline markers
Versafine Clair: Nocturne
Distress Ink pads: Seedless preserve, victorian velvet, worn lipstick and wild honey.


Sunday, 30 January 2022

Valentine's Card

Hello today I'm sharing how I used stamps from Mama Makes to create this Valentine's Day card.

Take a piece of 4x6 inch card and create a background by spritzing with Pearlywinks Wink Vibe and Pearl Mist sprays. Leave to dry.

Stamp the Heart from the August Stampscription Box using Versafine Clair Chianti ink and colour with pencil crayons and then cut out.

Using the letter stamp from the April Stampscription Box and Versafine Clair morning mist add detail to the background.

Stamp one of the A6 textured circle stamps, using Villainous Potion distress ink, diagonal across the background.

Add a puece of black netting across the centre of the background.

Glue the background to a piece of black card, then to a 5x7 inch card blank. Add the heart across the netting, using glue gel to raise it from the background.

Stamp the sentiment, cut it out and ink edge. Glue under the heart.

Products Used:
Stampscription Box: April and August stamp sets
A6 Textured Circles -Strokes and Swirls stamp set
Versafine Clair Morning mist and Chianti
Distress ink: Villainous Potion 
Nassau Fine Art colouring pencils
Black netting


Nature Prints and ZinskiArt

Hi everyone today I'm sharing an art journal page created using Art Inspirations Nature Prints,  Texture Backgrounds and their ZinskiArt...