Friday, 20 June 2025

Stampers Anonymous Mixed Media Stamp and Stencil Set #18

Hi everyone today I'm sharing an art journal page created with one of the new Stampers Anonymous Tim Holtz Mixed Media stamp and stencil sets.

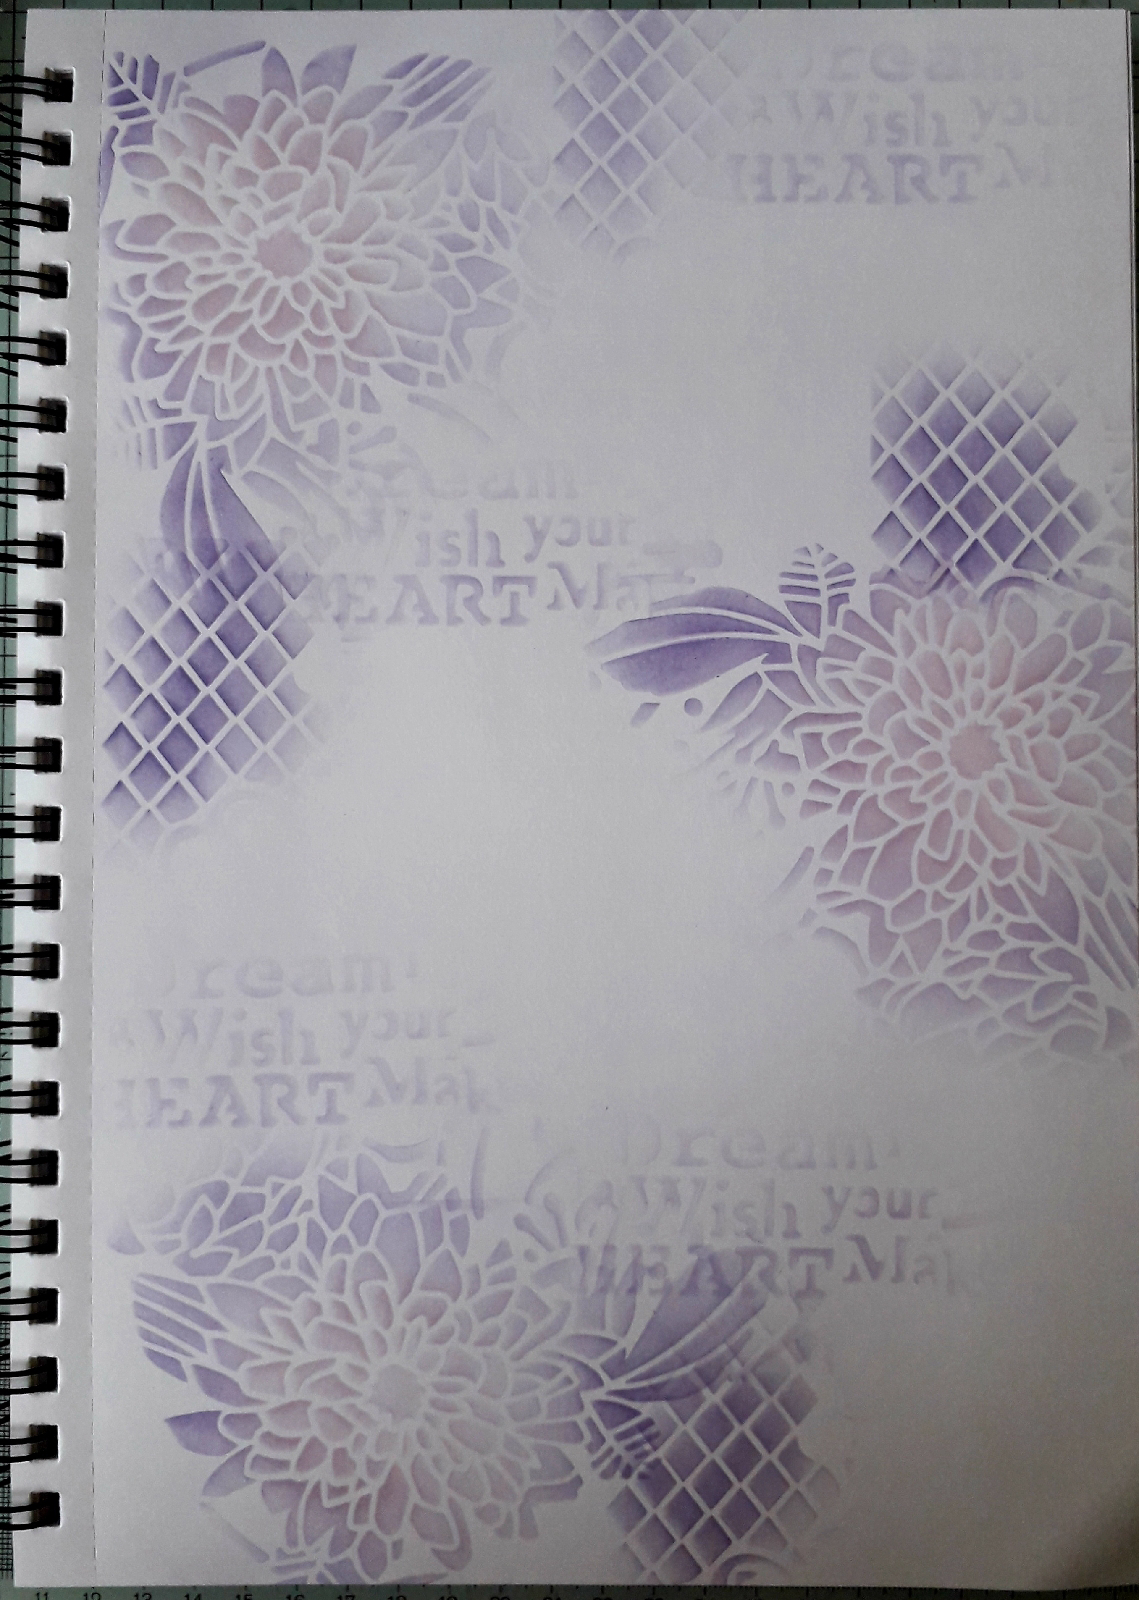
To begin, cut a piece of the Men's Jeans card to fit the journal page. Add scorched timber distress ink through the stencil dotty part of the stencil.

Using blue jeans distress ink and the numbers part of the stencil add to the background.

Next, take the row of stars and stamp it several times using Scorched Timber distress ink.
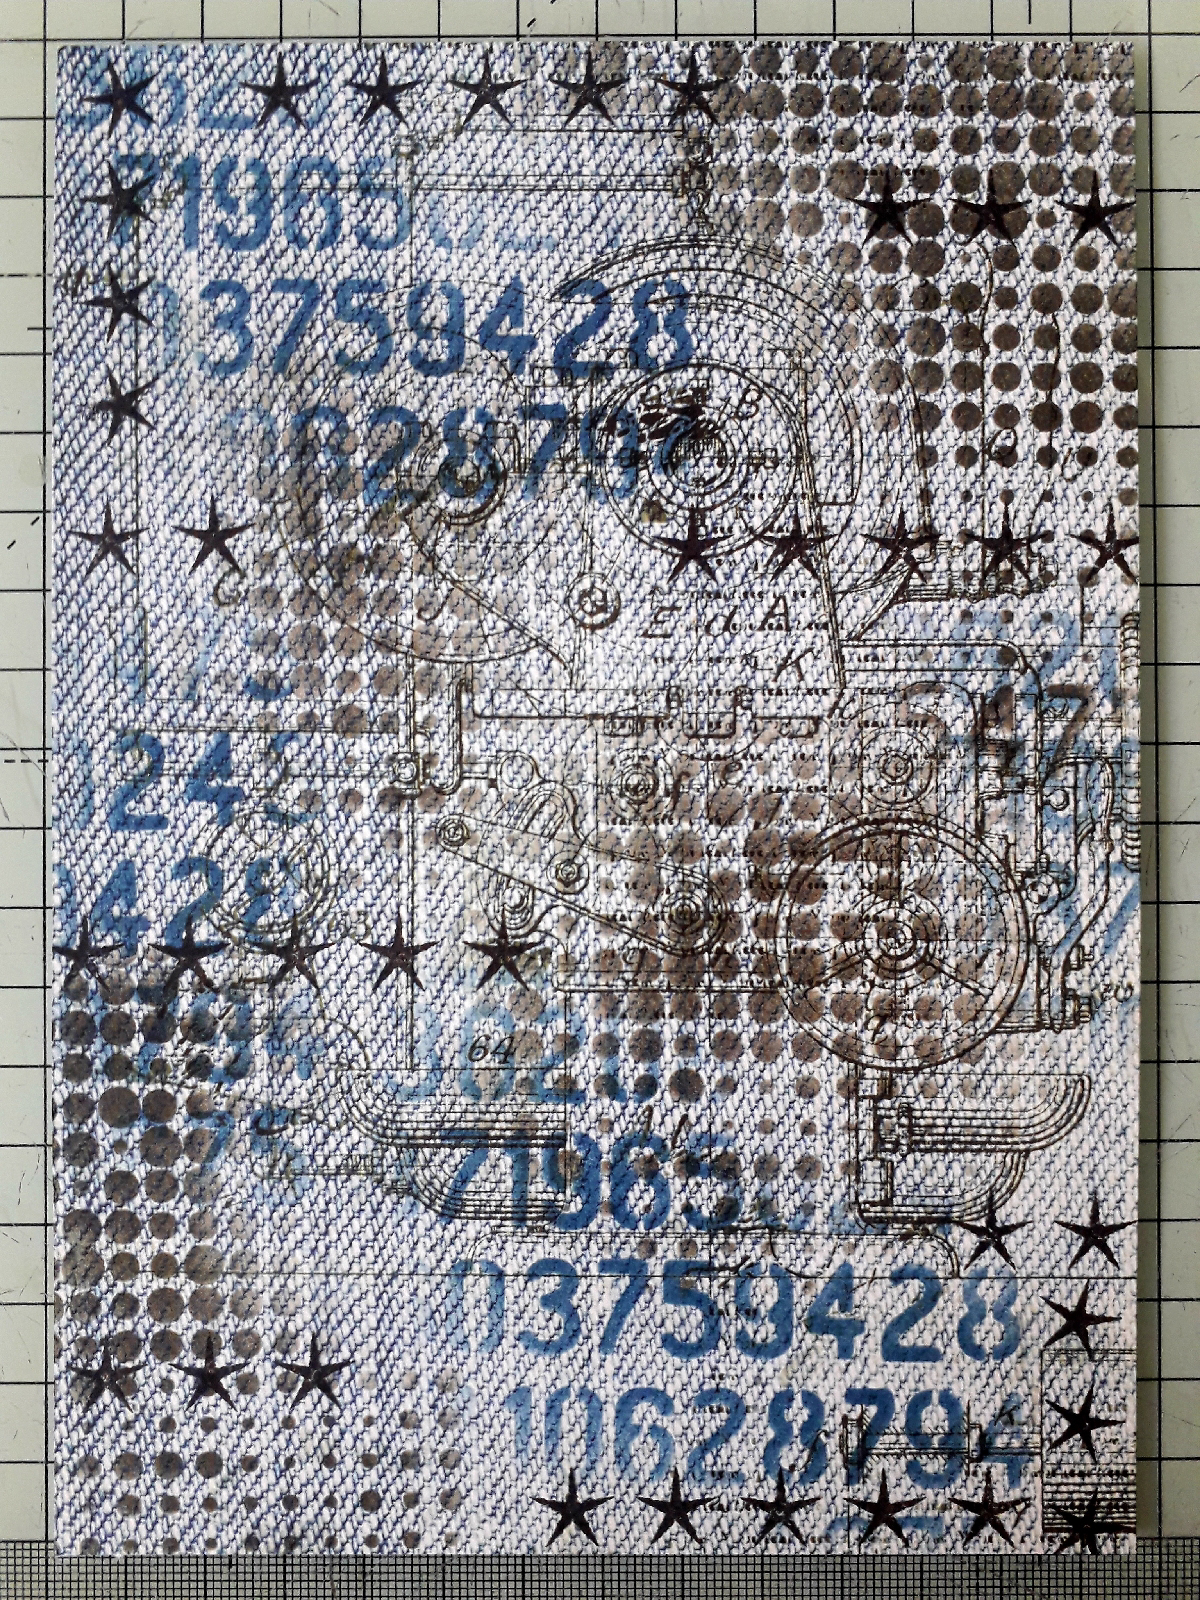
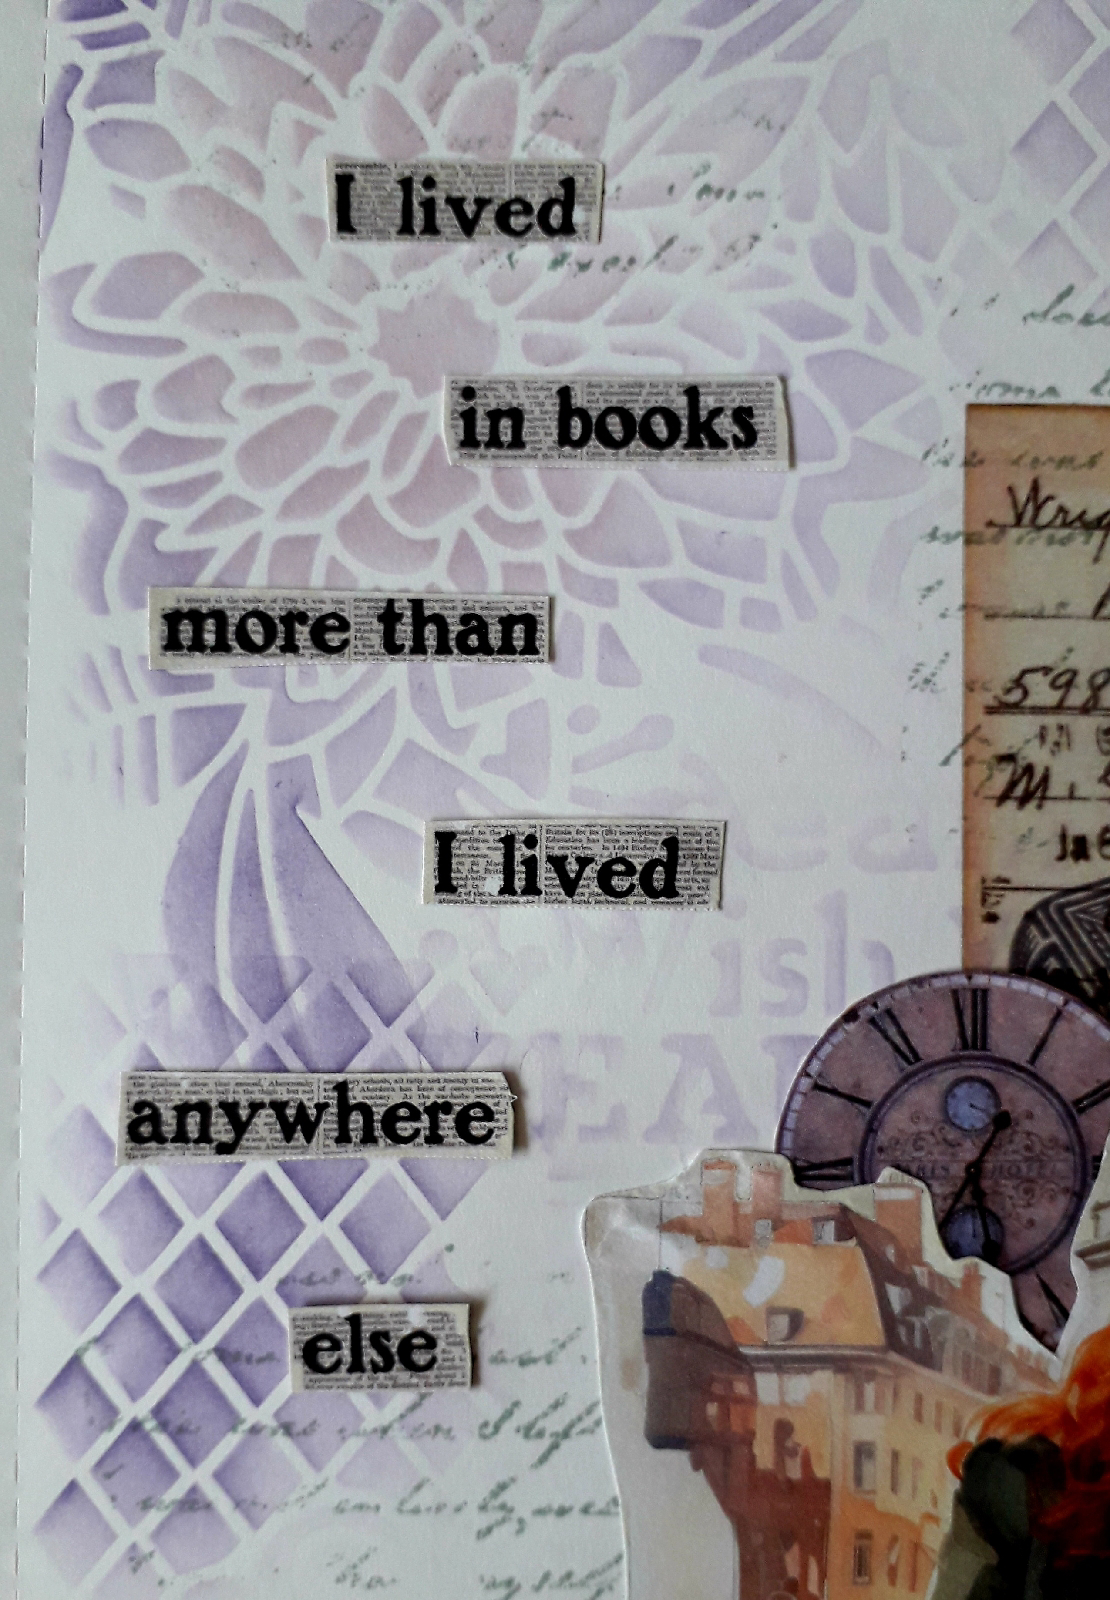
Add more to the background by stamping the stamp here words using Faded Jeans distress ink. 
On seperate card, stamp the man and two clocks using scorched timber and three light bulbs and the numbers using faded jeans. Cut the images out, leaving a small white border. Ink the edges with walnut stain distress ink.

Ink the edges of the background piece with walnut stain and glue to a page in an art journal.
Glue the stamped images to the page.

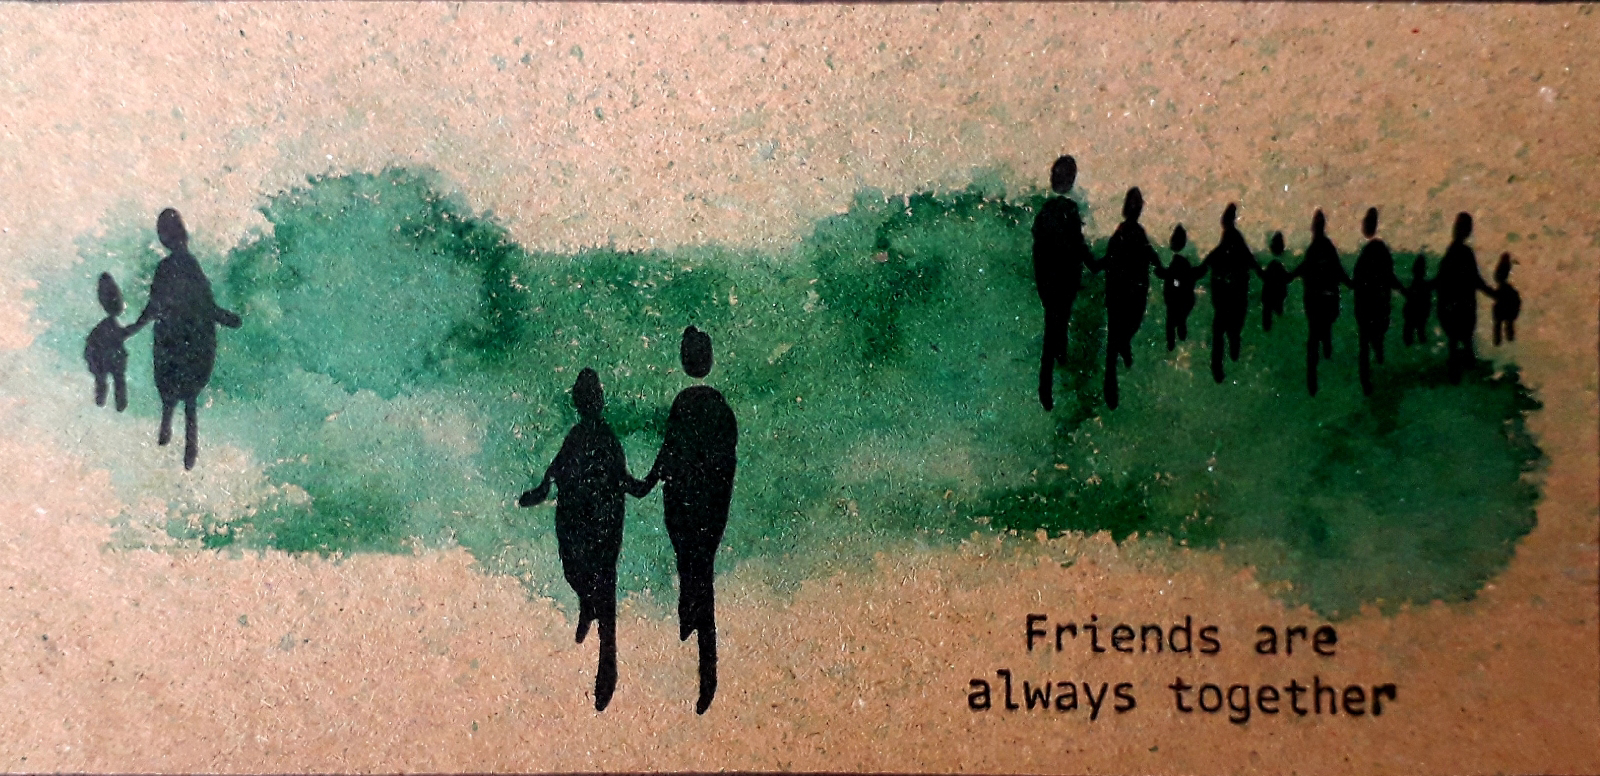
Stamp the sentiment with scorched timber and cut out. Edge with walnut stain and add to the page.
Products used:
Distress Ink - walnut stain, scorched timber, faded jeans 

Thank you for taking a look.
Alison 

Friday, 13 June 2025

Friends are Always There

Hi everyone,  today I'm sharing a step by step guide to creating this quick and easy card using Timestamps Creations newest release.
To begin I cut a piece of kraft card to 2.75 x 5.75 inches. I then pushe a small lucky clover ink pad directly onto this piece of card.
I spritzed this with water and dried it with a heat gun.
Next I chose the groups of people from the stamp set and stamped them and the sentiment with Versafine Clair nocturne ink. 
I then used a black pen to edge my piece of card.
Finally I glued my piece to a 3 x 6 inch card blank.
Products used:
Kraft card
Lucky Clover Small Distress Ink
Timestamp Creations - Friends are Always There stamp set
Versafine Clair nocturne ink pad 
Black pen

Thank you for taking a look 
Alison

Friday, 30 May 2025

Sunflowers

Hi everyone, today I'm sharing an art journal page created using stickers and torn paper.
Begin by blending vintage photo distress ink around the edge of the page. 
Tear a vertical strip of text paper and glue to the centre of the page.
Choose the stickers and paper frame.
Add the film strip stickers. One set vertically and the other horizontally. 
Add the paper frame. Don't glue the bottom part for now.
Add the girl, carefully tucking the end of her legs under the frame. Now glue the bottom edge of the frame to the page. 
Add the sunflowers in a jar sticker to the bottom right of the page. 
Add the two smaller flower stickers to the frame.
Add the flower and quote to the bottom of the page. 
Finally add the butterfly stickers.

Products used:
Selection of Journaling Stickers
Paper Frame
Strip of text paper
Vintage Photo distress ink
Blending tool
Glue

Thanks for taking a look. 
Alison 

Friday, 23 May 2025

Book Lovers

Hi everyone, today I'm sharing an art journal page created using the Ciao Bella Book Lovers Junk Journal and Ephemera Book.

To begin, I chose the possible ephemera from the book, as this will guide the colour palette for the background.

To create a background on the page, I blended dusty concord and milled lavender distress ink through the flower part of the Dream On stencil.
I then added some of the diamonds, from the same stencil, using dusty concord and finally through the text part of the stencil.

Next I cut out the ephemera, leaving a small border around them. As I cut each piece out I placed it on the page approximately where I wanted it on my finished page. This was when I decided I didn't need the bicycle.
After I had placed the ephemera on the page, I decided the background was missing something, so I stamped some text using iced spruce distress ink.
I then glued the ephemera to the page using collage medium. 
Finally I chose some words from the book, cut them out and glued them to the page.
Products used:
Ciao Bella - Dream On stencil 
Ciao Bella - Book Lovers Junk Journal and Ephemera Book

Mama Makes - Small Script stamp

Distress Ink - dusty concord, milled lavender, iced spruce

Thank you for taking a look. 
Alison

Friday, 16 May 2025

Hug in a Mug

Hi everyone, today I'm sharing a step by step guide to creating this quick and easy card using Julia McNeill's Hug in a Mug papers and ephemera. 
To begin cut a piece of the Chocolate and Marshmallow Collection paper to 6.75 x 4.75 inches and glue to a 5 x 7 card blank.

Fussy cut the strip of flowers from another of the papers in the pad and glue them down the left hand side of the card.
Choose 3 mugs and a heart from the Mocha Mux Bit Box Buts pack. Glue these to the card.
Stamp the sentiment from the Iced Coffe stamp set using Fallen Leaves Versafine Clair ink.

Products used:
Versafine Clair Fallen Leaves 

Thank you for taking a look. 
Alison 

Friday, 9 May 2025

Passion

Hi everyone, today I'm sharing a step by step guide to creating this art journal page created using Stamptagious' 8x8 Passion paper pack. 

Cut a piece of the backing paper to fit the art journal page and edge with scorched timber distress oxide ink.

Cut out the images from the paper pad.

Edge the tag and dance word with scorched timber. 
Glue the backing paper to a page in the art journal.
Add the images to the page.
Using scorched timber distress oxide with a damp paintbrush add a shadow around the ballerina, tag and roses and under the lace and dance word.
Products used:
Stamperia 8x8 paper pad - Passion
Distress oxide scorched timber 
Paintbrush 
Distress collage medium 

Thank you for taking a look. 
Alison

Friday, 2 May 2025

Glimmer of Light

Hi everyone, today I'm sharing an art journal page created using Visible image stamps and stencils.
To begin sprits the page with water, then add drops of black Ecoline liquid water colour. Sprits with a little more water and tip the page to encourage runs. Add drops of yellow Ecoloine liquid water colour. Tip the page to encourage runs and mixing. Add more water if necessary. Dry with a heat gun.
Add to the background by blending squeezed lemonade distress oxide through the count me in stencil.
Using Versafine Clair nocturne ink stamp the ripple and three circles on the background. 
Next add some of the de-stressed diamonds using nocturne ink. 
On seperate card stamp 9 of the light bulbs and 2 of the moths. Colour the light bulbs with squeezed lemonade distress ink and the moths with freyed burlap distress ink. Cut them out and glue them to the page.
Finally stamp the sentiment, cut it out and edge with black pen and add to the page.

Products used:
Ecoline Liquid Watercolour - black, yellow
Count Me In Stencil
The Ripple Effect stamp set
De-stressed stamp set
Glimmer of Light stamp set 
Distress Ink - freyed burlap, squeezed lemonade 
Distress Oxide - squeezed lemonade 

Thank you for taking a look. 
Alison 


Mushrooms

Hi everyone,  I really live mushrooms and when I saw TIMESTAMPS Creations new release, I just knew I had to combine them with Bee Crafty...