Friday, 20 December 2024

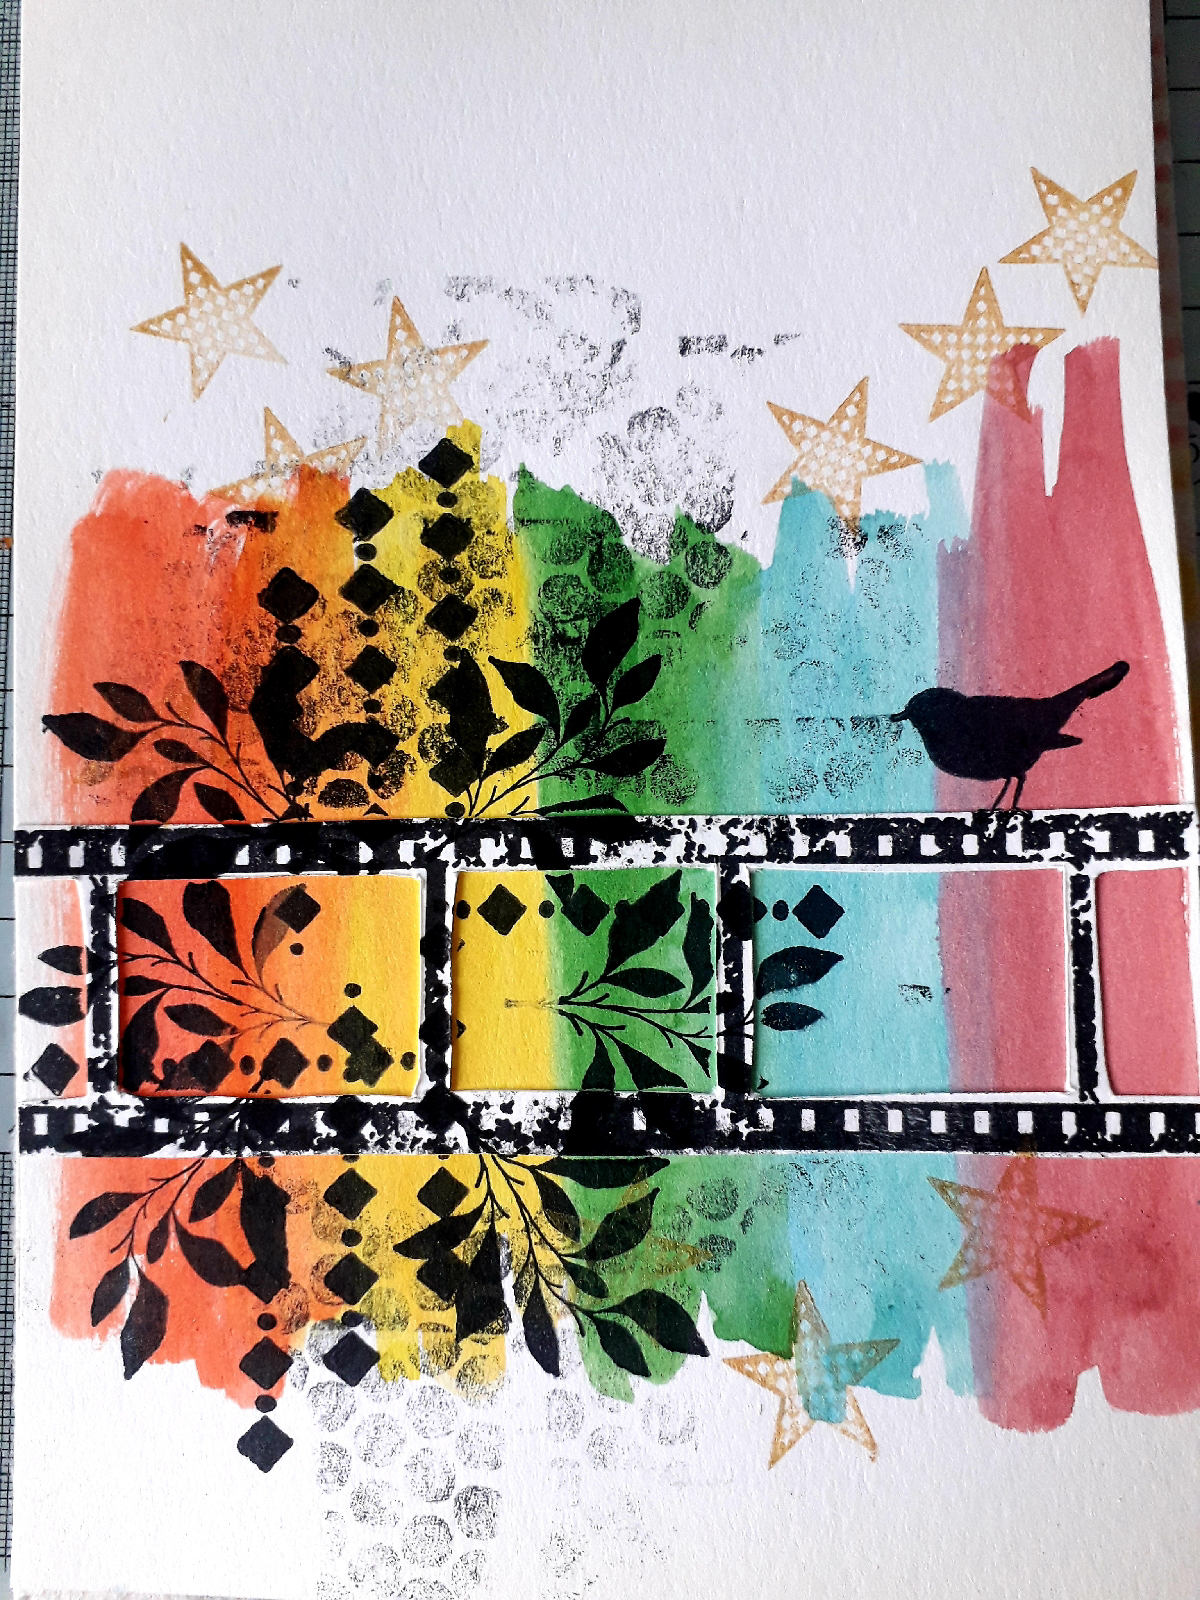
Floral Art Journal Page

Hi everyone, today I'm sharing a step by step guide to creating this art journal page using products from Bee Crafty and Shady Designs by Louise Sims. 

To begin I used Kuretake Gansai Tambi watercolour paints to create a background.
Next I stamped the filmstrip, from Bee Crafty's texture, filmstrip and circles stamp set, twice joining the together to make a longer strip. I then cut it out.
I then used versafine clair nocturne ink to stamp three of the  flower, leaf, butterfly and leafy branch from Shady Designs oh so circular, celtuc squares and it's a wreath stamp sets. I coloured the fliwers and leaves with watercolour crayons. I then cut everything out.

I glued the filmstrip to the page and trimmed any excess.

Next I added one of the stars, from Bee Crafty's star textures stamp set, using gold delicate ink and some black circles in the form of a sequin background stamp I got free from a magazine using first, second and third generation stamping. 
Then I stamped the border, leafy stem and bird, from Shady Designs blooming blocks stamp set, using black ink.
I then glued the flowers, leaves and butterflies to the page.
Finally I added a sentiment from Bee Crafty's wirdy stickers 1B. 
Products used:
Bee Crafty 
Texture, filmstrip, circles stamp set (discontinued)
Stars textures stamp set (discontinued)

Shady Designs by Louise Sims 

Sequin stamp (free from a magazine)

Ink pads
Versafine Clair nocturne 
Delicate gold 

Thank you for taking a look. 
Alison 

Friday, 13 December 2024

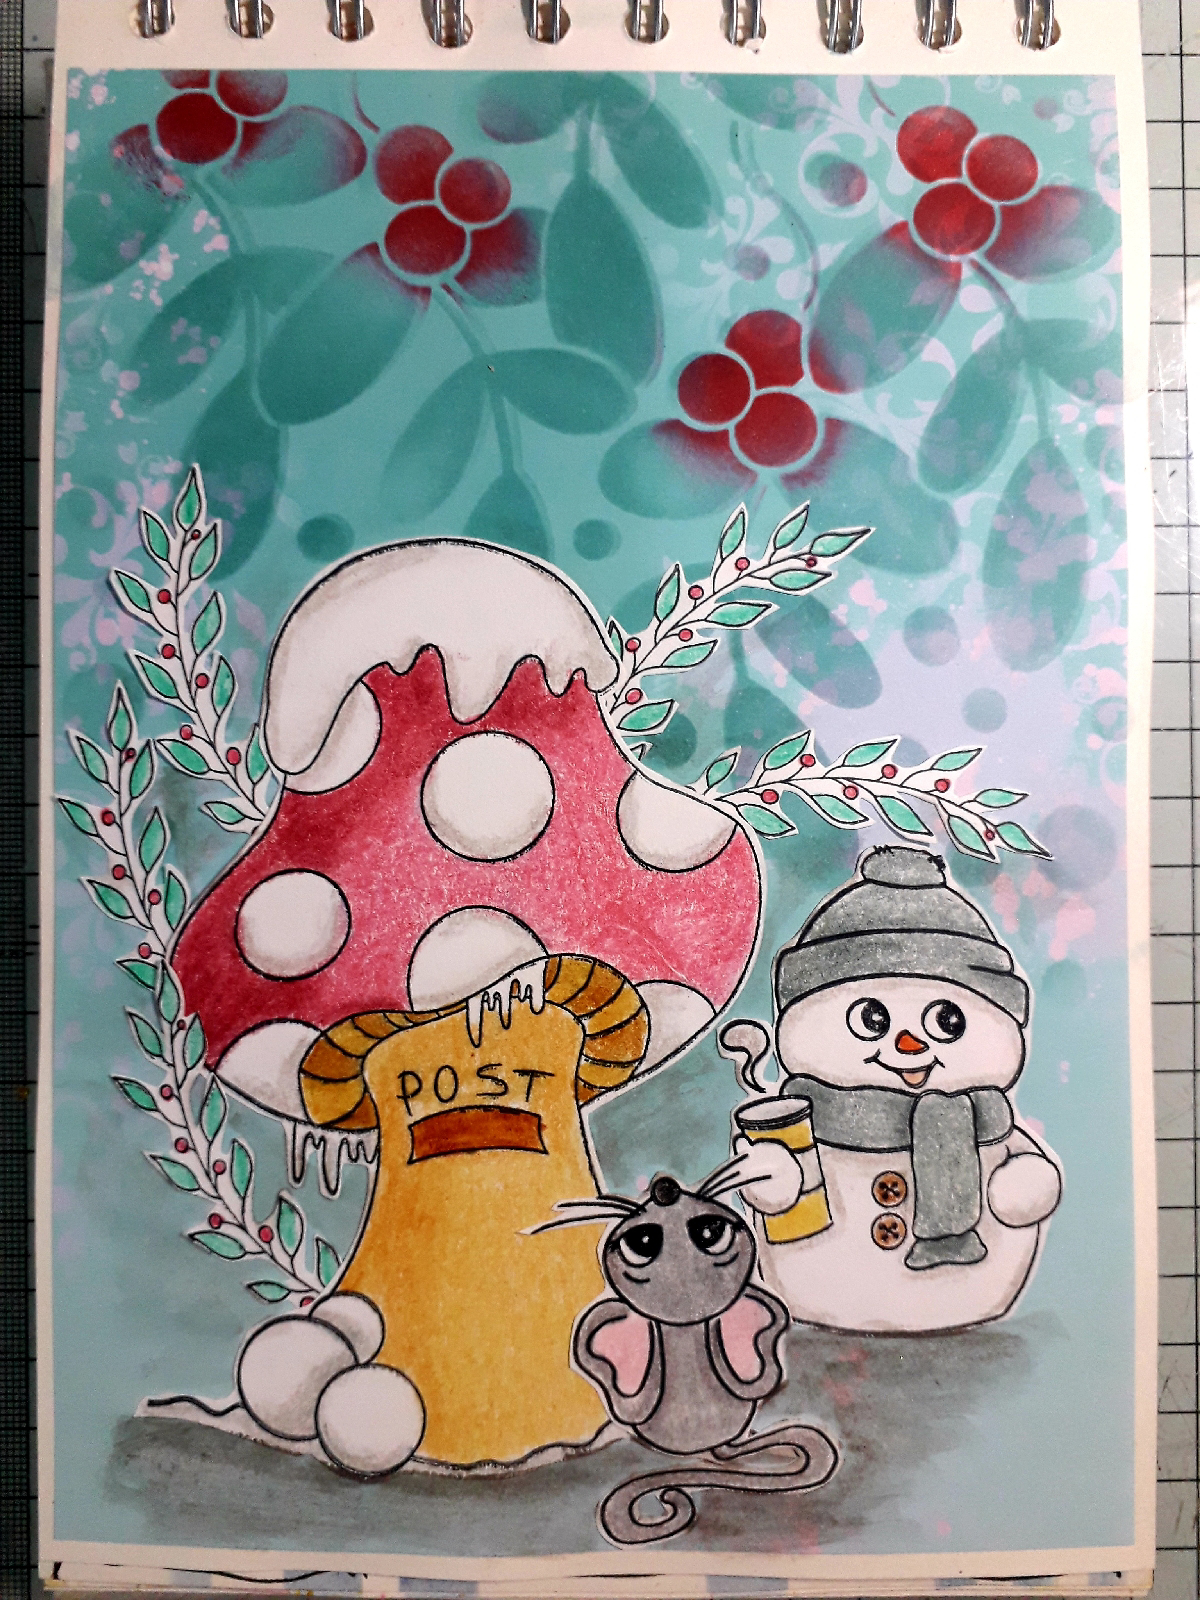
Mouse Mail

Hi everyone today I'm sharing an art journal page created using products from Julia McNeil Designs. I just love how you can mix and match all her different collections to make a project.
To begin I cut a puece of the Sweet Peppermint paper to fit my journal's page and glued it in place.
Next I blended speckled egg distress ink through the leaves and circles of the evergreen bough stencil, the festive berries distress ink through the berries of the stencil. 
On seperate card I stamped the snowman, from the iced coffee stamp set and the toadstool, mouse and leafy branch, from the mouse mail stamp set, using versafine clair nocturne. 
Colour and cut them out. Glue them to the page.
I then added shadows around the images using a pumice stone distress crayon and a damp paintbrush. 
Finally I added a sentiment from Bee Crafty's Winter Stickers 
Products used:
Versafine Clair Nocturne 
Distress Crayon Pumice Stone 
Distress Ink - festive berries, speckled egg

Thank you for taking a look. 
Alison 

Friday, 6 December 2024

Dream Weavers Collection

Hi everyone, today I'm sharing a step by step guide to creating these four altered playing cards using the dream weavers collection of stamps from Tracy Easson.
To begin I used distress collage medium to glue the cards to the text collage paper from Dina Wakley's hearts collage paper pack. I use collagevoapers as playing cards tend to have a plastic ciating and mist inks and paints won't stick to them.

When the collage medium was dry, I blended barn door distress oxide over the centre of the cards and aged mahogany over the edges.

I then used versafine clair nocturne ink to stamp the main image from each of the four stamp sets in the collection on to seperate card. I also stamped a sentiment for each card.
I used distress watercolour pencils to colour the images, then I cut them out.
Finally I glued them to the playing cards and trimmed off the excess. I also added a sentiment to each one.
Products used:
Dina Wakley Media Collage Papers Hearts
Distress Watercolour Pencils 
Distress Oxide Ink Pads - barn door, aged mahogany 

Thank you for taking a look. 
Alison

Ephemera and Stamps Art Journal Page

Hi everyone, today I'm sharing a step by step guide to creating this art journal page using ephemera and stamps from Julia McNeill Craft...